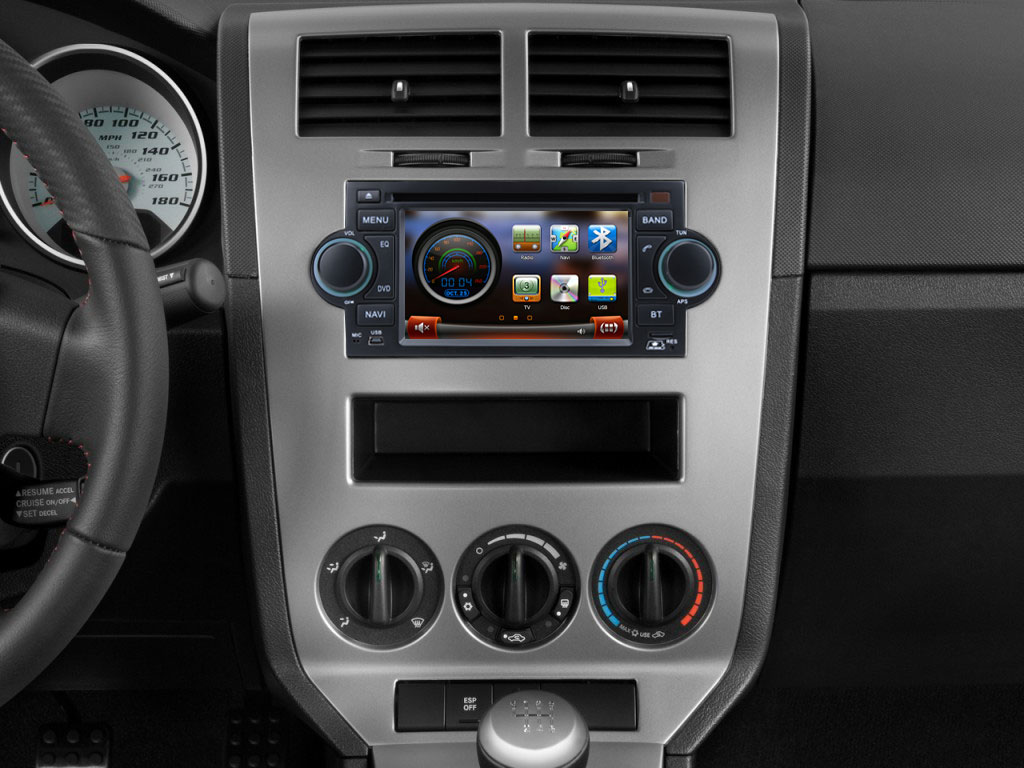
Jeep Compass head unit
It’s an upgraded Jeep Compass head unit from Seicane.com. It can do more for you than the original one. Check out the video below and see how it works: http://www.seicane.com/hd-touch-screen-auto-a-v-gps-navigation-system-for-2006-2007-2008-jeep-commander-compass-with-dvd-tv-tuner-am-fm-radio-bluetooth-steering-wheel-control-usb-sd-mp3-t6015
This touch screen head unit comes with AUX input and output. You can connect to amplifier, headrest LCD monitors, rearview camera and other external media devices.
It is also integrated with Micro SD slot and USB port for music and movie play, photo view, E-book Reading etc.
It has GPS navigation system with voice cues, distance information, POIs, road planning and so on for 3D maps. You can install a map in the unit and set routes in it. The map will show you how to get to the destination clearly. You will never get lost with it.
It supports radio RDS/TA/AF/ST and 30 stations preset for AM/FM. It also supports Bluetooth hand free and music. It can do more for you.
If you want a new unit like that, you can upgrade the original radio in a car stereo upgrade shop. Or, you can do it yourself. However, if you are a layman of car stereo upgrade, you’d better ask for help. In dash head unit requires professional installation. And, wrong installation may bring damage to the new unit.
Before the upgrade, Please disconnect the negative cable on the vehicle battery to ensure security. Please prepare tools for the upgrade. A lever and a screwdriver are needed. Please protect the front seats and trim panel during upgrade.
Jeep Compass head unit upgrade steps:
Step1: remove the cover and frame under the gear stick. Use your lever to pry the cover which is under the gear stick and move it aside. And, you will see 2 screws which are fixing the frame on the trim panel. Use your screwdriver to remove the screws. Then, pry the frame to remove it from the trim panel.
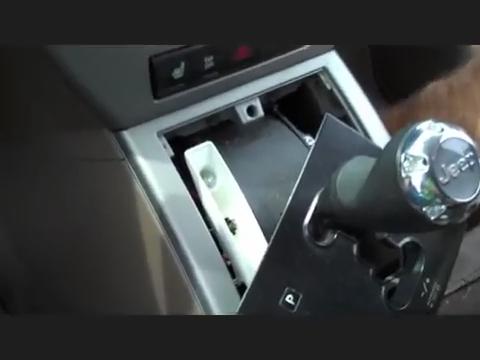
remove the cover on Jeep Compass
Step2: remove the trim panel. There’s a cover at the top of the trim panel. Use the lever to remove it and you will see 2 screws. Remove the screws and pry the trim panel with your lever. Pry it for several times. Then, release the trim panel from the dashboard.
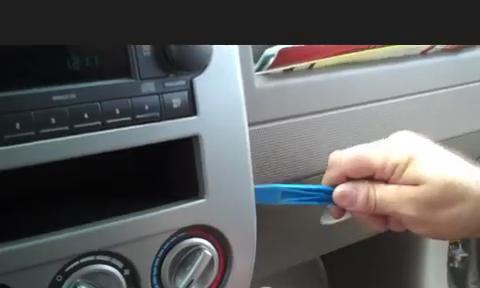
remove the trim panel on Jeep Compass
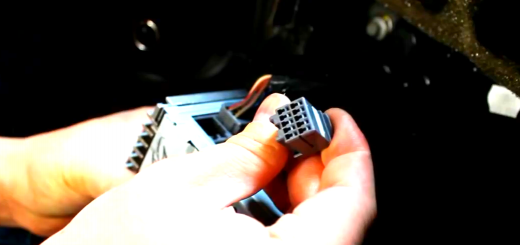
Step3: remove the original radio. You will see 4 screws at the four corners of the radio. Remove them and take the radio out of the dash. There are wires at the back of it. Disconnect them and put the radio away.
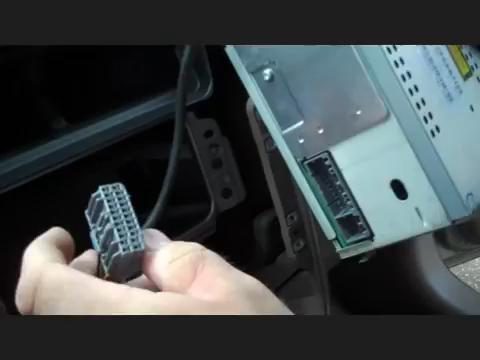
remove the radio on Jeep Compass
Step4: install the new unit. Take out your new unit and connect it to the original wiring harness. The wires should be connected correctly. Then, test the new unit to see if it is compatible with your car. If you meet problems, please contact the dealer. If everything’s good, you can install the trim panel and the covers back to the car now.
That’s the upgrade steps of a Jeep Compass head unit. Wish it could help you. If you have any questions about the unit at the beginning of the text, you are welcome to contact the customer service on shopping page. Wish you enjoy shopping.


May I learn the price of the item and if you are shipping it to other countries. My country is Cyprus. And if you do ship it what would be the cost.
Thanks
dear,
yes,we can ship to Cyprus.
Please add this unit to cart,then choose the country you want to ship to, Shipping fees will be estimated by our system automatically.
Could you please send us the photo of your car’s dashboard to sales@seicane.com?
And could you please tell us the model and year of your car?
Then we can help you check if we have unit can fit your car or not ,hope you could cooperate with us.
Looking forward to hearing from you soon.
Thank you & Best regards!