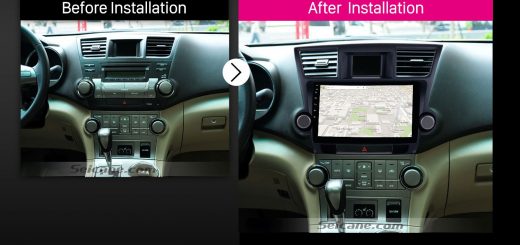
To have more fun on the way to your desired destination, you can wisely upgrade your factory radio which can be compatible with a lot of multimedia formats. The installation of a new car radio is usually quite easy. Now I’d like to share a professional 2008-2012 KIA KOUP Auto Air-Conditioner version car radio installation guide from Seicane with you as follows.

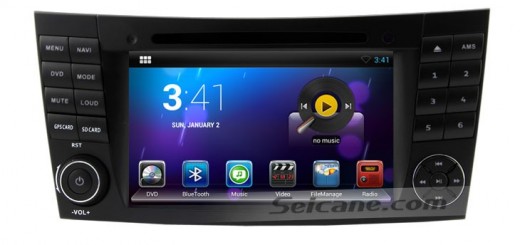
2008-2012 KIA KOUP Auto Air-Conditioner version car radio after installation
Precautions for this installation:
1.Before you start up any work, park your car well and unplug the negative power cable to avoid any danger.
2.Please make sure that all fastened wires are isolated with electrical tape.
3.Please make sure the ignition is off to avoid short circuit.
4.Please prepare a lever and a screwdriver before the removal and the installation.
5.For your convenience, here’s the recommended tools for removal and installation from Seicane, please check for more details: http://www.seicane.com/car-dvd-dismantling-device-srd-400
2008-2012 KIA KOUP Auto Air-Conditioner version car radio installation guide
1.Remove the right air conditioner vent with a removal tool, and set it aside.

Remove the right air conditioner vent with a removal tool, and set it aside
2.Remove the left air conditioner vent in the same way as step 1, and set it aside.

Remove the left air conditioner vent in the same way as step 1, and set it aside
3.Unscrew all the screws holding the original car radio in dash with a screwdriver.

Unscrew all the screws holding the original car radio in dash with a screwdriver
4. Gently take the original car radio out of the dash.

Gently take the original car radio out of the dash
5. Disconnect all connectors at the back of the original car radio.
6. Check all the accessories for the new Seicane car radio.

Check all the accessories for the new Seicane car radio
7. Connect the harnesses to the back of the new Seicane car radio.

Connect the harnesses to the back of the new Seicane car radio
8. Connect the Seicane car radio to your original car radio ‘s plugs.
9. Turn on the new Seicane car radio to have a careful check if everything works well. If it doesn’t, please check whether all the cables are connected correctly.
10. Put the new Seicane car radio into the dash.
11. Put everything into their original place. All the installation is done.
Wish the 2008-2012 KIA KOUP Auto Air-Conditioner version car radio installation above can be helpful you. If you have any question, it’s suggested you turn to your dealer for help. If you don’t have any experience on the installation, you’d better have it installed by a professional. Besides, you need to confirm your new stereo can be suitable for your car. To check the compatibility, you are welcome to click the link below which is about a top 2008-2012 KIA KOUP Auto Air-Conditioner version car radio from Seicane.
This popular 2008-2012 KIA KOUP Auto Air-Conditioner version car radio comes with a wide range of features to bring great convenience and enjoyment for you in your car. Just replace your factory radio with this intelligent car radio at such a competitive price right now!

Recent Comments