Although more and more car owners would like to upgrade their factory radio with a new multifunctional one, some of them might be afraid that the installation of a car stereo would be complicated for them. Actually, the installation is not so difficult that it can be a do-it-yourself job for you if you have some experienced. But if you don’t have any experience, you’d better arrange a professional technician to help install the radio. The following is the detailed installation guide on a 2006 2007 2008 Mercedes-Benz CLS W219 gps dvd car radio for you as a reference.
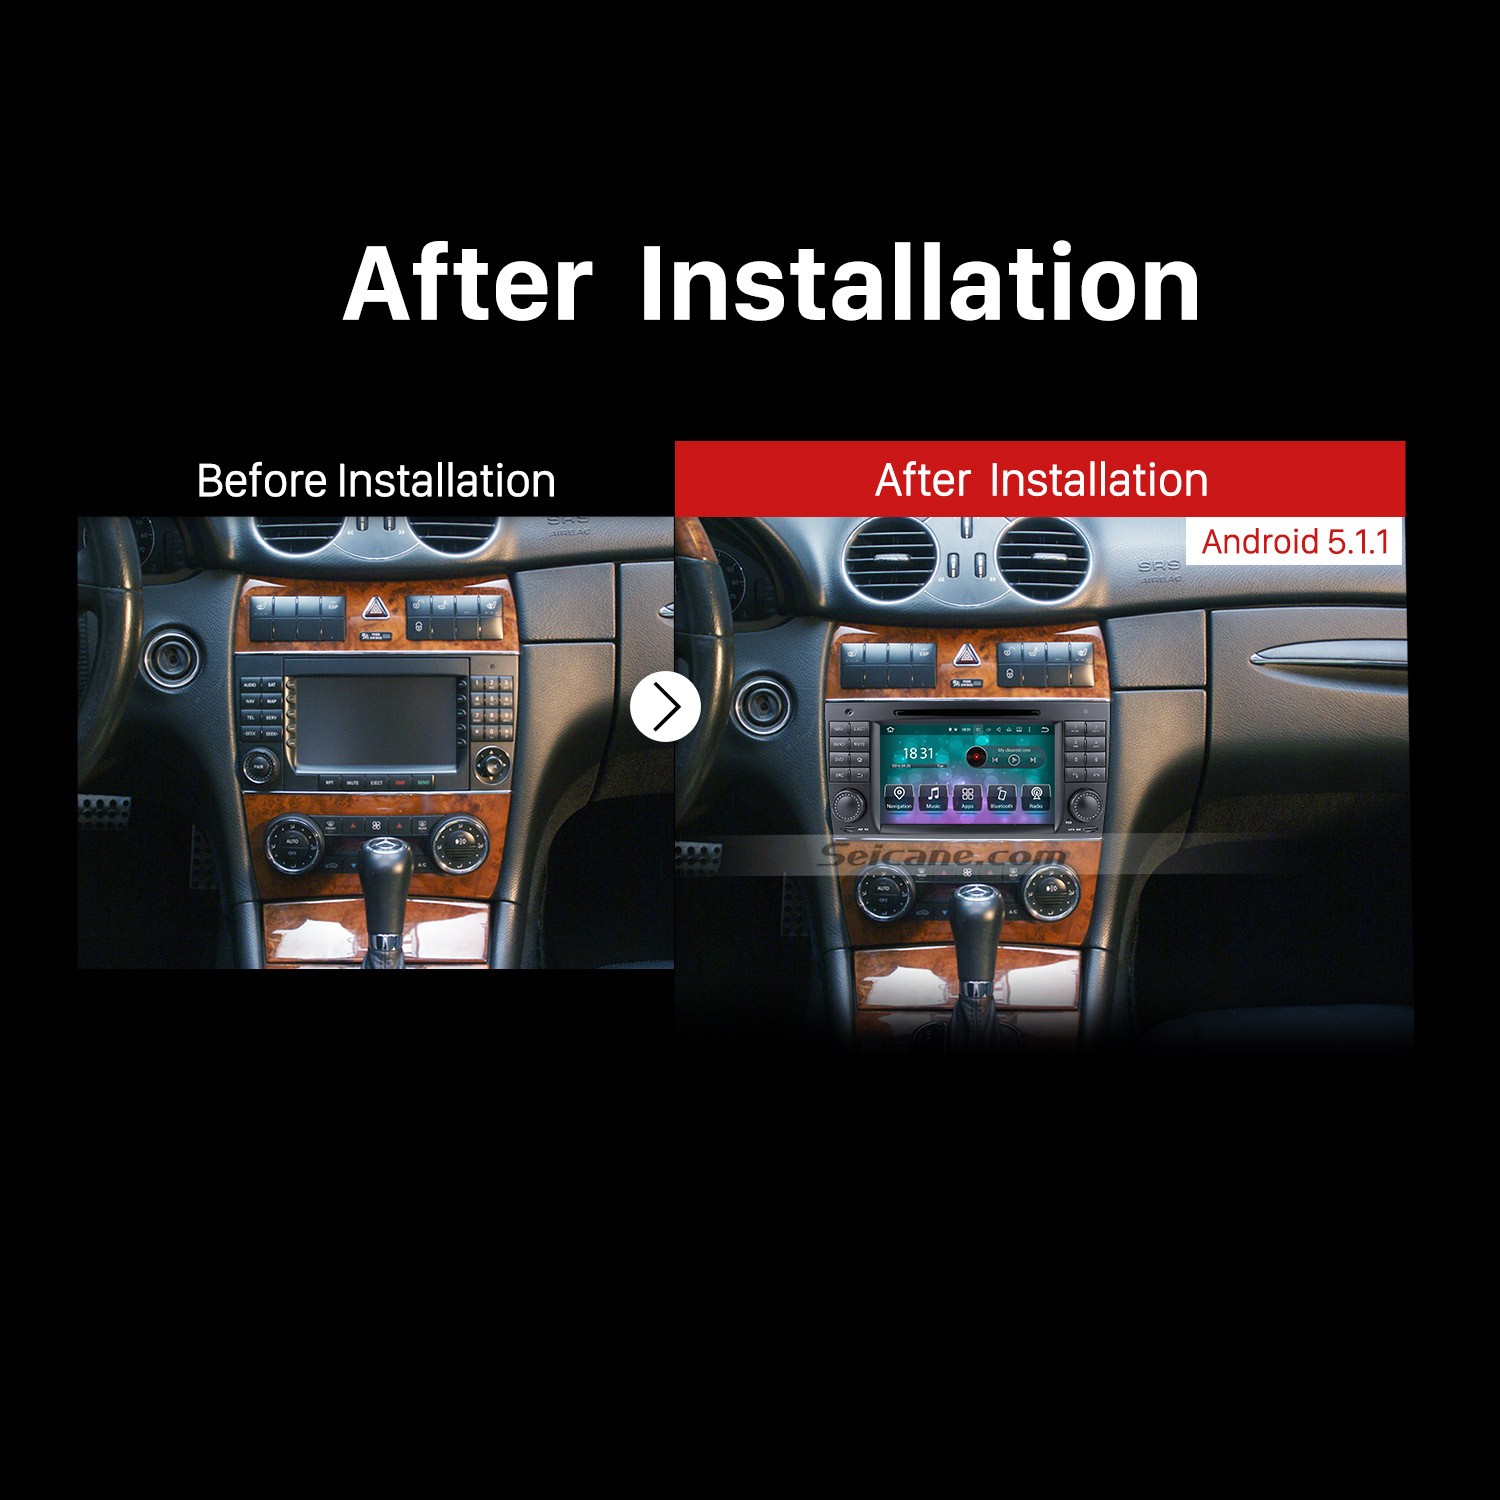
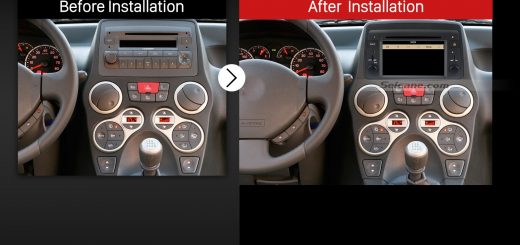
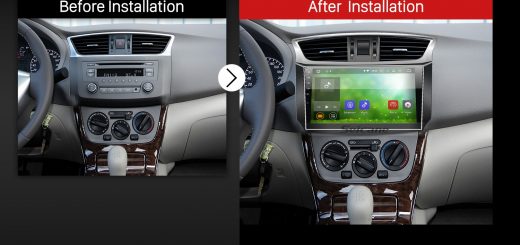
2006 2007 2008 Mercedes-Benz CLS W219 gps dvd car radio after installation
Before and during installation, you should notice:
1.Before connecting, please make sure the ignition is off to avoid short circuit.
2.Ensure connect the yellow and red power cable at last.
3.Ensure that all loose wires are isolated with electrical tape
4.Ensure don’t tangle the wire when tighten the moving parts(Such as seat rails).
5.Ensure that all ground is connected to the same place.
6.Using the improper fuse may cause damage of fire, so when replace the fuse, please consult the professional.
7.For your convenience, here’s the recommended tools for removal and installation from Seicane, please check for more details: http://www.seicane.com/car-dvd-dismantling-device-srd-400
2006 2007 2008 Mercedes-Benz CLS W219 car radio installation instruction
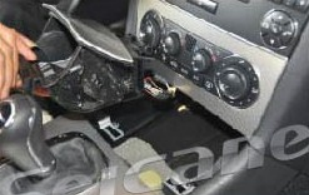
1. First detach the gear shift panel.

First detach the gear shift panel
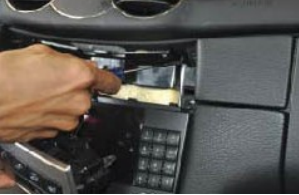
2. Use a screw driver to remove the screw marked with a red circle to release the car charger and ashtray.
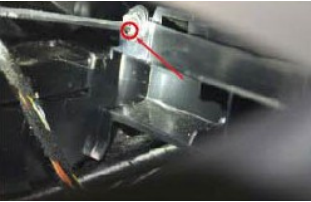
Use a screw driver to remove the screw marked with a red circle to release the car charger and ashtray
3. Remove the car charger and ashtray assembly.
Remove the car charger and ashtray assembly
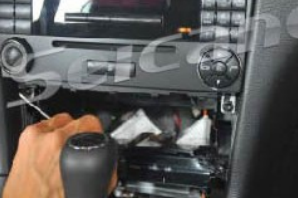
4. Use a screw driver to remove the screw marked with a red circle.
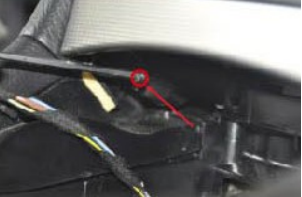
Use a screw driver to remove the screw marked with a red circle
5. Pry the air conditioner panel out with a plastic lever.
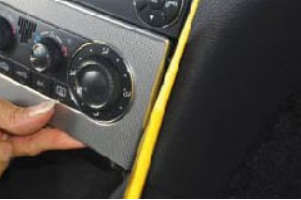
Pry the air conditioner panel out with a plastic lever
6. Remove the original air conditioner panel.
Remove the original air conditioner panel
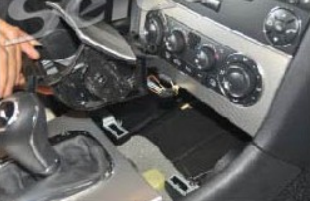
7. Remove the heated seat and control panel assembly.
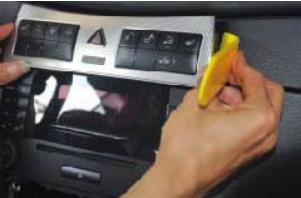
Remove the heated seat and control panel assembly
8. Pay attention to this buckle.
Pay attention to this buckle
9. Remove two screws.
Remove two screws
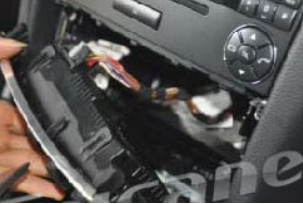
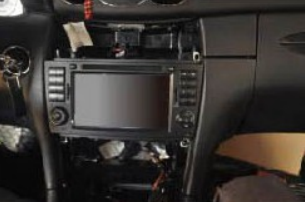
10. Pull out the original car radio.
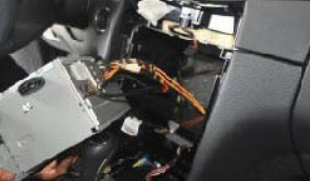
Pull out the original car radio
11. Check all the accessories for the new Seicane radio.
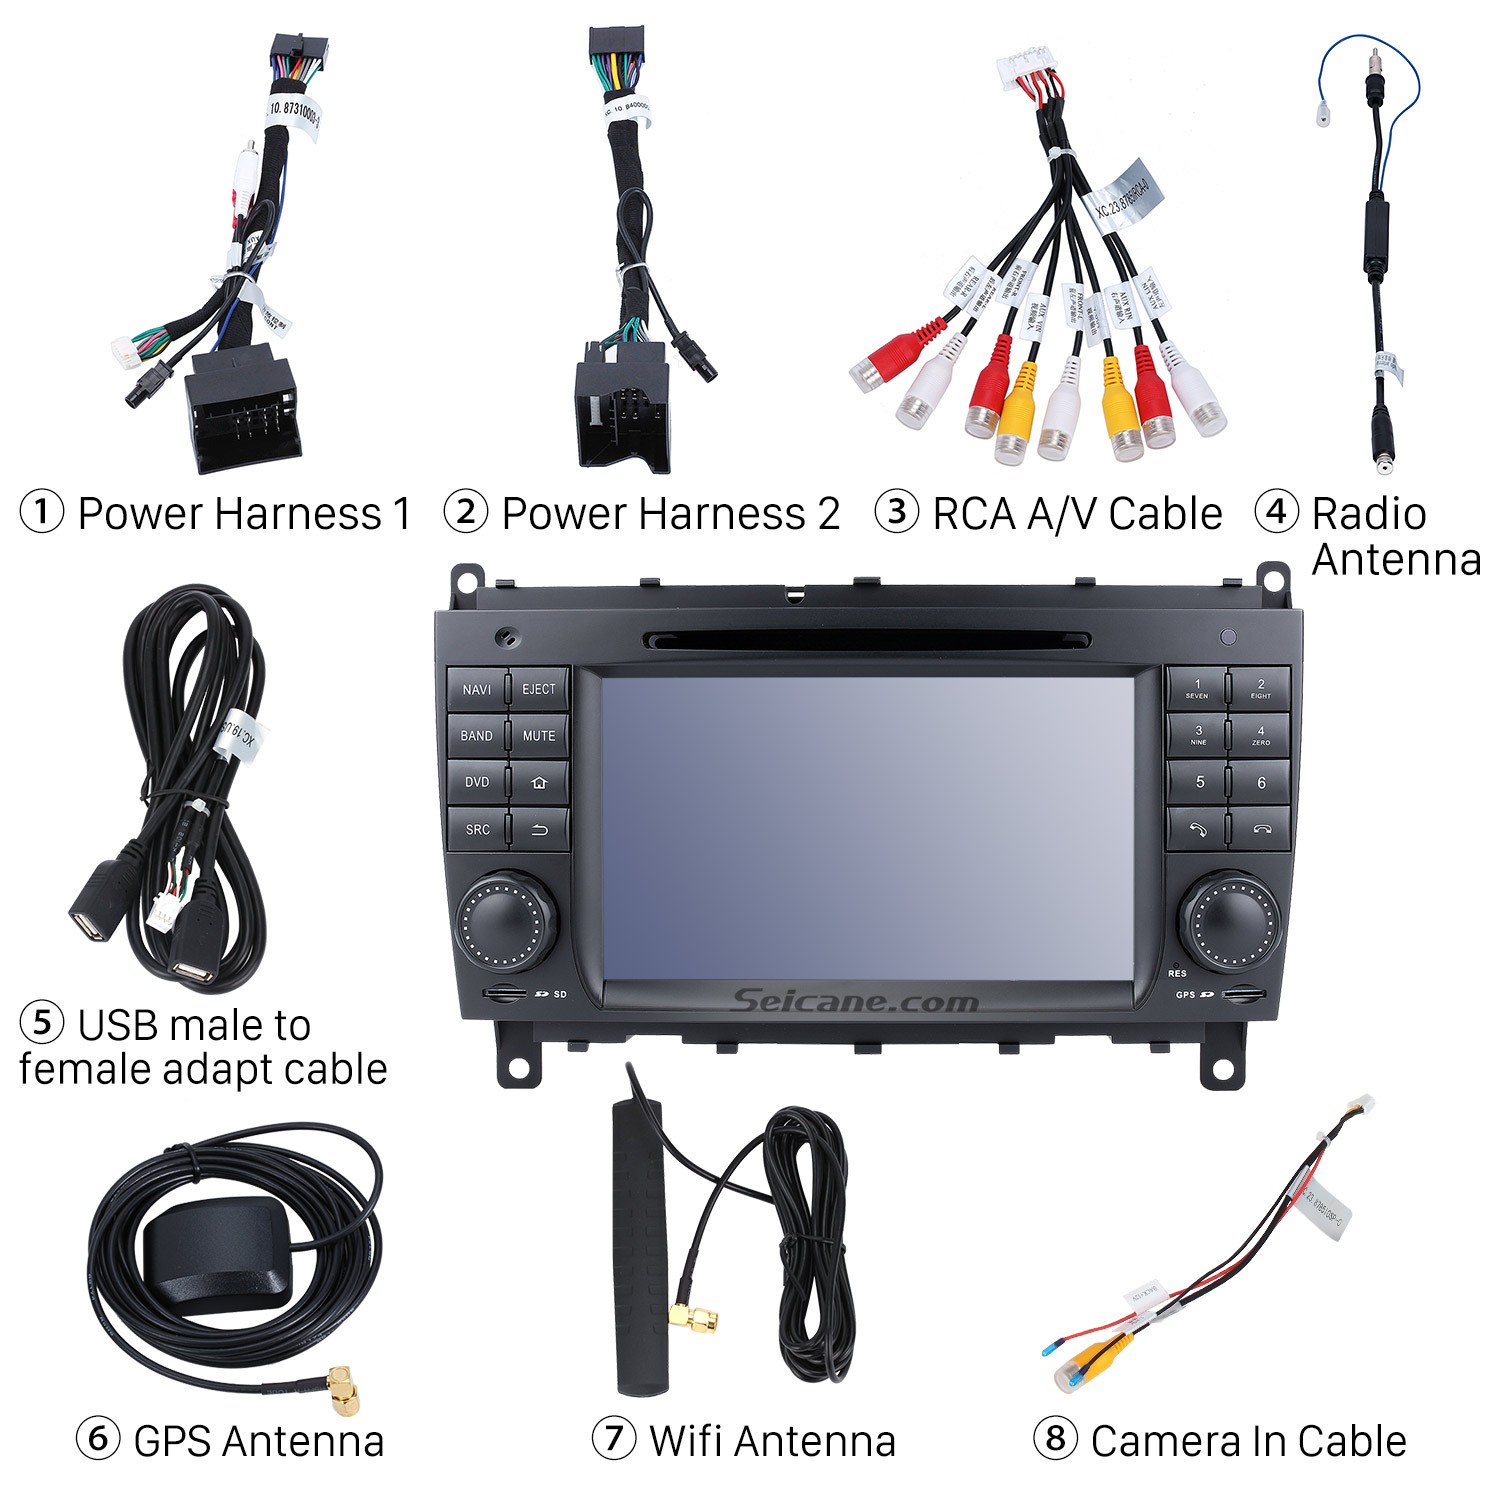
Check all the accessories for the new Seicane radio
12. Connect the harnesses to the back of the new Seicane radio.
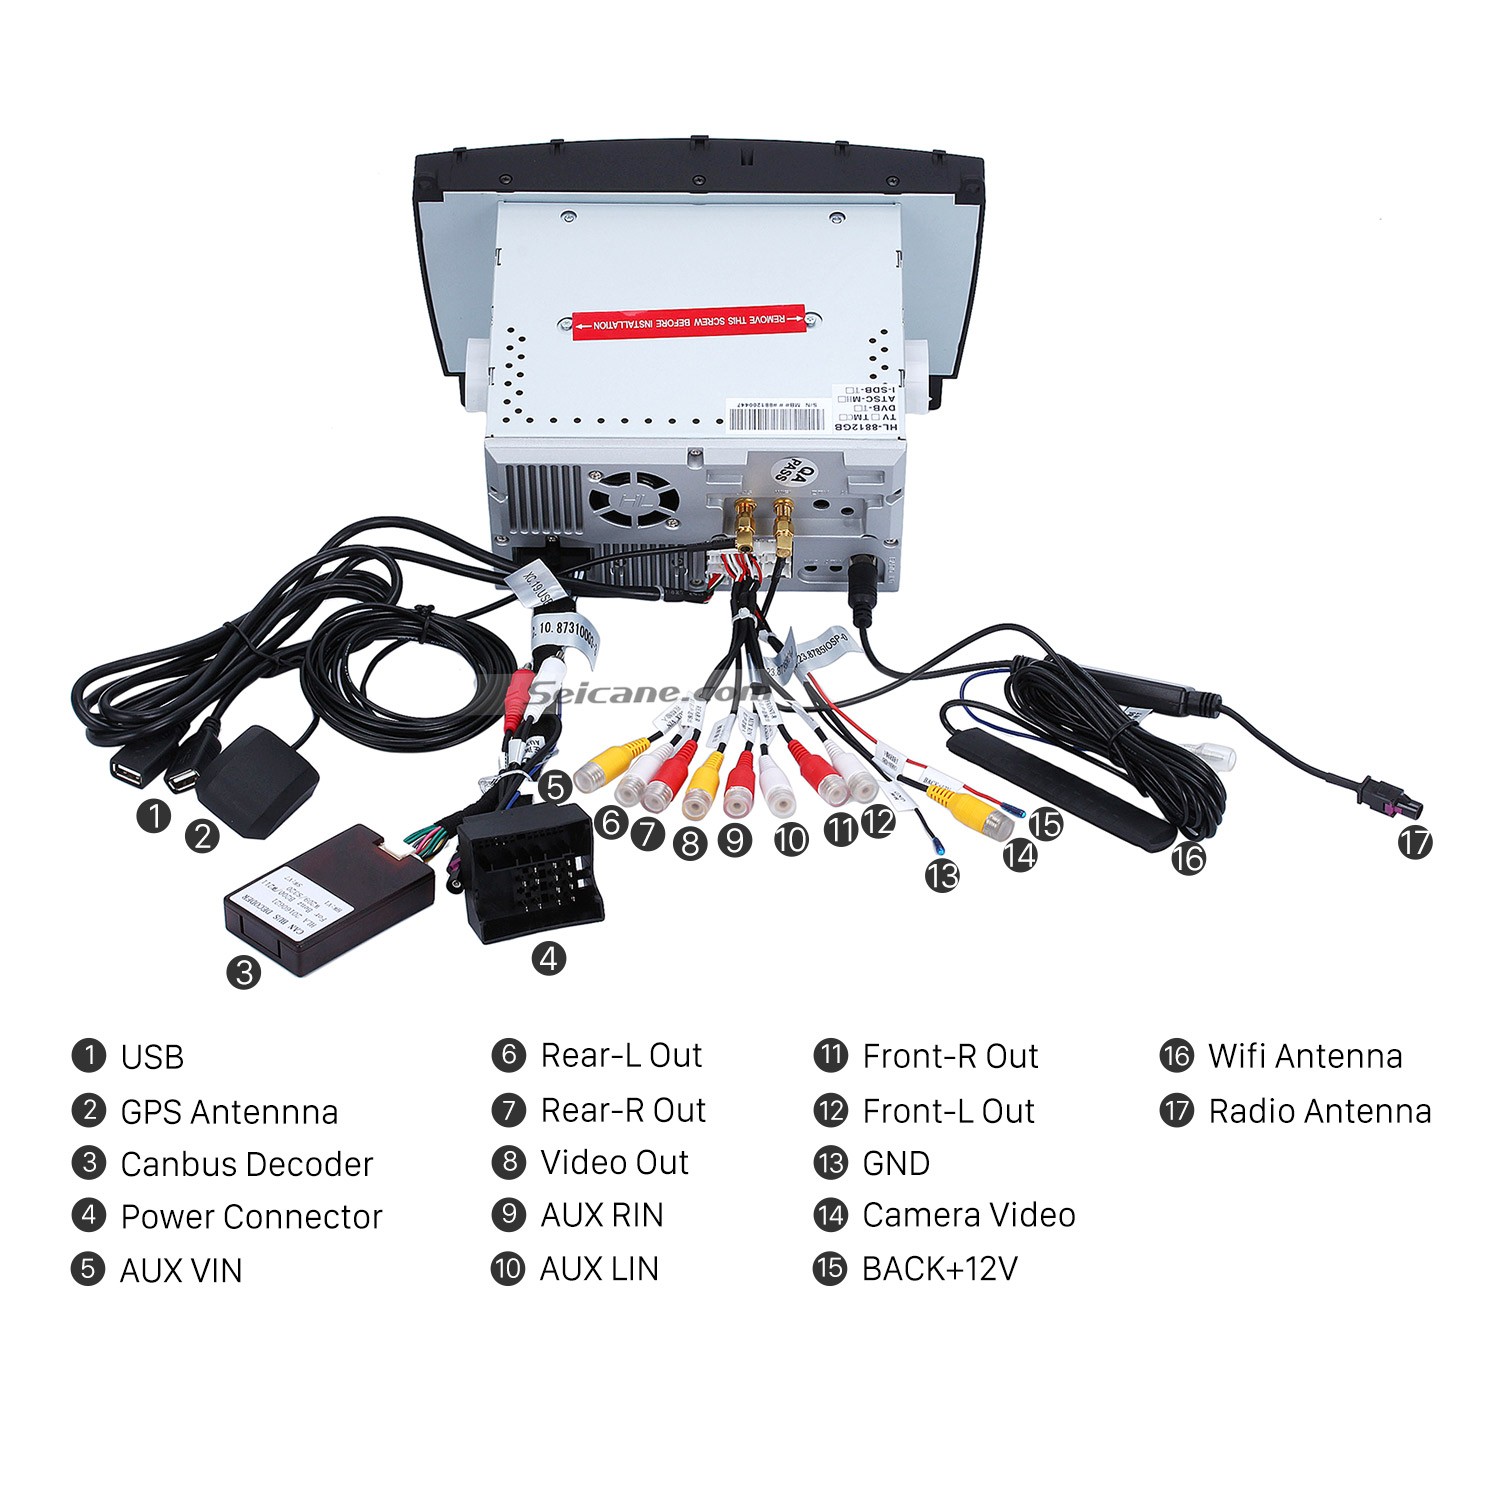
Connect the harnesses to the back of the new Seicane radio
13. Connect the Seicane radio to your original car radio’s plugs.
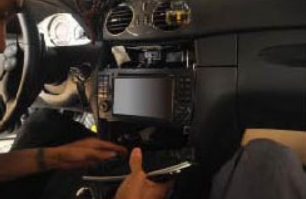
14. Install the new Seicane radio back after the wiring harness has been connected. Fasten the four screws.
Install the new Seicane radio back after the wiring harness has been connected. Fasten the four screws
15. Install the air conditioner panel, the car charger, the ashtray, the heated seat and the control panel back.
Install the air conditioner panel, the car charger, the ashtray, the heated seat and the control panel back
16. Reinstall cigarette lighter.
Reinstall cigarette lighter
17. Turn on the new Seicane radio and have a careful check if everything works well.
If there is any doubt about the installation, please communicate with a professional and seek help from it.
Besides, a suitable car radio if of great importance in your installation. So if you don’t know how to pick an ideal car radio for your car, we suggest you click the following link which is an amazing 2006 2007 2008 Mercedes-Benz CLS W219 gps dvd car radio from Seicane.
This unit is based on the pure Android 5.1.1 operation system and a RK3188 1.6 GHz Cortex A9 Quad-core CPU to greatly facilitate its operation and enhance its performance. With a 7 inch HD multi-touch digital capacitive LCD screen, you are provided with the best display effect of videos, TV programs, movies etc as well as the perfect view of the road ahead. Keeping your steering wheel control still work, this unit enables you to sync with your Bluetooth-enabled mobile phone for getting access to hands-free phone calls and streaming music. You won’t get lost with the most accurate turn-by-turn directions and voice prompts provided by the built-in GPS navigation system of this radio. Apart from these practical features, this unit can support also support a lot of entertainment features for you to amuse both yourself and your passengers all the way.
Wish you have a wonderful trip accompanied by this powerful 2006 2007 2008 Mercedes-Benz CLS W219 car radio.

Recent Comments