Do you want to get some methods to achieve the installation of a new car radio all by yourself?
The following is a detailed installation instruction for a 2015 Toyota Highlander car radio from Seicane. If you own the same or similar dashboard and also plan to make a car radio replacement for your beloved car, you might as well refer to the following installation instruction.
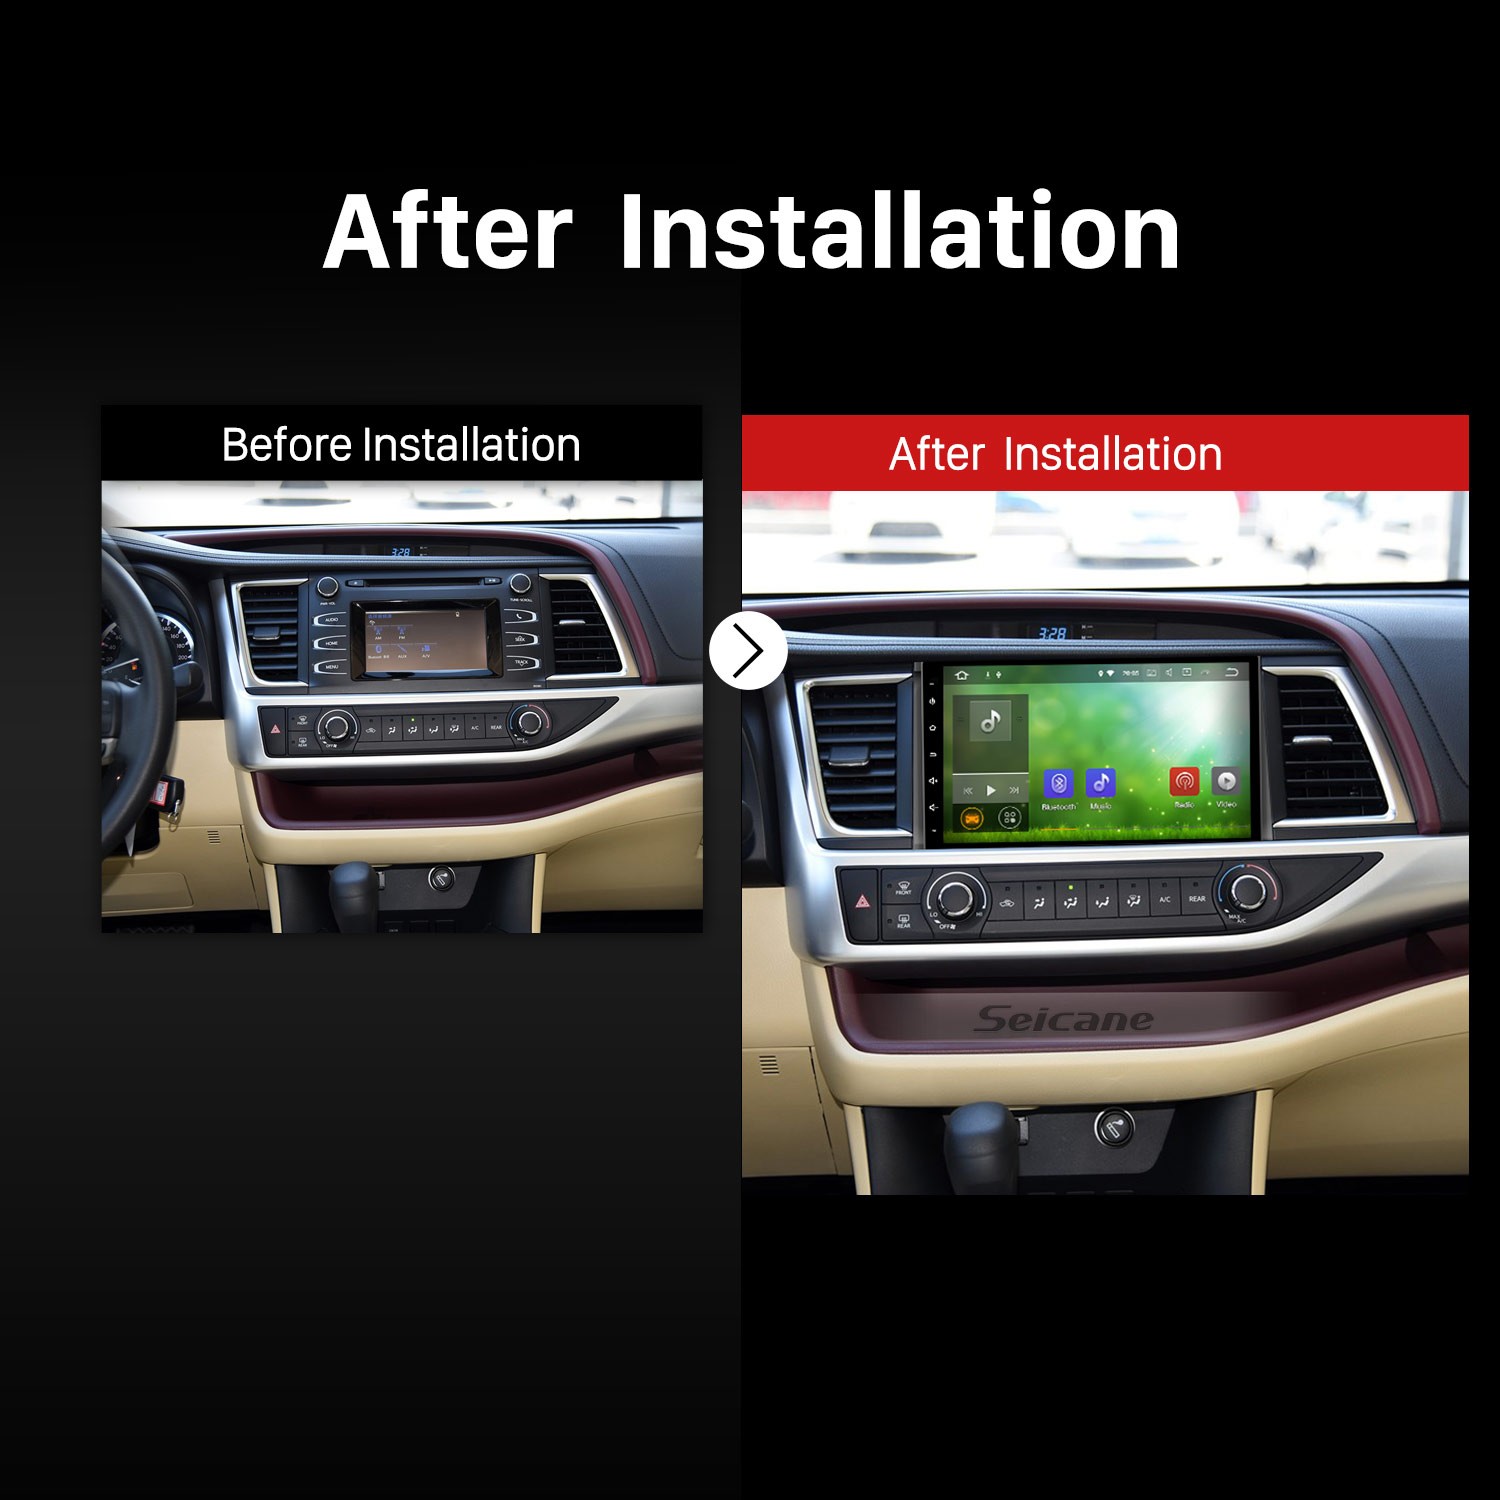
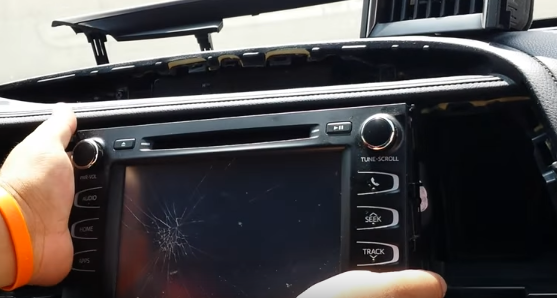
2015 Toyota Highlander GPS Nav Bluetooth Car Radio after installation
Here are some tips before the installation:
1. Please disconnect the power before the installation.
2. Please prepare a lever and a screwdriver before the removal and the installation.
3. Please keep all the separate parts from the car. Please take great care of the dashboard to avoid scratching it during its detachment and installation. Please keep handy any parts from the car and make use of all the original screws from the car as much as possible. so each related part of the unit can be fixed securely.
4. For your convenience, here’s the recommended tools for removal and installation from Seicane, please check for more details: http://www.seicane.com/car-dvd-dismantling-device-srd-400
2015 Toyota Highlander car radio installation instruction
1. The original car radio.
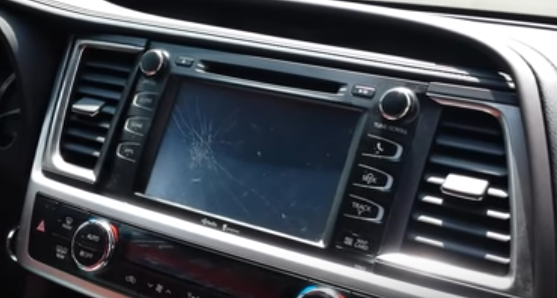
The original car radio
2. Use a plastic removal tool to remove the panel and frame around the A/C vent.
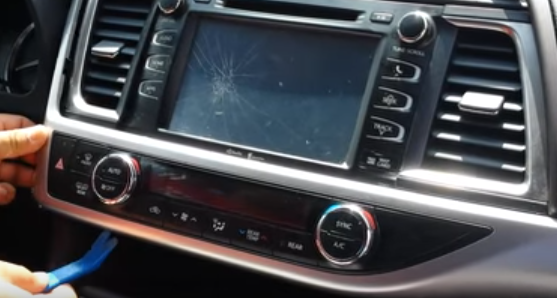
Use a plastic removal tool to remove the panel and frame around the A/C vent
3. Use the plastic removal tool to pry the air conditioning vents and remove them.
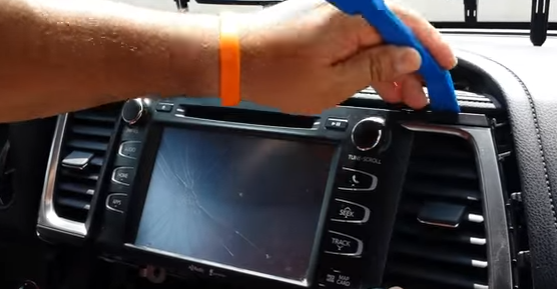
Use the plastic removal tool to pry the air conditioning vents and remove them
4. Remove the screws that fixed the radio on the dashboard.
5. Gently take out the original car radio.
Gently take out the original car radio
6. Disconnect the connectors and cables at the back of the radio.
7. Check all the accessories for the new Seicane car stereo.
8. Connect the harnesses to the back of the new Seicane car stereo.
9. Connect the Seicane car stereo to your original stereo’s plugs.
10. Turn on the new Seicane car stereo to have a careful check if everything works well. If it doesn’t, please check whether all the cables are connected correctly.
11. Put the new Seicane car stereo into the dash.
12. Put everything into their original place. All the installation is done.
Above is the whole installation instruction on a 2015 Toyota Highlander car radio. If you cannot understand all these steps, you’d better turn to your dealer for help or just directly arrange a professional to help you install the new car radio. Anyway, before installation, please carefully select an ideal car radio for your beloved car. If you have no ideas, you might as well check out the following link which is a marvelous 2015 Toyota Highlander car radio from Seicane.
This car radio is running on the intelligent and powerful Android 7.1 operation system and a 1.6 GHz quad-core RK PX3 CPU processor, which can give you a much smoother and faster operation experience.
With the guidance of the powerful worldwide real-time GPS navigation system of high accuracy, you are capable of locating where you are now and finding the right way to reach your ideal destinations accurately.
Additionally, through Bluetooth connection between your Bluetooth-enabled mobile phone and this unit, during driving you can dial, answer, reject and mute hands-free phone calls as well as listen to music streaming from your phone music playlist.
Wish you like this unit and have a good day!

Recent Comments