Toyota Land Cruiser Stereo
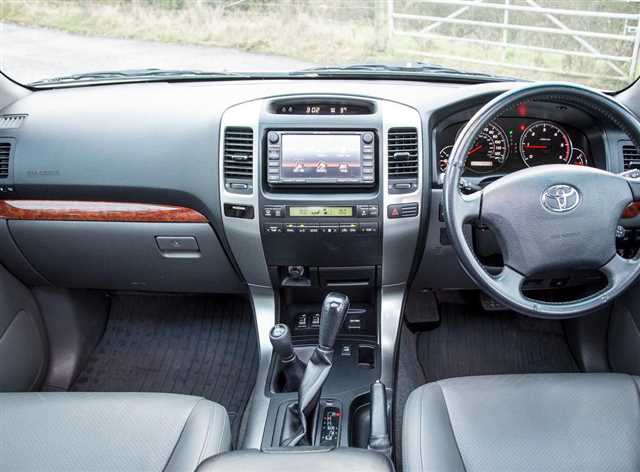
Here’s a picture of a Toyota Land Cruiser stereo. As you see, the radio is surrounding by trim panel. If you want to upgrade the radio, you have to remove the trim panel which is covering it first. The upgrade steps are a little complicated. You’d better ask a professional car stereo upgrade staff to do the upgrade.
If you insist to do it yourself, please make sure you know how to do it well. The following steps are for your reference. Please remove negative cable on the battery before the upgrade.
The trim panel should be removed from the bottom to the top. Let’s begin.
Step1: use your hands to remove the left part of the trim panel which is next to the gear shifter from the bottom. It’s long. So, you should take it out carefully to avoid breaking it.
Step2: remove the right part of the trim panel which is next to the great shifter from the bottom, too.
Step3: remove the screws which are fixing top parts of the trim panel. The screws can be seen after step 1 and 2. They are at the bottom of the top parts of the trim panel.
Step4: remove the left top part of the trim panel with your hands. Hold it from the bottom and loosen it gently until it can be taken out of the dashboard. Remove the right top part of the trim panel as the same.
Step5: remove the screws which are fixing the radio. They are at the four corners of the radio. After removing, take the radio out of the dash with cradle.
Step6: remove the screws on the cradle and release the radio from it.
Now, you have removed a Toyota Land Cruiser stereo completely.
Then, connect your new unit to the car. There are many wires for the head unit. Please connect them correctly. If you have a wiring diagram, it would be great. If you don’t have one, and you don’t know how to connect them, please ask for help. You dealer may help you in a way.
After installation, you can test the new unit to see whether it works well. If it’s good, you have to fix the new unit in the dashboard and install all the trim panel back to its place.
Wish you enjoy the upgrade of a Toyota Land Cruiser stereo. If you haven’t found a new unit for your car, check out this one to see whether it can fulfill your needs: http://www.seicane.com/android-4-2-capacitive-multi-touch-gps-radio-stereo-upgrade-for-1998-2007-toyota-land-cruiser-with-dvd-mirror-link-obd2-usb-sd-aux-k6003
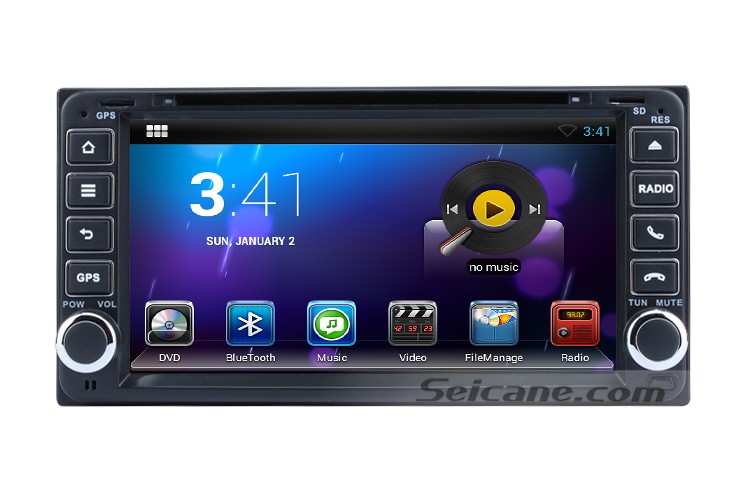
Toyota Land Cruiser Stereo
This car DVD player has 1.6 GHz Cortex A9 Dual-core CPU with 1GB RAM and 800×480 HD multi-touch digital capacitive LCD screen. It comes with USB port, SD card slot, AUX input and output and so on.
It supports steering wheel control, Bluetooth hand free, multi-touch operation and so on. You can operate it with your fingers easily. There are many great functions in it.
It supports 3D navigation maps, online navigation, voice navigation and so on. It supports E-life by 3G or WIFI function. It supports rearview camera, car speed DVR, Mirrorlink, OBD II car diagnostic system and so on.
You can set languages, panel light color, audio and other options in setting interface. You can edit files in it freely. It’s great and cheap. Get it and get convenience and help from it now.


Recent Comments