The Toyota Highlander is a pretty good car, some of you might be owners of it. If you are fans of Toyota Highlander, you must want to upgrade the Toyota Highlander Radio in order to have great fun with it. Most of you have no idea how to do this, and you will find the car factory for help. If you want to save some money, or enjoy the fun of DIY. Here are some simple steps for how to upgrade the radio of Toyota Highlander.
This is the image of radio after installation. Do you think it’s awesome?
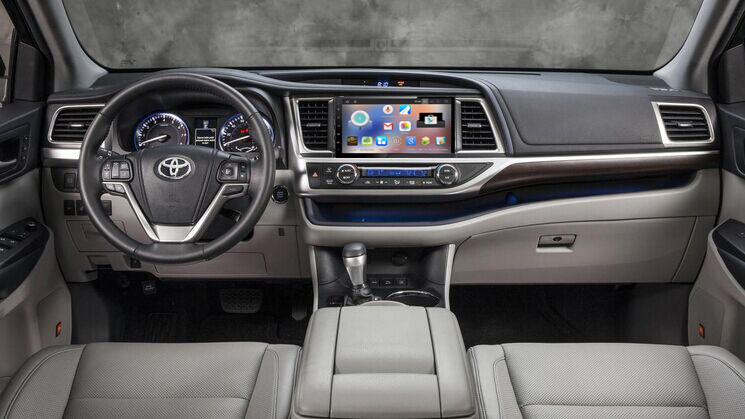
2015 Toyota Highlander Radio after installation
2015 Toyota Highlander radio removal
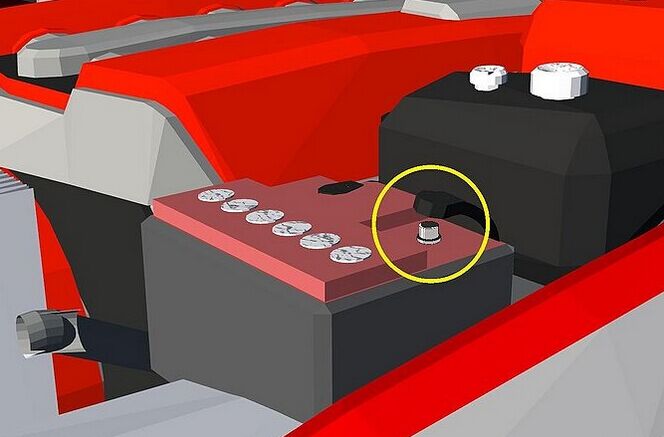
(1)Begin your installation by removing the negative cable from the battery. Then return to the inside of the Toyota.
2015 Toyota Highlander Radio upgrade step 1
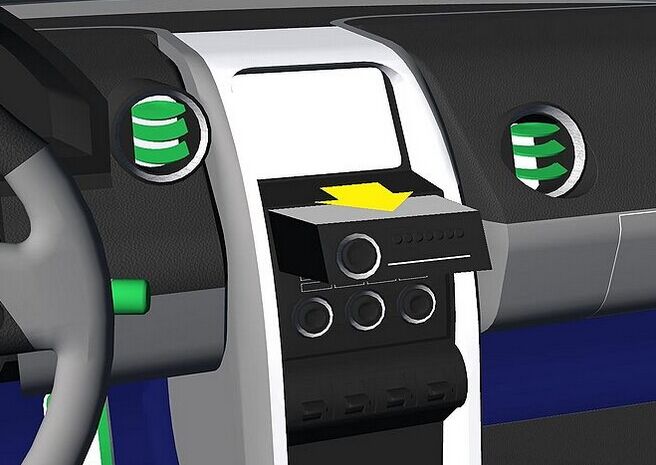
(2) Place the trim panel tool removal’s blade between the main dash panel and the trim panel surrounding the stereo and climate vents. Pry the panel from the dashboard and set it aside.
(3) Remove the three screws on either side of the Highlander’s stereo bracket with the Phillips-head screwdriver.
(4) Slide the stereo assembly from the Toyota’s dashboard stereo dock. Remove the three screws on the bracket to free the stereo from the housing. Slide the radio from the bracket.
2015 Toyota Highlander Radio upgrade step 2
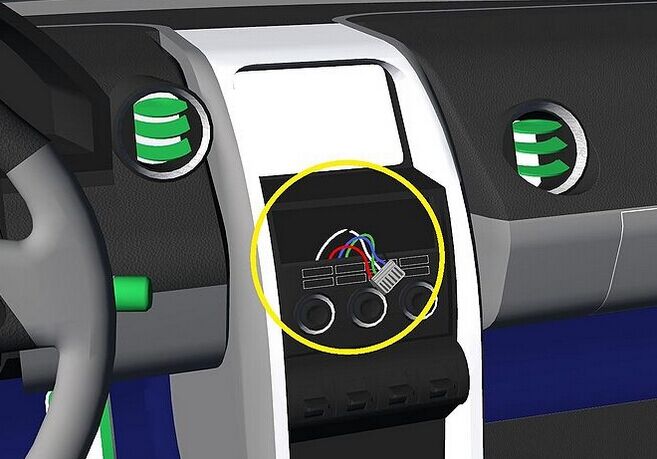
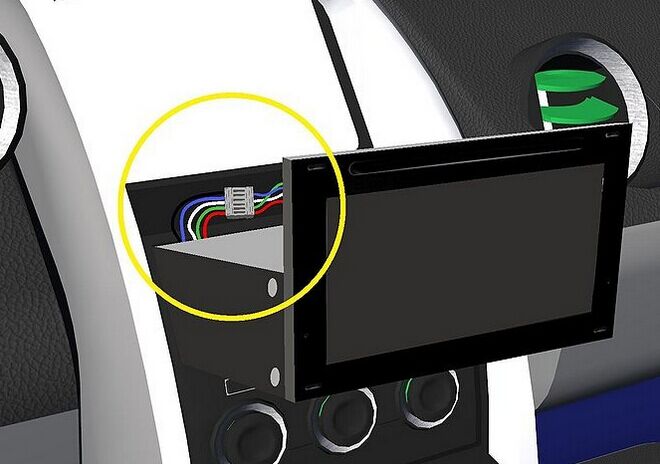
(5) Unplug the stereo wiring connectors from the rear panel of the radio. Unplug the antenna cable from the back of the factory radio to complete the removal.
2015 Toyota Highlander Radio upgrade step 3
With these steps above, we can remove the Toyota Highlander Radio easily. After few minutes rest, we can install the new radio immediately.
2015 Toyota Highlander radio installation
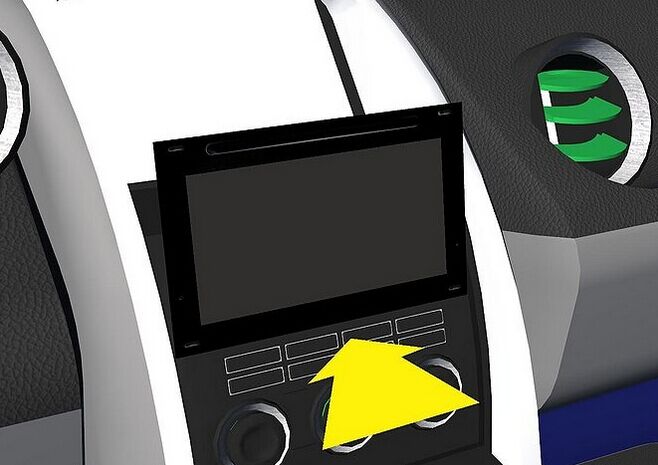
(1) Make antennas and cables connected step by step as installation instructions show,and you should be very careful when you are doing this for it will affect whole procedure.
(2) Connected the new radio to your Toyota Highlander, you should check whether your connections are correct, the new unit is in right position,and you’d better have a tidy for the cables.
2015 Toyota Highlander Radio upgrade step 4
(3)Check whether the unit is working without problem.
2015 Toyota Highlander Radio upgrade step 5
(4)If everything is OK, firm six removed screws that are put aside,then make trim panel back on your new unit.

2015 Toyota Highlander Radio upgrade step 6
So what? If you don’t know which unit is better. Click here and you’ll find a wonderful unit:
This unit has Quad-core Android 4.4.4 operation system and 10.1 inch HD 1024*600 multi-touch screen with smooth operation, you can use high speed 3G&WiFi internet. You can download any applications in the android market for access to games, Skype, MSN, YouTube and so on. You can also use 3D navigation maps. Why don’t you get it now?
Wish this blog can help you when you want to upgrade your Toyota Highlander Radio.Enjoy your car life every day.


Recent Comments