Nowadays, as car owners are pursuing a more convenient and comfortable in-car environment and experience, some of them choose to upgrade their factory radios by themselves. Actually, it is a good trend because installing a new head unit will help you decrease some budgets. With some related installation experience and a step-by-step installation guide, you can also easily install your new head unit in your car. A detailed installation guide for a 2006-2012 Mitsubishi OUTLANDER head unit is as follows. If you have the same dashboard, you can take it as a reference.

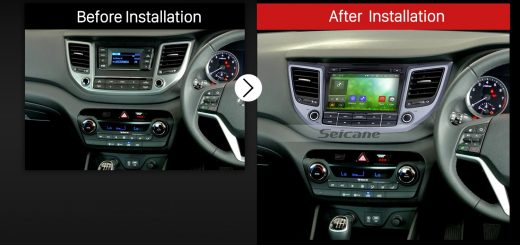
2006-2012 Mitsubishi OUTLANDER in dash dvd player after installation.
Precautions for this installation:
1.Before you start up any work, park your car well and unplug the negative power cable to avoid any danger.
2.Please make sure that all fastened wires are isolated with electrical tape.
3.Please make sure the ignition is off to avoid short circuit.
4.Please prepare a lever and a screwdriver before the removal and the installation.
5.For your convenience, here’s the recommended tools for removal and installation from Seicane, please check for more details: http://www.seicane.com/car-dvd-dismantling-device-srd- 400
2006-2012 Mitsubishi OUTLANDER head unit installation guide
1.Remove the original panel with a plastic knife, pry gently along the gap and pick up the panel, then remove it and then set it aside.

Remove the original panel with a plastic knife, pry gently along the gap and pick up the panel, then remove it and then set it aside
2.Remove screws that fixed the radio on the dashboard.

Remove screws that fixed the radio on the dashboard
3.Pull the factory radio out of the dash. Pull it with medium force, as the wires are connected to the radio.

Pull the factory radio out of the dash. Pull it with medium force, as the wires are connected to the radio
4.Unplug the connectors at the back of the factory radio.

Unplug the connectors at the back of the factory radio
5. Make antennas and cables connected step by step, and you should be very careful when you are doing this for it will affect whole procedure.

Make antennas and cables connected step by step, and you should be very careful when you are doing this for it will affect whole procedure
6.Put the new Seicane radio into your car, you should check whether your connections are correct, and you’d better have a tidy for the cables.
7.If everything is OK, firm screws into their original place.

If everything is OK, firm screws into their original place
Wish these simple 8 steps can help you install your new unit. If you have any questions, you can turn to your dealer or a professional for help. Please make sure that you understand all the steps before you start to install a new head unit. But it is crucial for you to check the compatibility between your new head unit and your car. If you don’t have an ideal unit for your car, you can refer to this intelligent 2006-2012 Mitsubishi OUTLANDER head unit from Seicane. For more details, please click:
This great 2006-2012 Mitsubishi OUTLANDER head unit is equipped with the the worldwide real-time 3D GPS which can show you the best way to your desired destination. Besides, you can have hands-free calls and music streaming without keeping hands off the steering wheel as long as you wirelessly link with your enabled mobile phone. Moreover, to park your car easily, you just need to simply connect the rearview camera with this unit. Just have a safe and pleasant trip with this wonderful 2006-2012 Mitsubishi OUTLANDER head unit in your car. Good luck to you!


Recent Comments