There is a trend that more and more car owners are trying to install aftermarket car accessories especially a head unit for their cars on their own. To be honest, to install a new head unit can not only save you some money and time but also bring you a sense of achievement. So are you desired to replace your car radio with a new unit now? If yes, you can also try to install a new head unit by yourself. Please read the installation steps if you own a 2010-2013 Mitsubishi ASX bluetooth dvd gps navigation and wish it helps with your installation.

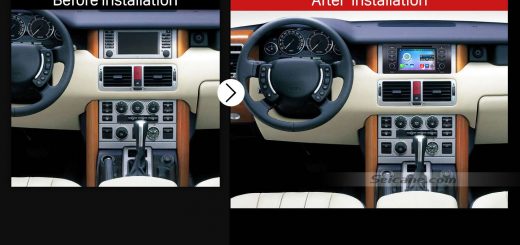
2010-2013 Mitsubishi ASX bluetooth dvd gps navigation after installation
Here are some tips before the installation:
1.Please disconnect the power before the installation.
2.Please prepare a lever and a screwdriver before the removal and the installation.
3.Please keep all the separate parts from the car. Please take great care of the dashboard to avoid scratching it during its detachment and installation. Please keep handy any parts from the car and make use of all the original screws from the car as much as possible. so each related part of the unit can be fixed securely.
4.For your convenience, here’s the recommended tools for removal and installation from Seicane, please check for more details: http://www.seicane.com/car-dvd-dismantling-device-srd-400
2010-2013 Mitsubishi ASX head unit installation guide
1.The original car radio.

The original car radio
2.Remove the original panel with a plastic knife, pry gently along the gap and pick up the panel, then remove it and then set it aside.

Remove the original panel with a plastic knife, pry gently along the gap and pick up the panel, then remove it and then set it aside

2-1

2-2

2-3
3. Remove screws that fixed the radio on the dashboard.

Remove screws that fixed the radio on the dashboard

3-1
4.Gently pull the factory radio out of the dash. Pull it with medium force, as the wires are connected to the radio.

Gently pull the factory radio out of the dash. Pull it with medium force, as the wires are connected to the radio
5.Unplug the connectors at the back of the factory radio. Use a plastic knife if it is necessary.

Unplug the connectors at the back of the factory radio. Use a plastic knife if it is necessary

5-1
6. Check all the accessories for the new Seicane head unit.
7. Connect the harnesses to the back of the new Seicane head unit.
8. Connect the Seicane head unit to your original head unit ‘s plugs.
9. Turn on the new Seicane head unit to have a careful check if everything works well. If it doesn’t, please check whether all the cables are connected correctly.
10. Put the new Seicane head unit into the dash.
11. Put everything into their original place. All the installation is done.
Can you finish the whole installation process on your own now? If you encounter any questions, it suggests you to consult your dealer or seek advice from a professional. But before the installation, you have to confirm that your new head unit is compatible with your car. If it cannot fit your car well, I’d like to recommend an amazing 2010-2013 Mitsubishi ASX bluetooth dvd gps navigation from Seicane to you. Please click the link below for more details.
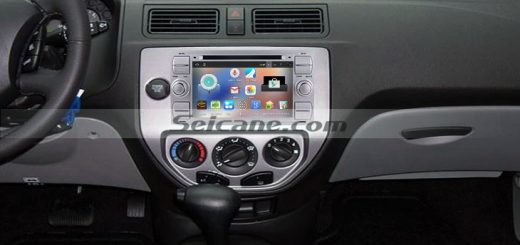
With a large 8 inch multi-touch screen, you are able to experience an amazing visual effect when you press the dvd player button to play a video or a movie. The latest android 5.1.1 based system and the configuration of RK3188 1.6 GHz Cortex A9 quad-core cpu will help you operate more smoothly and faster. Beside, by simply link with the rearview camera, you can make your parking easier and safer. Wish you have an unforgettable journey with this head unit on your way!

Recent Comments