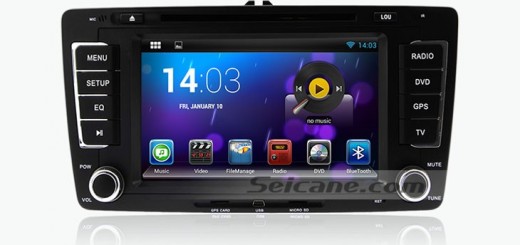
Installing a car stereo by yourself not only saves a lot of money but also brings you much satisfaction, therefore, many car owners have tried and successfully achieved the installation on their own. If you have the same dashboard as the picture below which is a great Seicane 2003-2010 Skoda ROOOMSTER car stereo after installation, then you can take the following detailed Skoda ROOOMSTER car stereo installation guide as a reference.
Precautions for this installation:
1.Before you start up any work, park your car well and unplug the negative power cable to avoid any danger.
2.Please make sure that all fastened wires are isolated with electrical tape.
3.Please make sure the ignition is off to avoid short circuit.
2003-2010 Skoda ROOOMSTER car stereo installation guide
Step1: Remove the trim panel.
Please pry around the trim panel with a lever. While prying, please loosen the trim panel with your hand. When the trim panel is loosened, please remove the trim panel off the dashboard and gently place it aside for further removal.
Step2: Remove the four screws on the radio.
Please unscrew the four screws which are holding the radio at four corners with a screwdriver. Then keep them well in a small box for the installation of a new radio.
Step3: Take the factory radio out of the dash.
After the four screws are unscrewed, you can easily pull the factory radio out of the dash.
Step4: Disconnect the wiring harness.
Before you put the factory radio aside, please disconnect the wiring harness at the back of it.
Step 5: Connect the new Seicane car stereo to the original wiring harness as the user manual or the wiring diagram shows.
Step 6: Turn on the new Seicane car stereo to have a careful check if everything works well. If it doesn’t, please check whether all the cables are connected correctly.
Step 7: Put the new Seicane car stereo into the dash and install four screws.
Step 8: Install the trim panel into its original place.
Wish the above installation guide can be helpful for you. If you have any questions during the whole process, you’d better ask for your dealer or a professional. To make sure you have a suitable car stereo for your car is also important. If you don’t have an ideal one, you can refer to the following link which is about an intelligent 2003-2010 Skoda ROOOMSTER car stereo from Seicane, please click:
This modern Skoda ROOOMSTER car stereo can support a lot of practical features and entertainment functions. The most accurate guidance and voice prompts provided by the GPS navigation system will lead you to your desired destination in the quickest way. The connection with your Bluetooth-enabled mobile phone and this unit enables you to have hands-free calls and stream music so as to keep you a safe and pleasant journey. Your steering wheel control can still work after installation.
Wish you have a wonderful time with this amazing Skoda ROOOMSTER car stereo on all trips from now on! Good luck to you!


Recent Comments