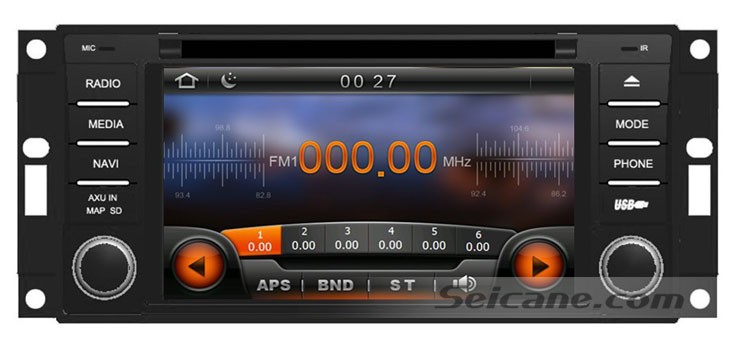
Jeep Wrangler stereo
It’s an aftermarket GPS navigation system for Jeep Wrangler from 2007 to 2010. There are many great functions in it. Check it out and get discount on Seicane.com: http://www.seicane.com/autoradio-touch-screen-radio-bluetooth-navigation-auto-a-v-for-2007-2008-2009-2010-2011-jeep-commander-compass-grand-cherokee-wrangler-unlimited-with-dvd-player-usb-sd-aux-camera-t6021
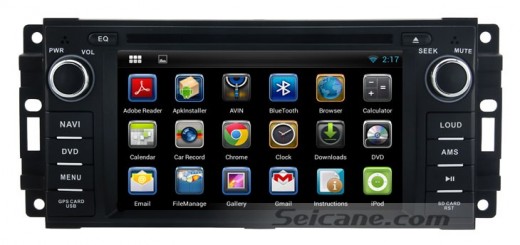
This upgraded Jeep Wrangler stereo comes with touch screen, 3-band EQ, Dual Zone and so on.
It supports USB and SD card. You can use USB flash disks or SD cards to play songs/videos/photos in the head unit. You can also upgrade software by SD card, too.
It supports Bluetooth for hand free and music. You can view connectors in the head unit; you can see dialed numbers, missed calls and received calls in the head unit; you can play songs from cell phone in the head unit.
It also supports radio RDS, IPod music, digital TV and so on. You are welcome to know more on website.
If you want a new unit as the one above, you can upgrade your head unit. However, remove an in dash head unit in car may be complicated. It’s recommended to upgrade a car stereo in a car stereo upgrade center or car stereo upgrade shop.
You can also ask a professional to help, too. If you upgrade your Jeep Wrangler stereo yourself, please make sure you have detailed installation instruction and know every step well, because wrong installation may bring damage to the new unit or even worse. If you don’t have the upgrade instruction, the information below may help you in a way.
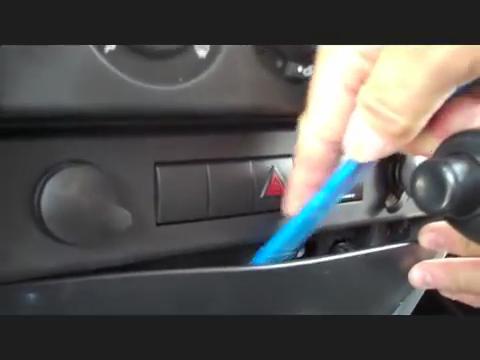
- Remove the cover at the top of the trim panel. Use a lever to pry the cover and remove it from the dashboard by disconnecting the wires under the cover.
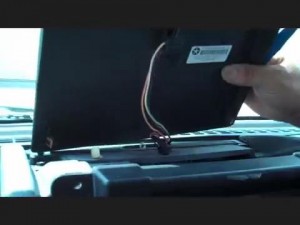
Remove the cover on Jeep Wrangler
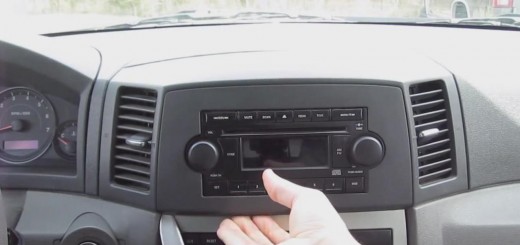
- Remove the cover at the bottom of the trim panel. Use a lever to pry the cover and take it away. Then, you can see 2 screws at the bottom of the trim panel. Remove them.
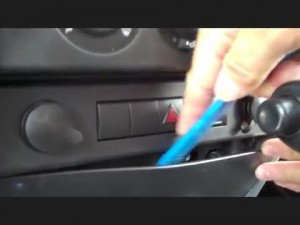
Remove the cover on Jeep Wrangler
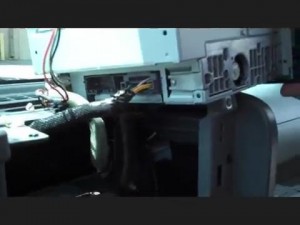
- Move to the top of the trim panel to remove the screws at the edge of the trim panel. Then, pry the trim panel and pull it off the dashboard. There are many wires at the back of it. Remove them and put the trim panel aside.
Remove the screws on Jeep Wrangler
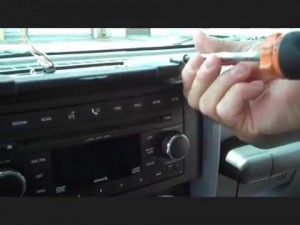
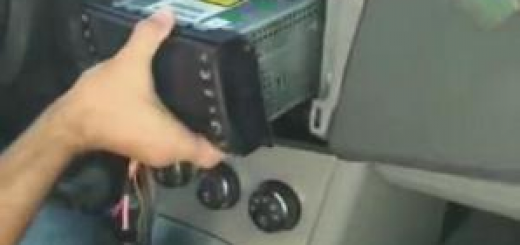
- Remove the screws at the four corners of the radio and take the unit out of the dash. Disconnect the wires at the back of the unit and put it away.
Remove the radio on Jeep Wrangler
- Install the new unit. Please connect the wires correctly. If you don’t know how to do, you’d better ask your dealer or a professional for help. A wiring diagram from your dealer could help a lot.
- Test the new unit. Please follow user manual and test the new unit. If there’s anything wrong. You should double check the wires or contact your dealer for help. If everything’s good, you can install the trim panel back to the dashboard.


Wish the upgrade steps for a Jeep Wrangler stereo could help you.
Recent Comments