Don’t you want to build a convenient and comfortable environment as well as have a wonderful driving experience? If you want to enjoy both convenience and entertainment in car or has a improved driving experience, then it is absolutely necessary for you to replace your original radio with a new aftermarket stereo. This article mainly tells how to install a 2004-2011 VW Volkswagen Sagitar PASSAT Car Stereo. If you have the same or similar dashboard, you can carefully read this passage and follow it to help with your installation.
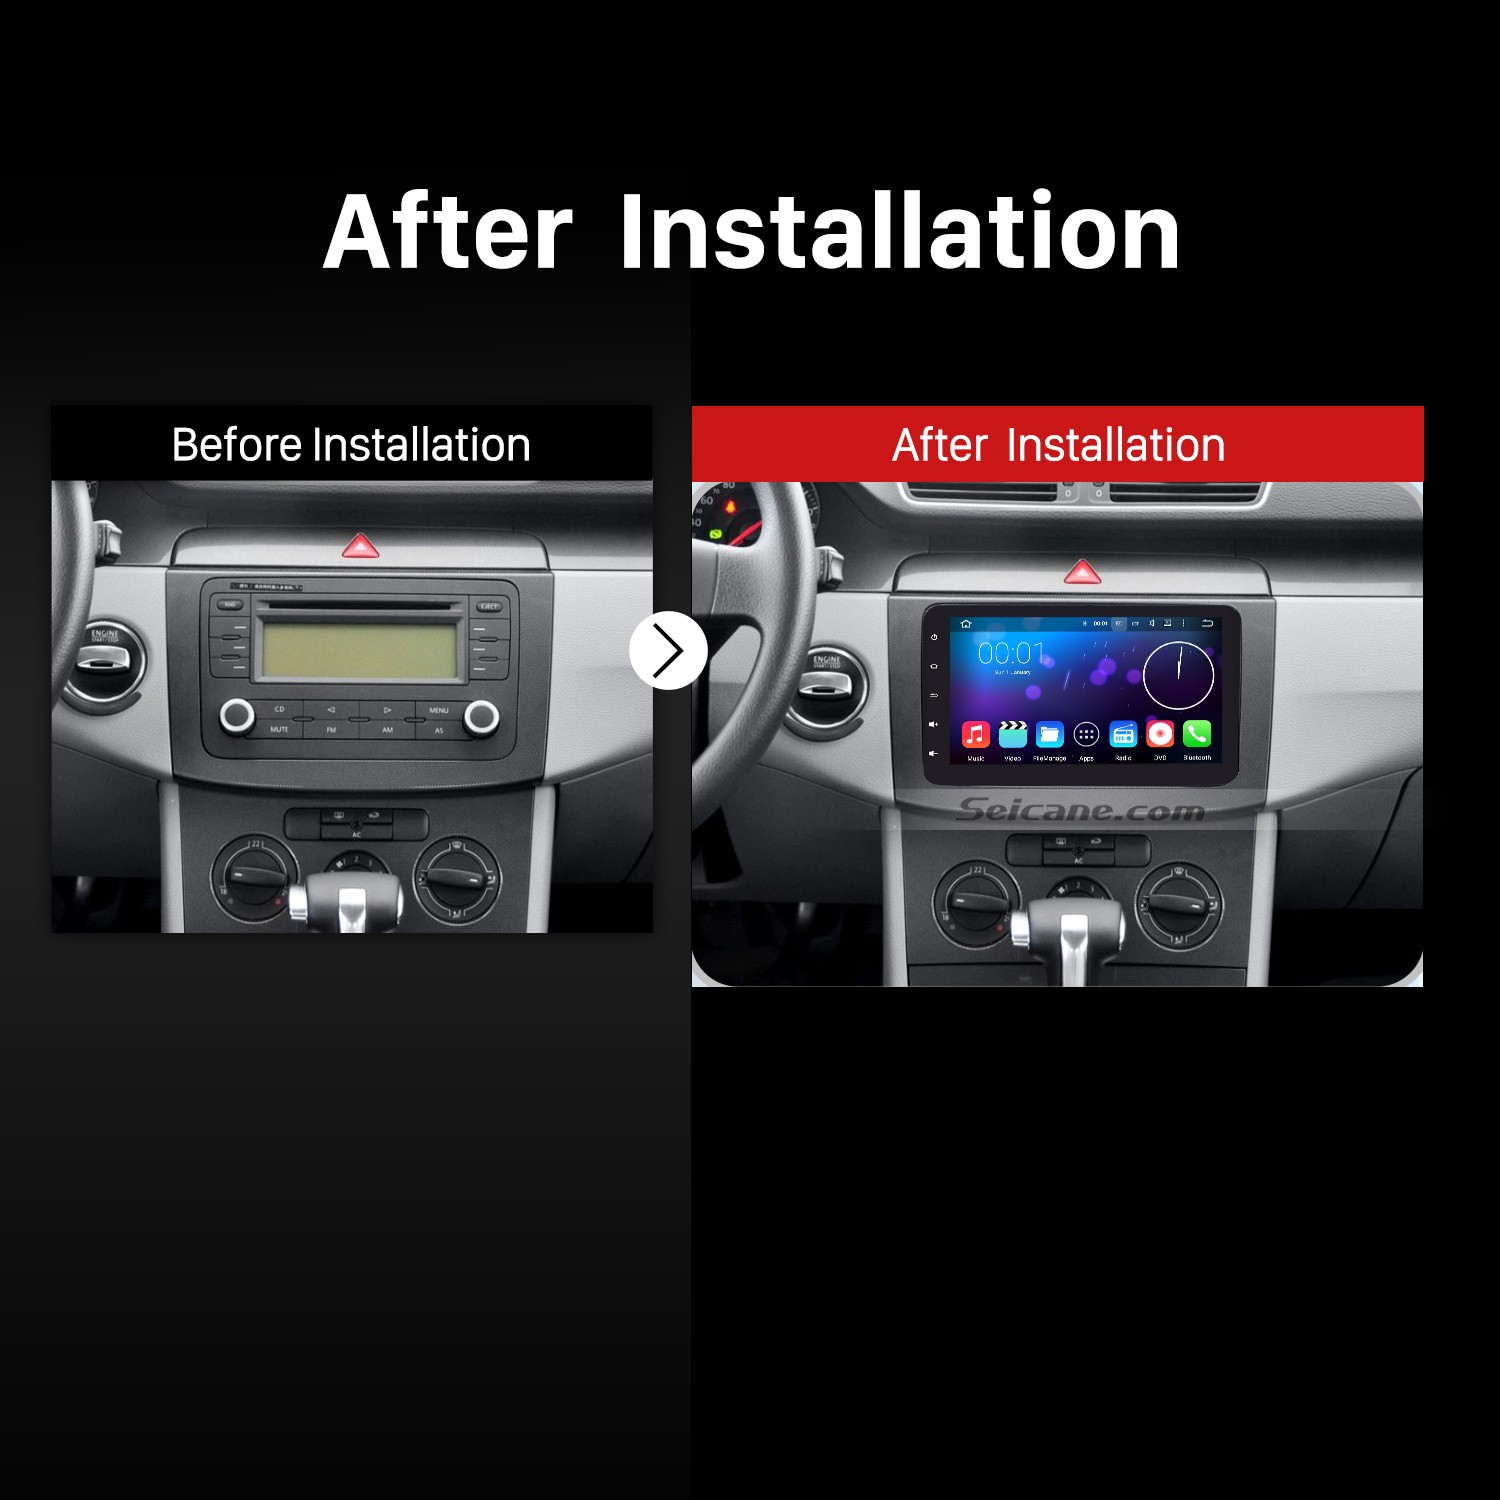
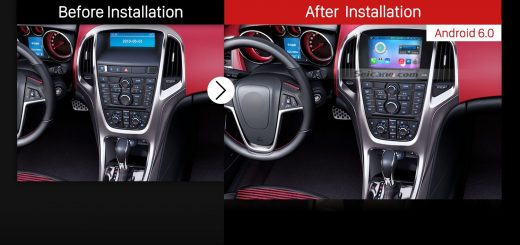
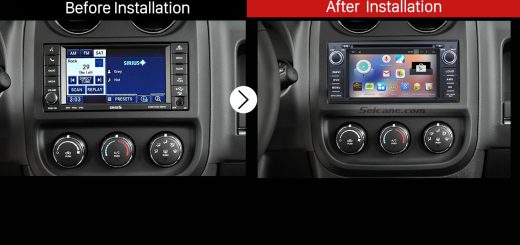
2004-2011 VW Volkswagen Sagitar PASSAT Car Stereo after installation
Before and during installation, you should notice:
1.Before connecting, please make sure the ignition is off to avoid short circuit.
2.Ensure connect the yellow and red power cable at last.
3.Ensure that all loose wires are isolated with electrical tape
4.Ensure don’t tangle the wire when tighten the moving parts(Such as seat rails).
5.Ensure that all ground is connected to the same place.
6.Using the improper fuse may cause damage of fire, so when replace the fuse, please consult the professional.
7.For your convenience, here’s the recommended tools for removal and installation from Seicane, please check for more details: http://www.seicane.com/car-dvd-dismantling-device-srd-400
2004-2011 VW Volkswagen Sagitar PASSAT car stereo installation guide
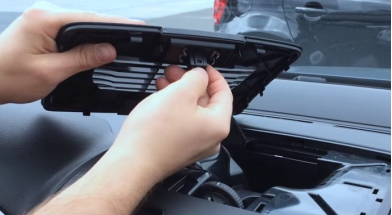
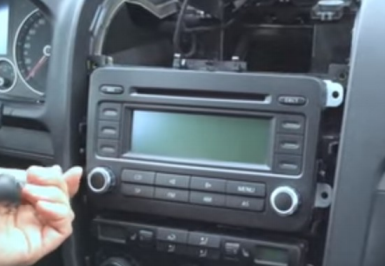
1. Remove the top panel with a lever.

Remove the top panel with a lever
2. Disconnect the connector at the back of the panel.
Disconnect the connector at the back of the panel
3. Unscrew the screw with a screwdriver.
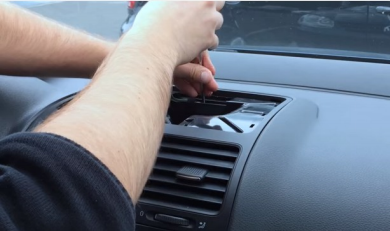
Unscrew the screw with a screwdriver
4. Remove the metal sheet on the top with your hands.
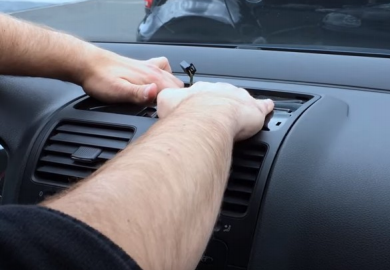
Remove the metal sheet on the top with your hands
5. Unscrew two screws circled in red shown as follows under the metal sheet.
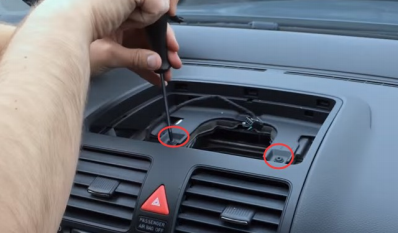
Unscrew two screws circled in red shown as follows under the metal sheet
6. Remove the air conditioner vent with your hands.
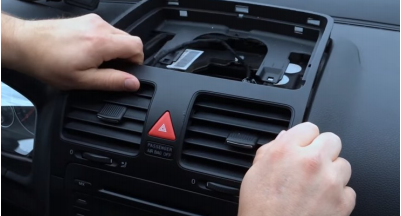
Remove the air conditioner vent with your hands
7. Unscrew two screws under the vent with a screwdriver.
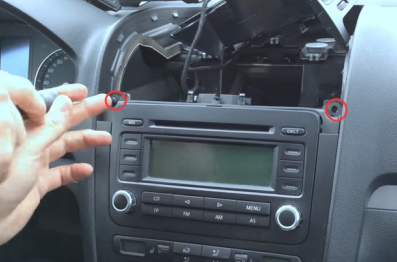
Unscrew two screws under the vent with a screwdriver
8. Remove the panel on the original car radio.
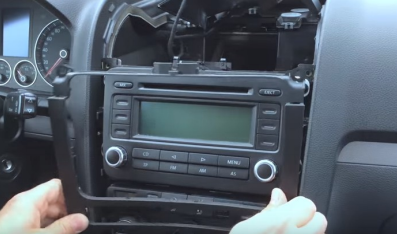
Remove the panel on the original car radio
9. Unscrew four screws holding the original car radio with a screwdriver.
Unscrew four screws holding the original car radio with a screwdriver
10. Take the original car radio out of the dash.
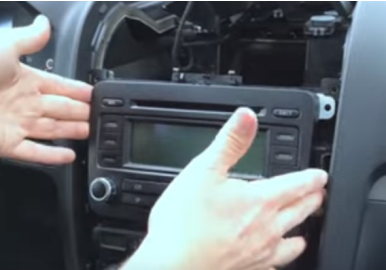
Take the original car radio out of the dash
11. Disconnect all the connectors at the back of the original car radio.
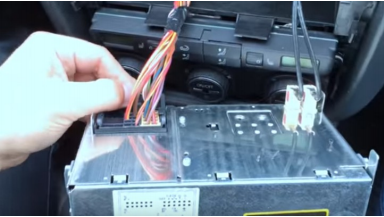
Disconnect all the connectors at the back of the original car radio
12. Check all the accessories for the new Seicane car stereo.
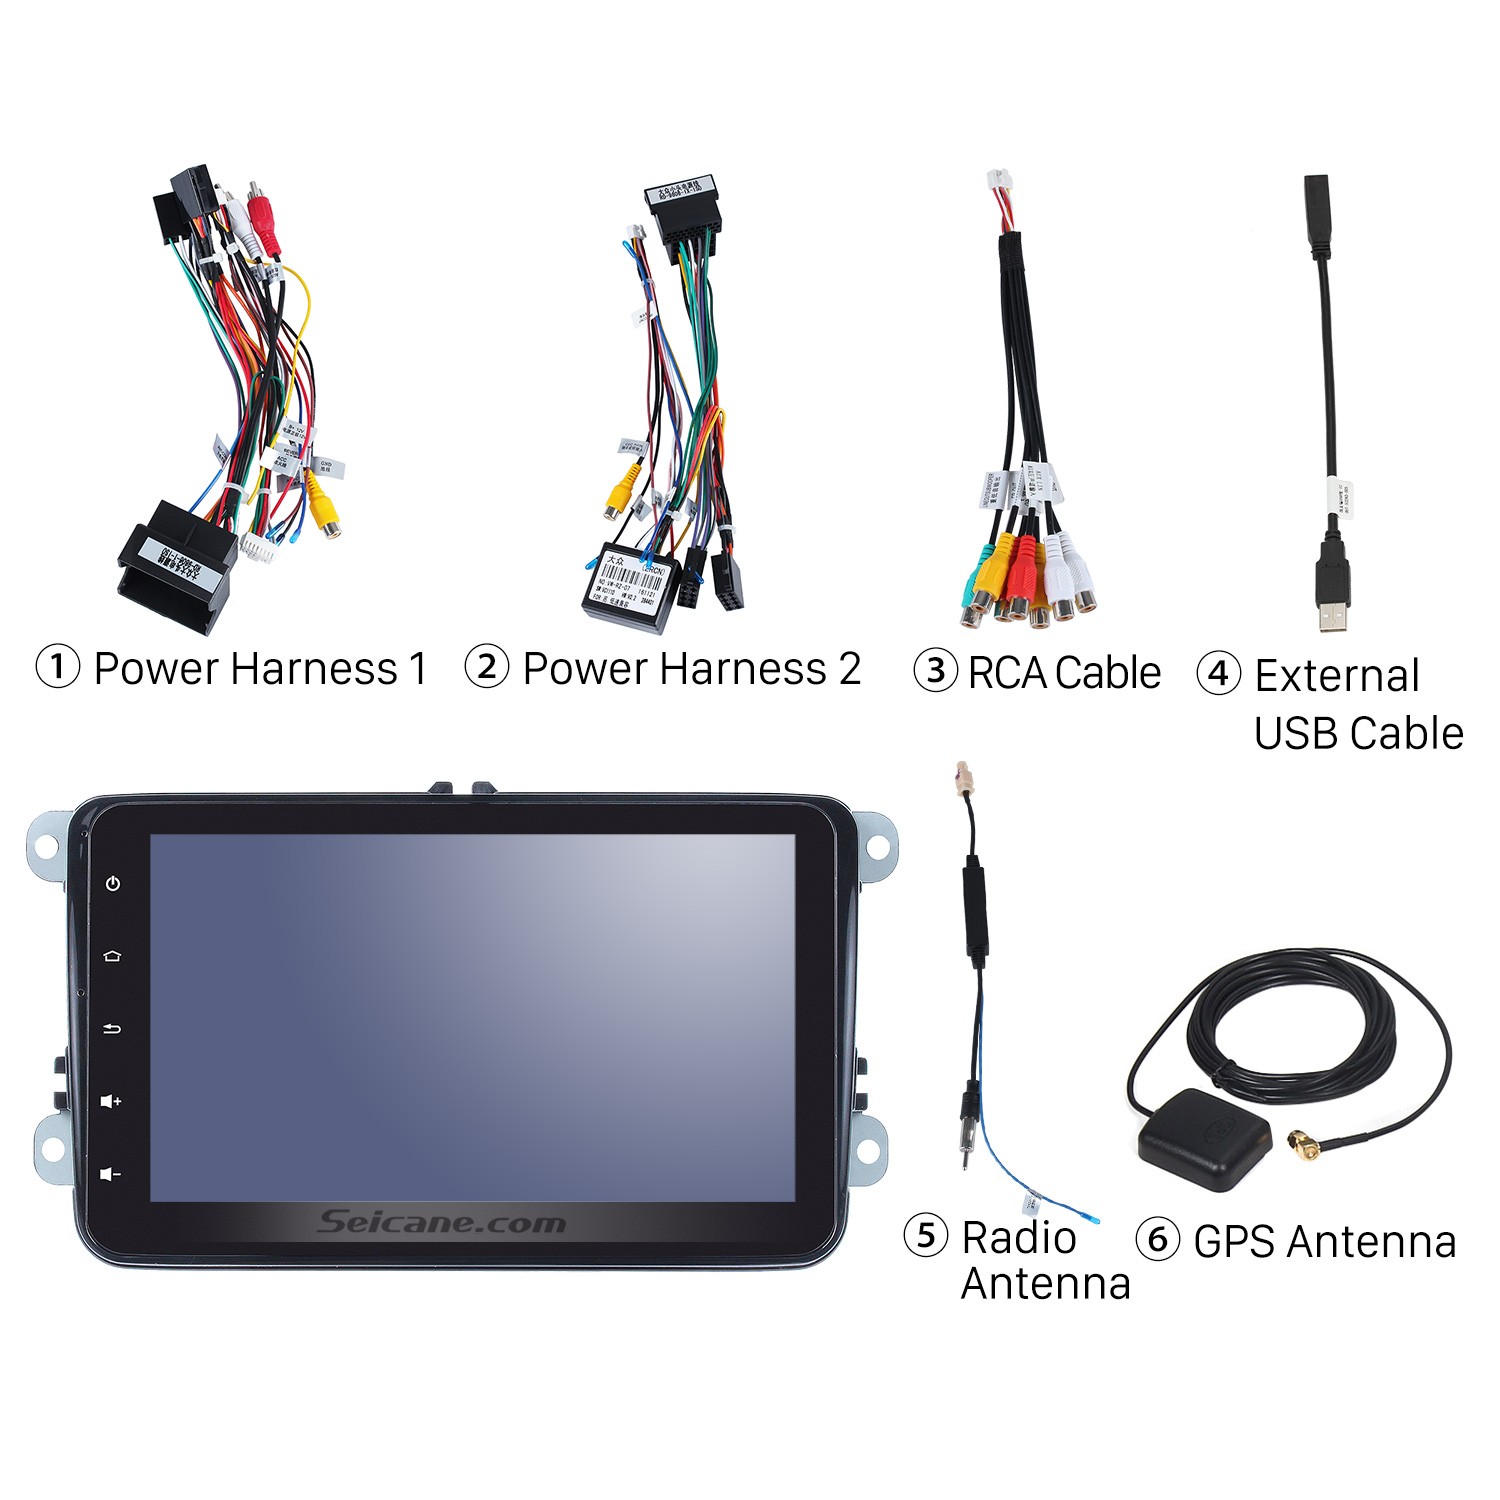
Check all the accessories for the new Seicane car stereo
13. Connect the harnesses to the back of the new Seicane car stereo.
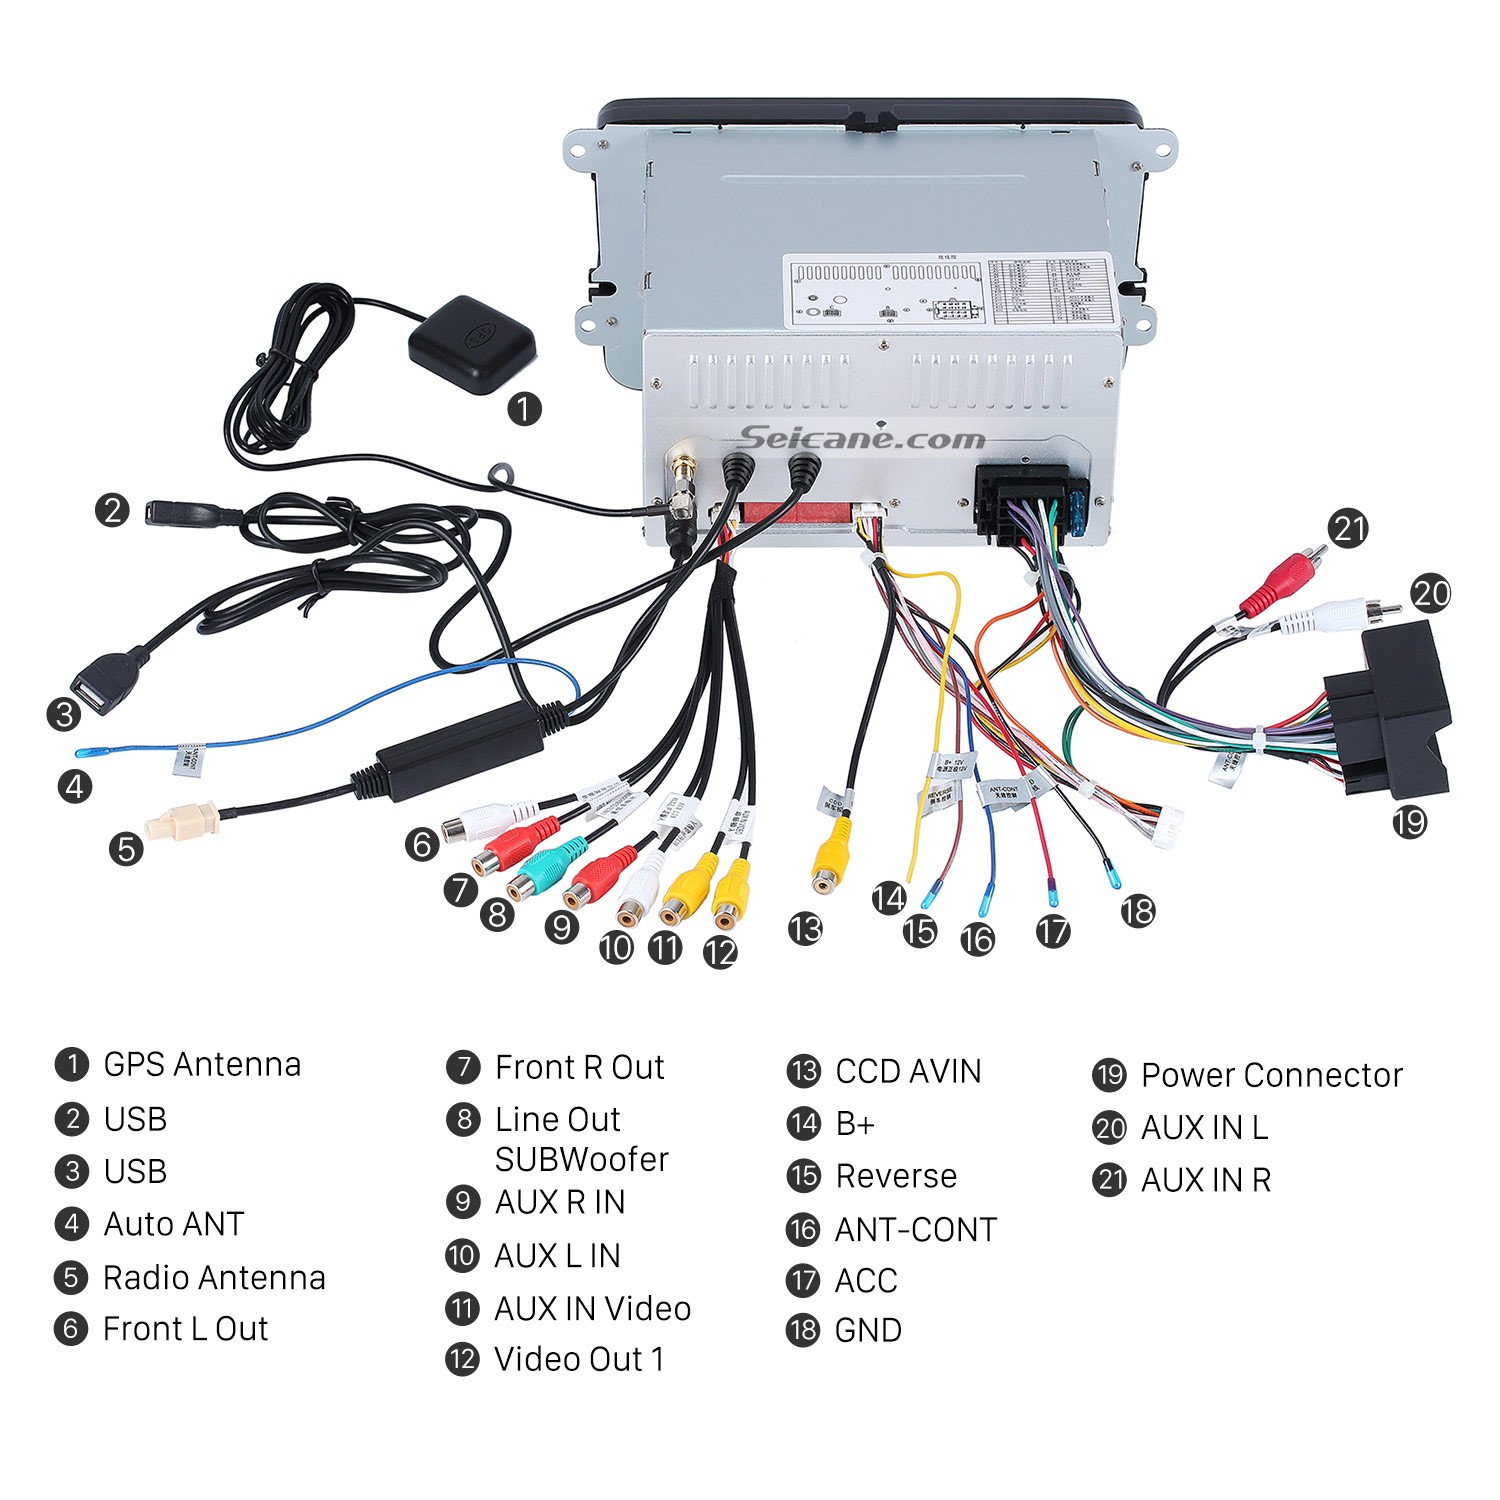
Connect the harnesses to the back of the new Seicane car stereo
14. Connect the Seicane car stereo to your original car radio’s plugs.
15. Turn on the new Seicane car stereo to have a careful check if everything works well. If it doesn’t, please check whether all the cables are connected correctly.
16. Put the new Seicane car stereo into the dash.
17. Put everything into their original place.
It is not abnormal if you come across any problems during the installation process. To solve the problems, we suggest you to consult your dealer, seek advice from an experienced person or turn to a professional for help.
Anyway, before installation, please check the compatibility between your new car stereo and your car. If you have no ideas, you can refer to the following link which is a 2004-2011 VW Volkswagen Sagitar PASSAT Car Stereo from Seicane.
This stereo is running on the stable Android 5.1.1 operation and loaded with a powerful RK3188 1.6 GHz Cortex A9 Quad-core CPU processor to facilitate the operation and enhance performance for you to upgrade your factory radio in 2004-2011 VW Volkswagen Sagitar PASSAT.
A wide of comprehensive features are supported by this stereo, which mainly include 3D GPS navigation, radio tuner, CD/DVD player, Bluetooth hands-free calls, streaming music, USB port, SD card connection, etc.
Apart from these basic features, many optional functions can be added to this unit according to your preference, such as car DVR, backup camera, OBD2 and so on.
By taking full advantage of these modern features, it is absolutely possible for you to create a more convenient and relaxing car interior environment as well as embrace a brand new driving experience.
Just keep this top 2004-2011 VW Volkswagen Sagitar PASSAT car stereo with you. Wish you enjoy your trip from now on!

Recent Comments