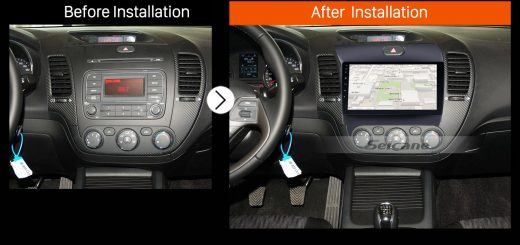
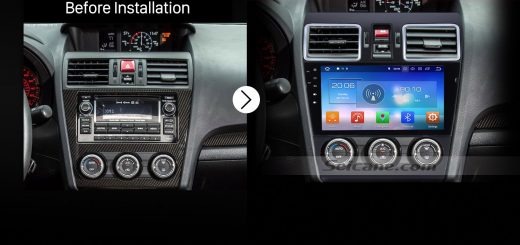
As technology improves rapidly, it is absolutely possible for car owners to install the improved multifunctional car stereo in their car. Therefore, they can enjoy more advanced features, like enjoying beautiful music while navigating, surf the internet in car, have hands-free calls in car, etc. As a car owner, if you are fed up with your factory radio, it is wise of you to replace it with a new aftermarket stereo. This article mainly introduces how to upgrade a 2001-2011 TOYOTA HILUX car stereo by installing a brand new one. If you have the same or similar dashboard, you can follow the following 2001-2011 TOYOTA HILUX Aftermarket Stereo installation guide step by step to help with the upgrade.
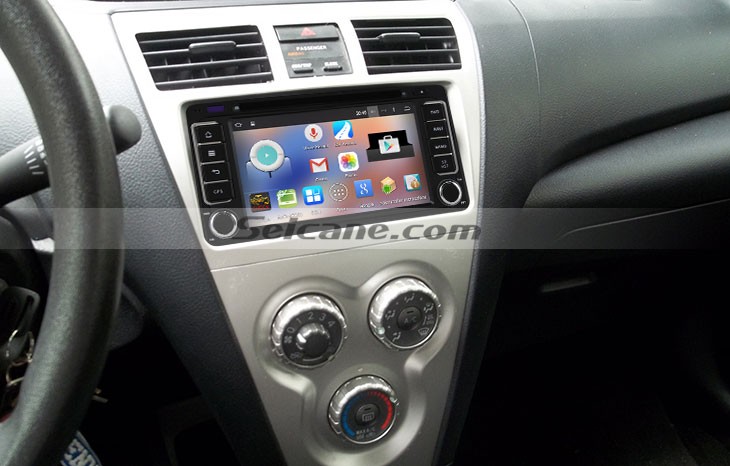
2001-2011 TOYOTA HILUX Aftermarket Stereo after installation
Tips about the installation:
1.Please disconnect the power before the installation.
2.Please prepare a lever and a screwdriver before the removal and the installation.
3.Please keep all the separate parts from the car. Please take great care of the dashboard to avoid scratching it during its detachment and installation. Please keep handy any parts from the car and make use of all the original screws from the car as much as possible. so each related part of the unit can be fixed securely.
4.For your convenience, here’s the recommended tools for removal and installation from Seicane, please check for more details: http://www.seicane.com/car-dvd-dismantling-device-srd-400
2001-2011 TOYOTA HILUX car stereo installation guide
1. Remove two trim panels at each side of the center console and set it aside.
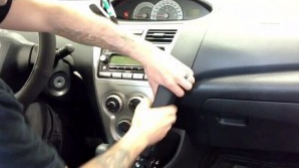
Remove two trim panels at each side of the center console and set it aside
2. Remove the top panel and set it aside.
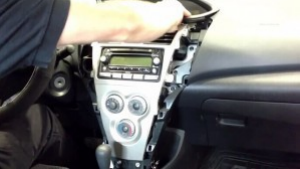
Remove the top panel and set it aside
3. Remove 4 screws holding the unit with a Phillips screwdriver.
Remove 4 screws holding the unit with a Phillips screwdriver
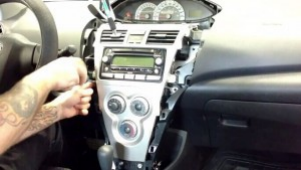
4. Gently take out the panel on the radio interface.
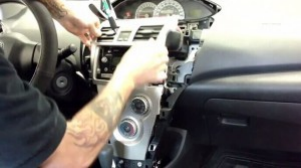
Gently take out the panel on the radio interface
5. Take out the radio and disconnect cables at back of it.
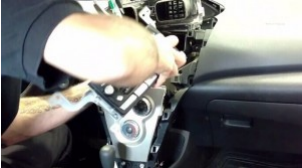
Take out the radio and disconnect cables at back of it
6. Check all the accessories for the new Seicane car stereo.
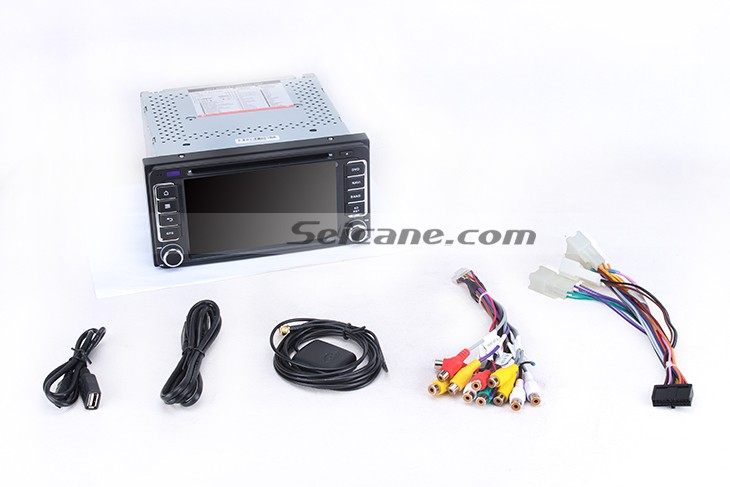
Check all the accessories for the new Seicane car stereo
7. Connect the harnesses to the back of the new Seicane car stereo.
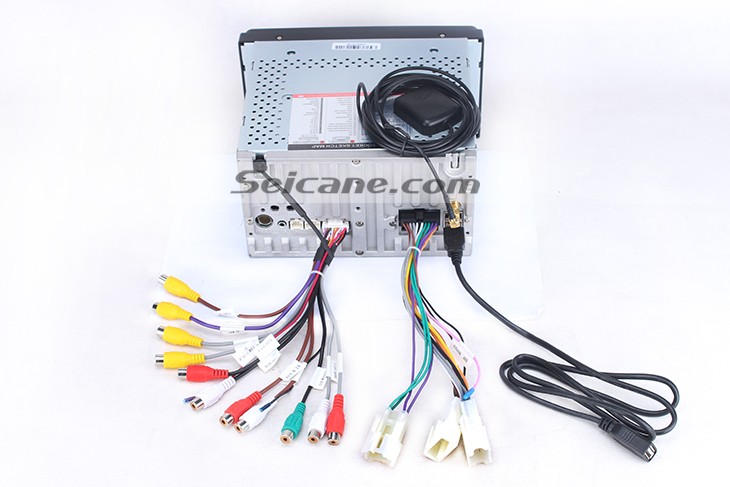
Connect the harnesses to the back of the new Seicane car stereo
8. Connect the Seicane car stereo to your original car radio’s plugs.
9. Put the new Seicane car stereo into the dash.
10. Turn on the new Seicane car stereo and have a comprehensive check if it works well.
11. Install 4 screws back to their original position.
12. Install the trim panel back to its original place.
Before the installation, please make sure that you understand every detailed step. If not, please don’t hesitate to consult your dealer, someone experienced or a professional. But if you still think the installation process is complicated, we suggest you go to a car stereo upgrade center to arrange a technician to help you install the stereo directly. While for selecting a suitable car stereo, I’d like to recommend a great 2001-2011 TOYOTA HILUX Aftermarket Stereo from Seicane to you. For more details, please click:
This 2001-2011 TOYOTA HILUX car stereo adopts the strong RK3188 1.6 GHz Cortex A9 Quad-core processor and bases on the stable Android 5.1.1 operation system to greatly improves capacities and performance.
This unit is mainly featured with GPS navigation, DVD player, FM/AM radio, RDS, Bluetooth, TV, iPod, USB, SD card, etc. Therefore, almost all your needs can be met while driving.
With the turn-by-turn directions and voice prompts provided by GPS function, you can accurately get to your desired destinations without going the wrong way. Besides, there are also some points of interests such as restaurants and gas stations being provided to bring you great convenience.
Besides, this stereo can also function as a multimedia player to play anything you like to offer you a lot of entertainment that your original radio cannot bring to you.
This multifunctional stereo is at a competitive price. Just add it to your shopping cart if you like it! Good luck to you!
Recent Comments