As far as I am concerned, an ideal car radio should not only come with practical features to bring convenience for a car owner but also meet the car owner’s entertainment needs to offer him a pleasant driving experience. If you think your old radio is not ideal enough, it is wise of you to quit it and install a new multifunctional one. This article mainly introduces some steps to upgrade a 2004-2012 Mercedes SLK Class R171 SLK200 SLK280 SLK300 SLK350 SLK55 car radio. If you are interested in it, you can read it carefully.
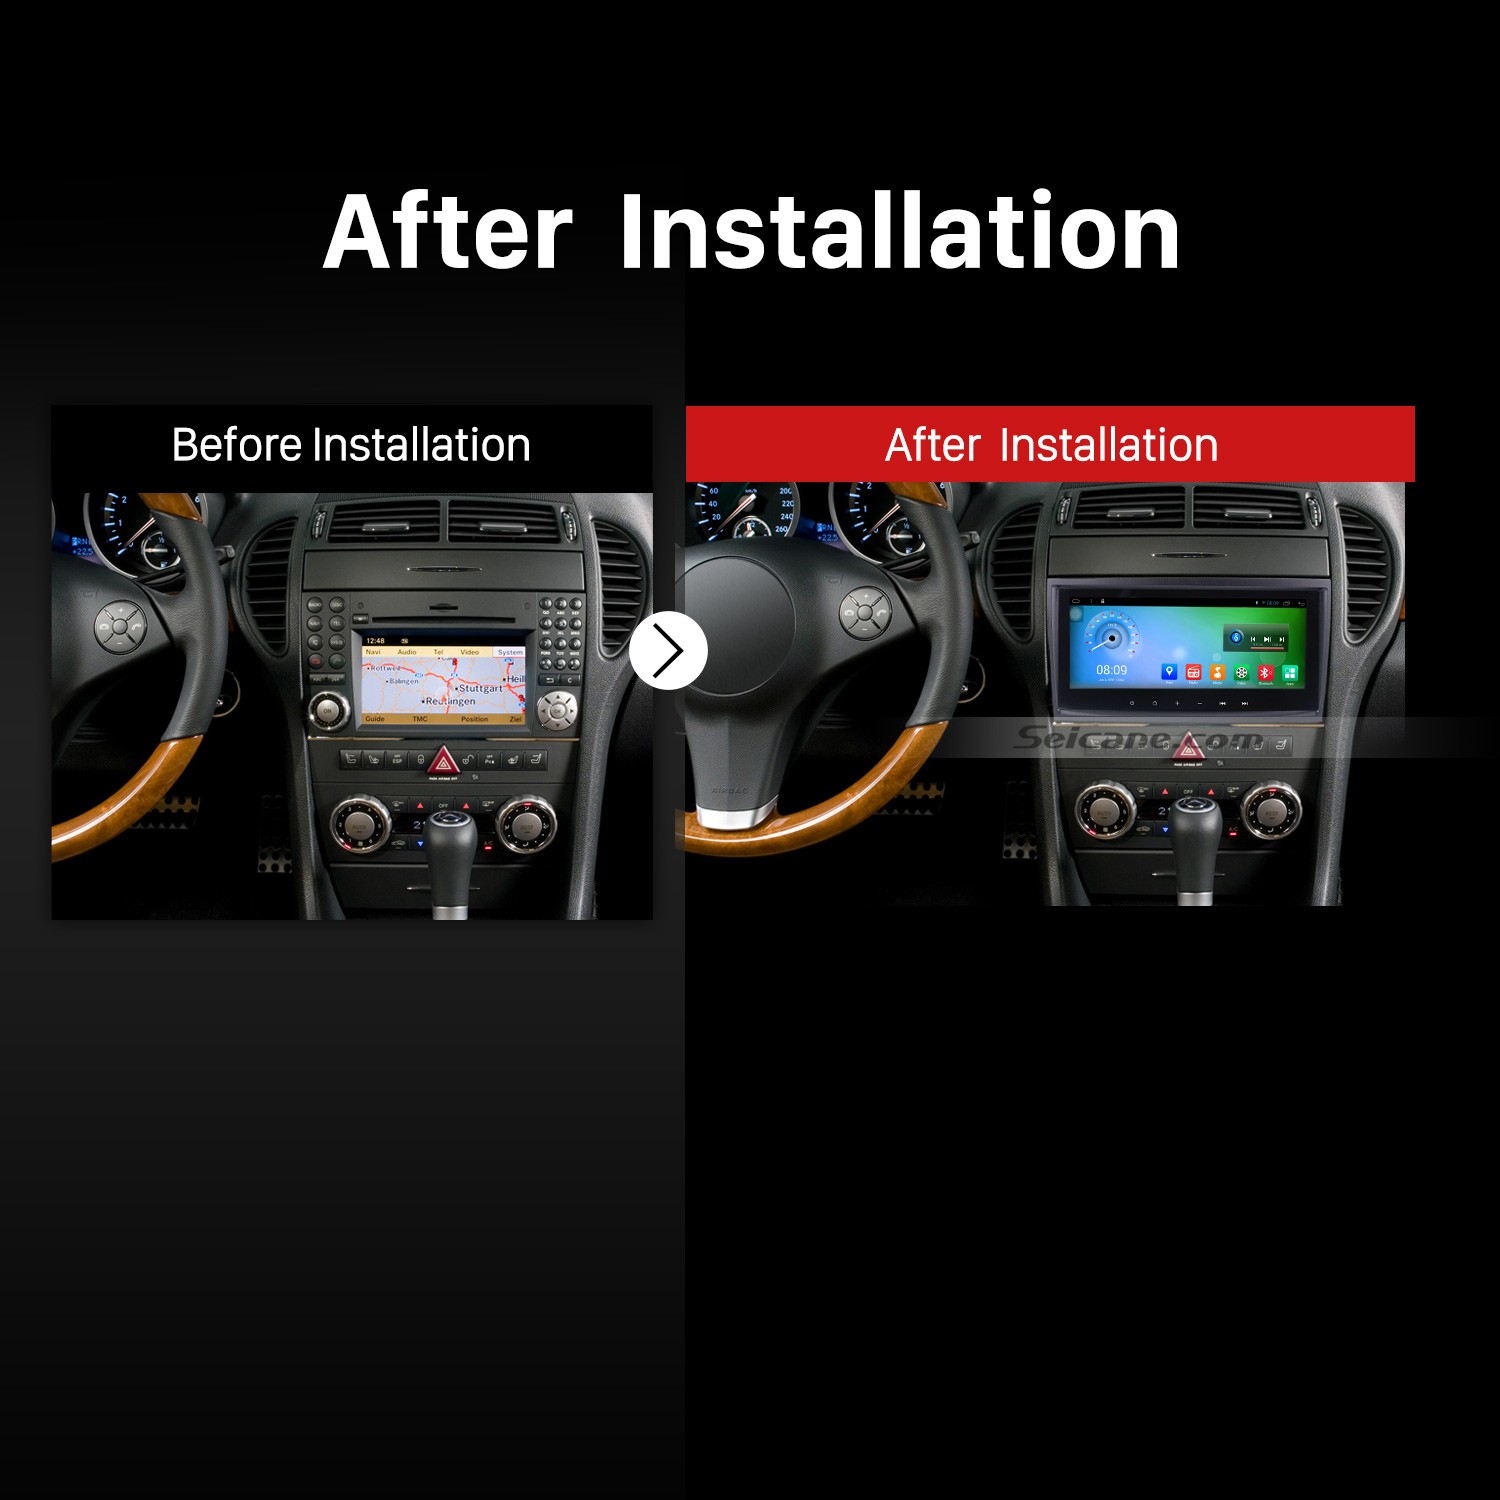
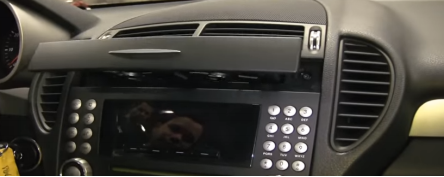
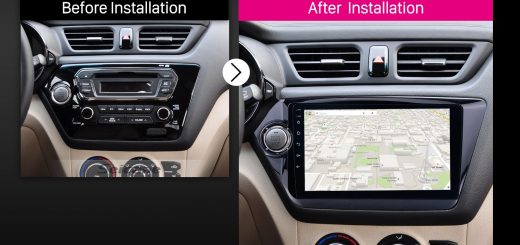
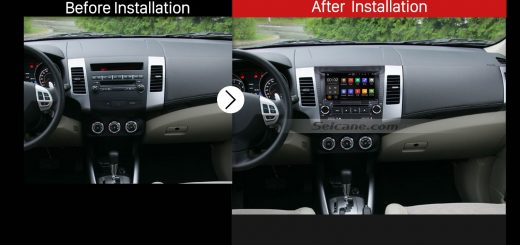
2004-2012 Mercedes SLK Class R171 SLK200 SLK280 SLK300 SLK350 SLK55 car radio after installation
Precautions for this installation:
1.Before you start up any work, park your car well and unplug the negative power cable to avoid any danger.
2.Please make sure that all fastened wires are isolated with electrical tape.
3.Please make sure the ignition is off to avoid short circuit.
4.Please prepare a lever and a screwdriver before the removal and the installation.
5.For your convenience, here’s the recommended tools for removal and installation from Seicane, please check for more details: http://www.seicane.com/car-dvd-dismantling-device-srd- 400
2000-2011 Mercedes SLK Class car radio installation guide
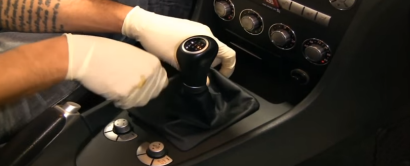
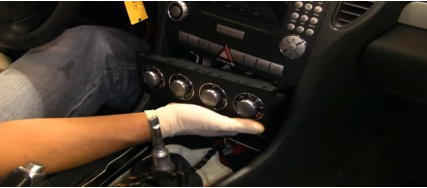
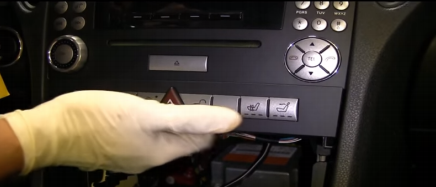
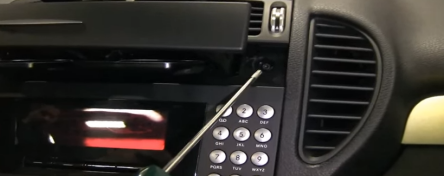
1. Open the little box beneath the radio and remove the screws with a screwdriver.
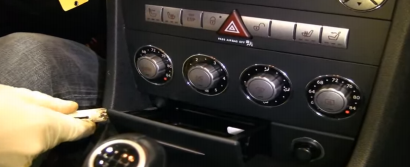
Open the little box beneath the radio and remove the screws with a screwdriver
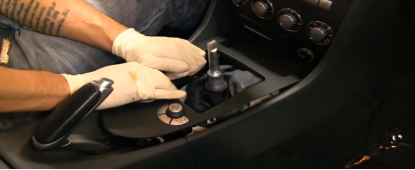
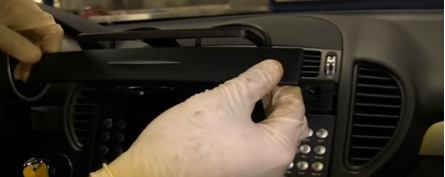
2. Pry the trim panel on the right side of the box with a removal tool, after that, remove it.
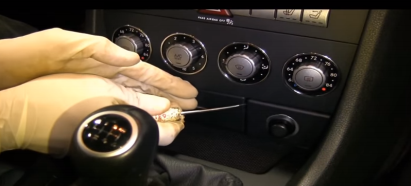
Pry the trim panel on the right side of the box with a removal tool, after that, remove it
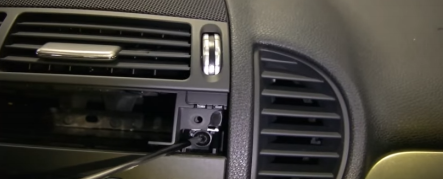
3. Remove the screw with a screwdriver.
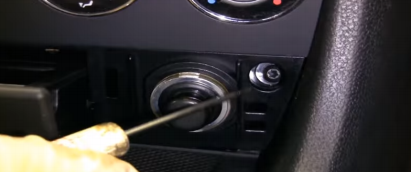
Remove the screw with a screwdriver
4. Pry the leather surrounding the brake, then pull it up, at last, remove it.
Pry the leather surrounding the brake, then pull it up, at last, remove it
5. Remove the trim panel under the brake with your hands.
Remove the trim panel under the brake with your hands
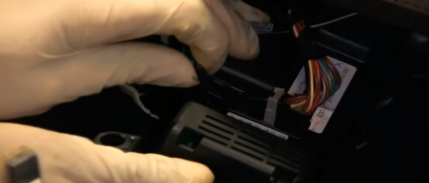
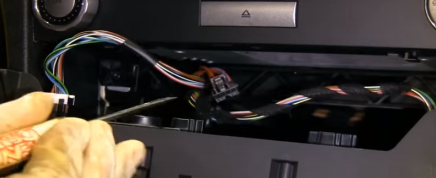
6. Disconnect the connectors behind the trim.
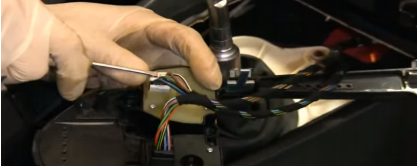
Disconnect the connectors behind the trim
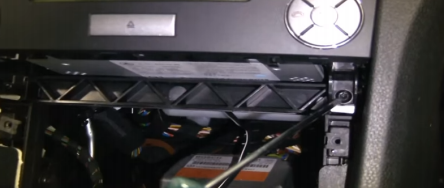
7. Take the box out of the dashboard.
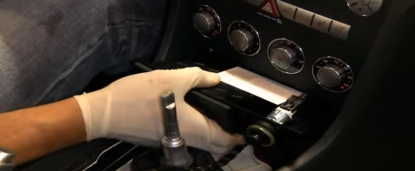
Take the box out of the dashboard
8. Disconnect the connectors behind the box.
Disconnect the connectors behind the box
9. Remove the trim panel on the box with your hands.
Remove the trim panel on the box with your hands
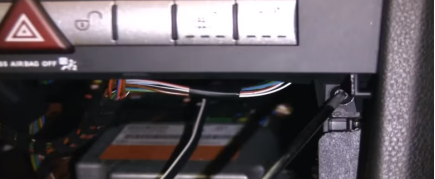
10. Disconnect the connectors at the back of the trim panel.
Disconnect the connectors at the back of the trim panel
11. Remove two screwdrivers inside the trim panel.
Remove two screwdrivers inside the trim panel
12. Take another box under the radio with your hands.
Take another box under the radio with your hands
13. Disconnect all the connectors at the back of the box.
Disconnect all the connectors at the back of the box
14. Remove two screws after taking away the box with a screwdriver.
Remove two screws after taking away the box with a screwdriver
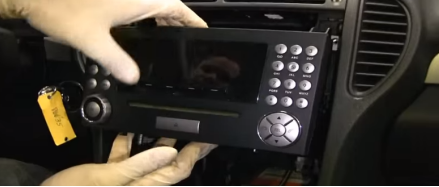
15. Pop out the disc player.
Pop out the disc player
16. Remove the screws at both sides of the disc player.
Remove the screws at both sides of the disc player
17. Take the disc player out of the dashboard.
Take the disc player out of the dashboard
18. Remove two screws holding the radio with a screwdriver.
Remove two screws holding the radio with a screwdriver
19. Take the radio out of the dashboard.
Take the radio out of the dashboard
20. Disconnect all the connectors at the back of the radio.
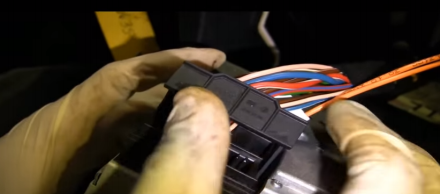
Disconnect all the connectors at the back of the radio
21. Check all the accessories for the new Seicane car radio.
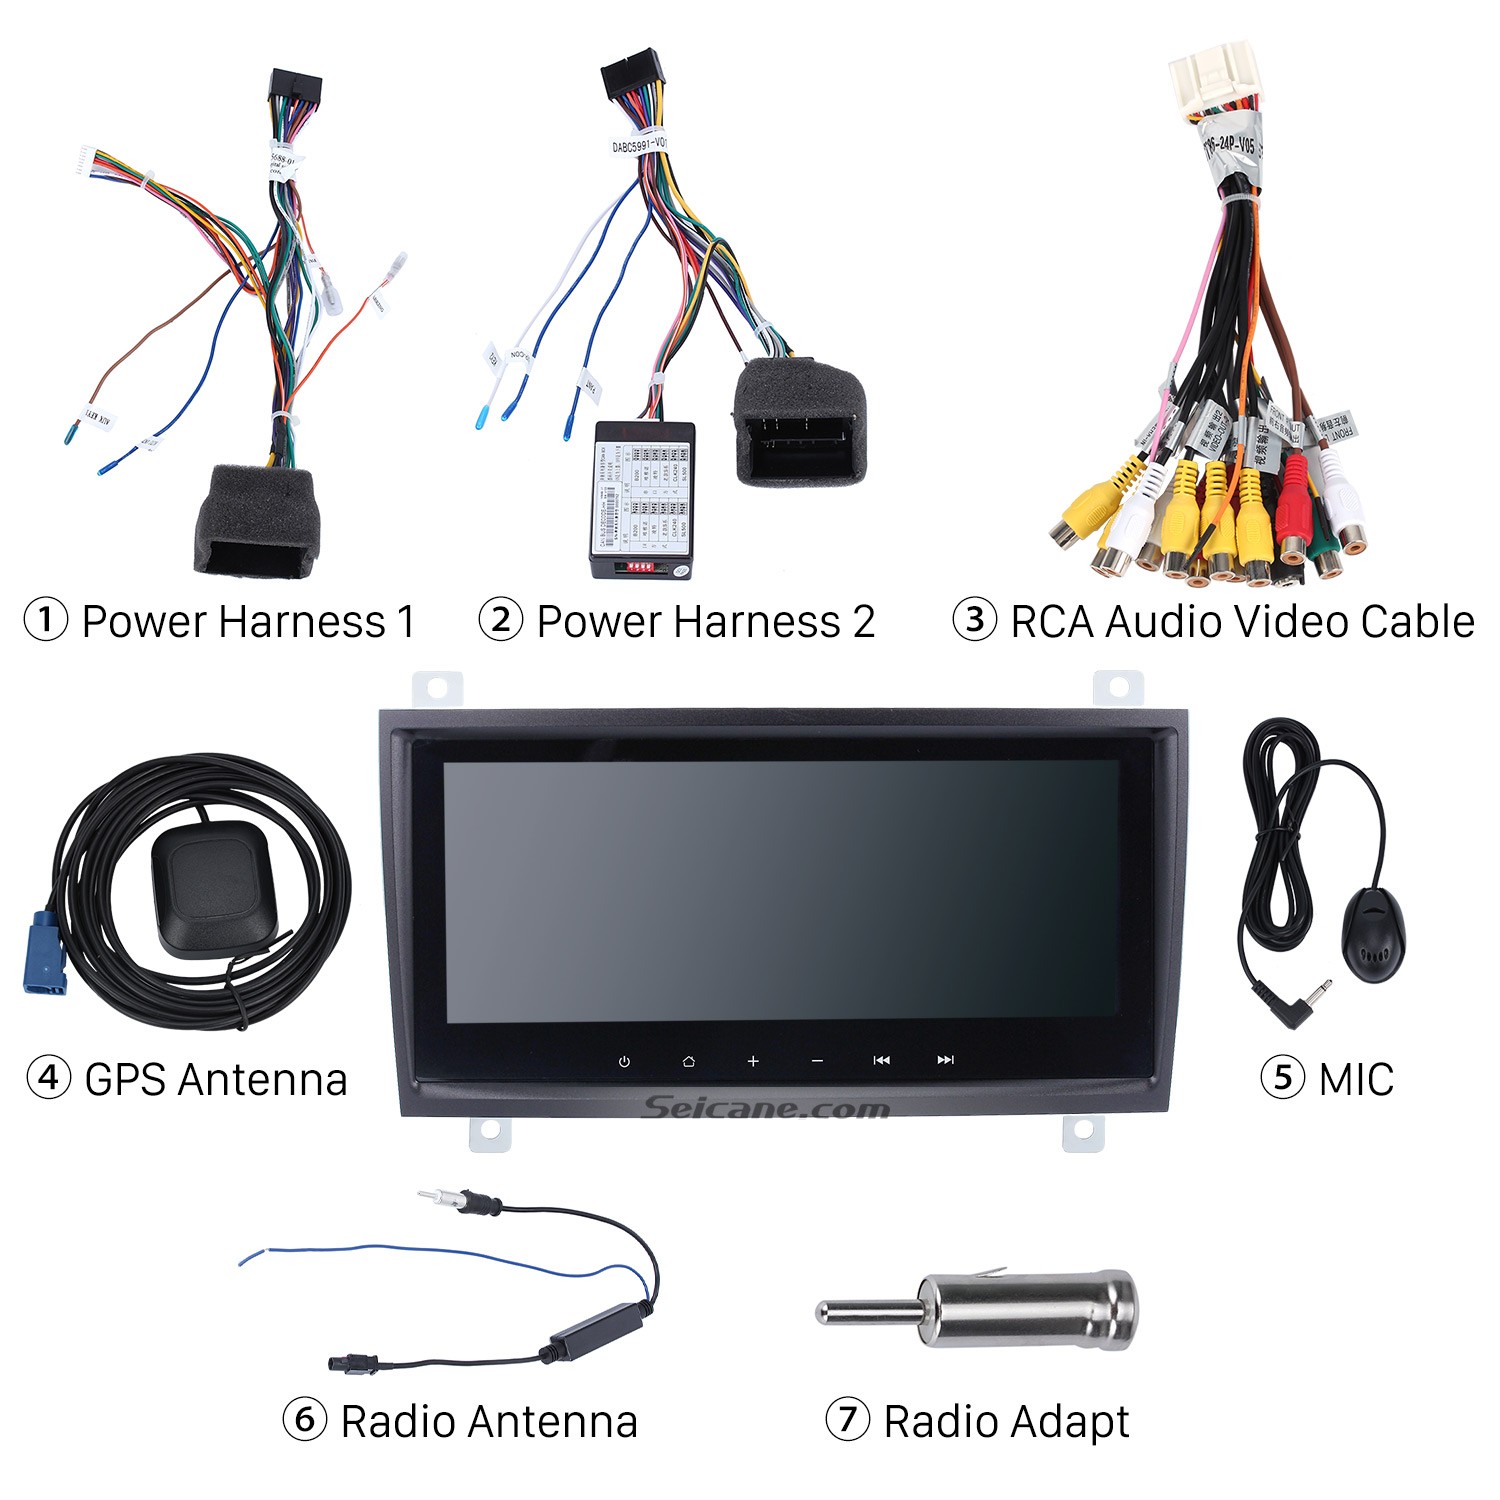
Check all the accessories for the new Seicane car radio
22. Connect the harnesses to the back of the new Seicane car radio.
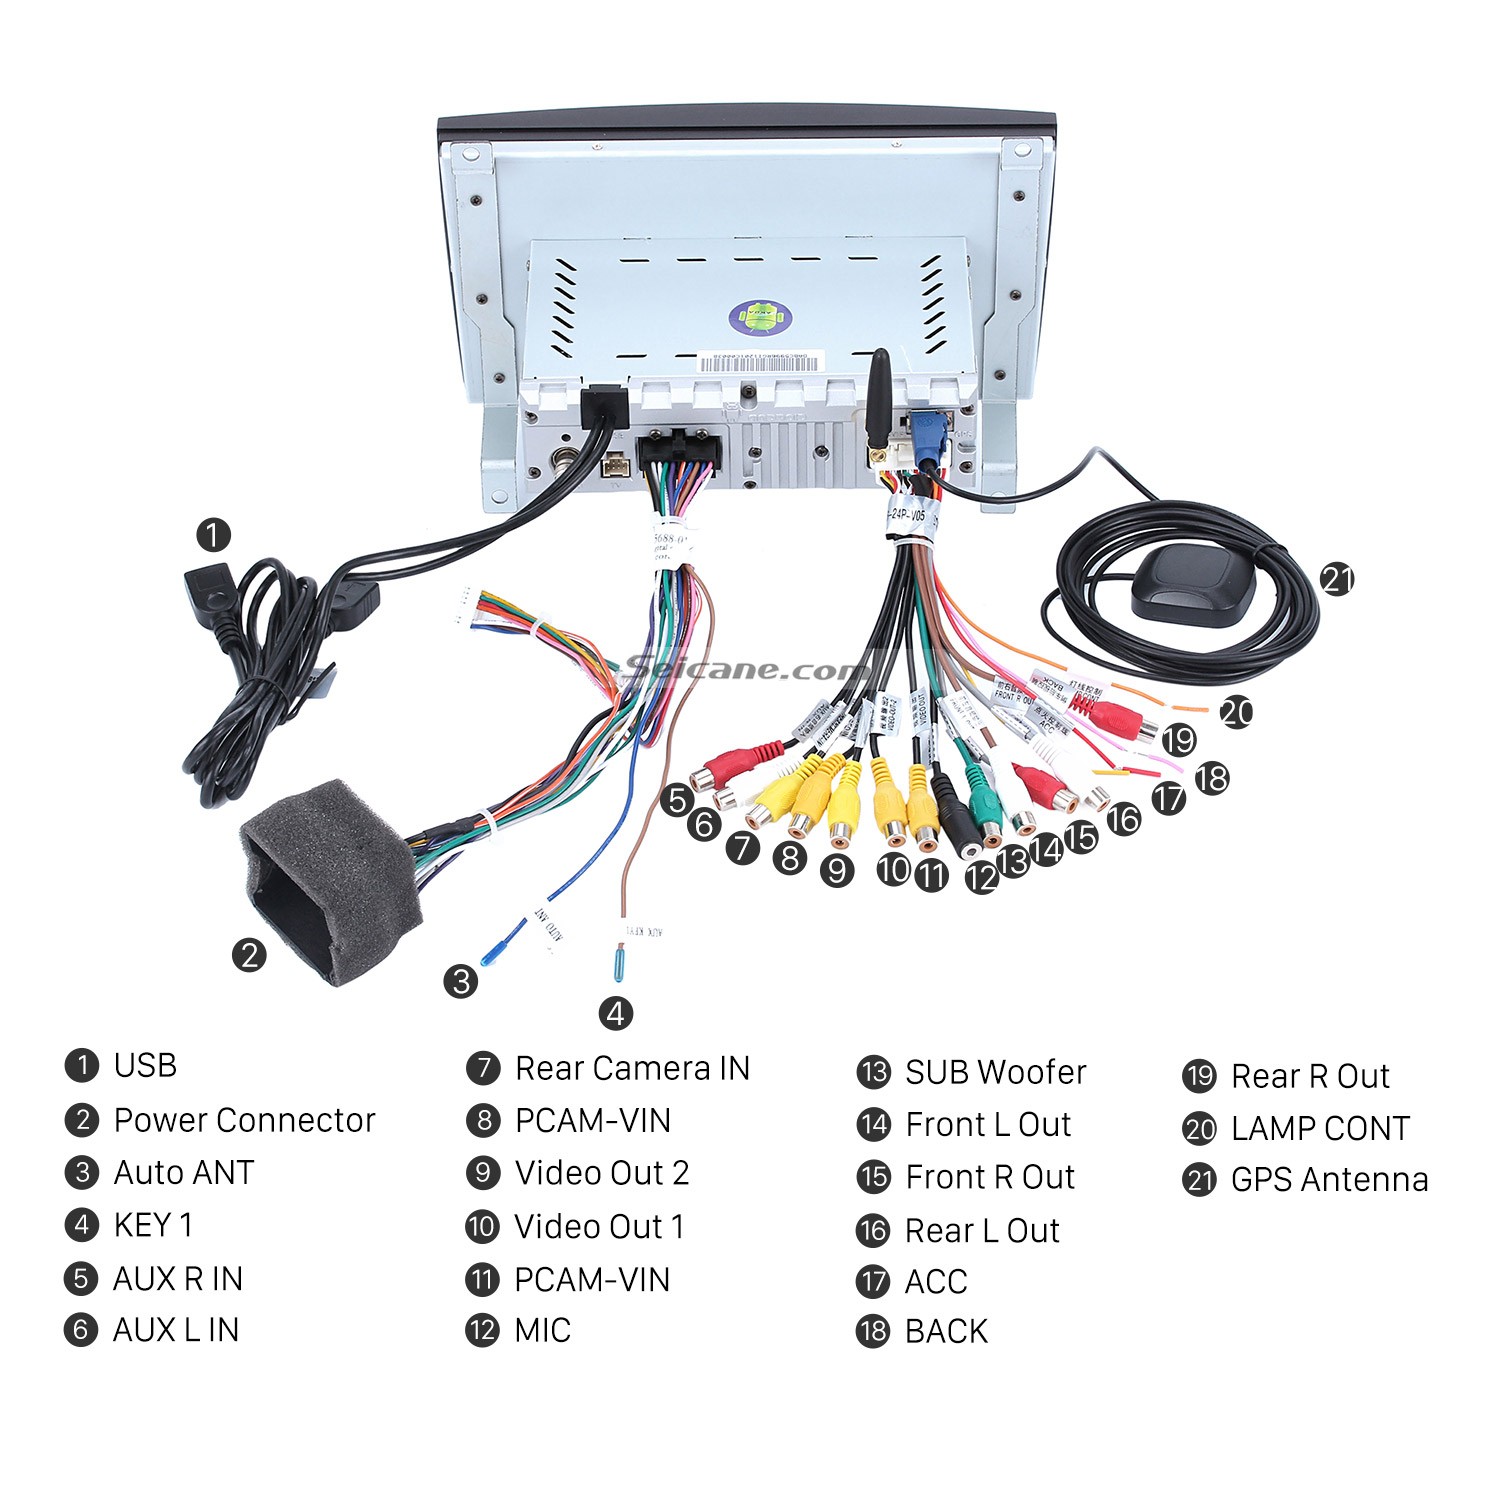
Connect the harnesses to the back of the new Seicane car radio
23. Connect the Seicane car radio to your original car radio’s plugs.
24. Put the new Seicane unit into the dashboard and turn it on to have a comprehensive check.
25. If everything works well, then install all the screws, boxes and trim panels accordingly into their original places. If not, check carefully whether all the cables are connected or not.
When you come across any problems, please don’t hesitate to consult your dealer. Or you can arrange a professional to help you install the radio directly. Anyway, first of all, please confirm that you already have a compatible car radio which fits your car very well. You can check the following link which is a 2004-2012 Mercedes SLK Class R171 SLK200 SLK280 SLK300 SLK350 SLK55 car radio from Seicane if you are still searching an ideal car radio.
This all-in-one car radio can guarantee your driving safety as well as your comfortable driving experience. For your convenience and enjoyment, you can connect your Bluetooth-enabled mobile phone with this unit so as to get access to hands-free calls and streaming audio without keeping your hands off the steering wheel. Besides, for your in-car environment, you can take advantage of this radio’s function as a multimedia player, which allows you to play your favorite music, FM/AM radio, TV programs, fantastic movies, etc, to relax both yourself and your passengers. Quickly add it to your cart if you like it!

Recent Comments