If you want to enjoy more feature in your car, it’ a great idea for you to upgrade your factory radio. Now with a correct installation guide, you can also easily replace your factory radio on your own. If you don’t have enough experience, you can also have a professional install it. Here comes a detailed 2006 2007 Dodge Charger head unit installation guide from Seicane for your reference.

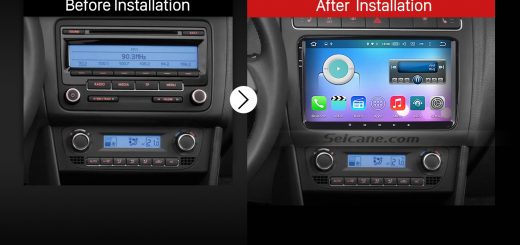
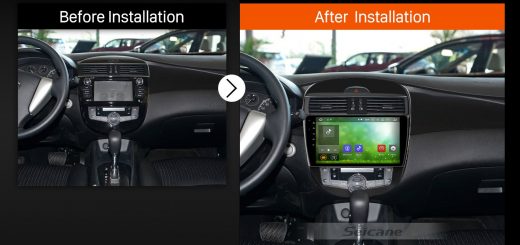
2006 2007 Dodge Charger head unit after installation
Precautions for this installation:
1.Before you start up any work, park your car well and unplug the negative power cable to avoid any danger.
2.Please make sure that all fastened wires are isolated with electrical tape.
3.Please make sure the ignition is off to avoid short circuit.
4.Please prepare a lever and a screwdriver before the removal and the installation.
5.For your convenience, here’s the recommended tools for removal and installation from Seicane, please check for more details: http://www.seicane.com/car-dvd-dismantling-device-srd-400
2006 2007 Dodge Charger head unit installation steps
1.Loosen the trim panel with a lever.

Loosen the trim panel with a lever
2.Take the panel off the dash and disconnect the wires from the car.

2-1.Take the panel off the dash and disconnect the wires from the car

2-2.Take the panel off the dash and disconnect the wires from the car
3.Remove the four screws which are holding the unit with a screwdriver.

Remove the four screws which are holding the unit with a screwdriver
4.Take out the unit and disconnect the wire harness at the back of the unit.

4-1.Take out the unit and disconnect the wire harness at the back of the unit

4-2.Take out the unit and disconnect the wire harness at the back of the unit
5.Check all the accessories for the new Seicane car radio.

Check all the accessories for the new Seicane car radio
6. Connect the harnesses to the back of the new Seicane car radio.

Connect the harnesses to the back of the new Seicane car radio
7. Connect the Seicane car radio to your original car radio ‘s plugs.

7-1. Connect the Seicane car stereo to your original car radio ‘s plugs

7-2. Connect the Seicane car stereo to your original car radio ‘s plugs
8.Put the new Seicane car radio into the dash.
9.Turn on the new Seicane car radio to have a careful check if everything works well. If it doesn’t, please check whether all the cables are connected correctly.
10.Put trim panel back on your new Seicane car radio after the normal test.
To make your upgrade successful, firstly, you need to pick up a right aftermarket radio for your car. If you are unsure which radio can fit your car, you can click the following link which is about an amazing 2006 2007 Dodge Charger head unit from Seicane and take it as a reference.
Due to the dual-zone function, you can listen to your favorite music on the way while you are navigating to your destination. This modern 2006 2007 Dodge Charger head unit can support a wide range of features which include GPS navigation, Bluetooth connectivity, DVD player, iPod, FM/AM radio, USB, SD, etc. Wish you can like it and have a great time from now on!

Recent Comments