Installing a new car stereo in your car just takes several steps, which is quite easy and merely takes less than half an hour. If you want to replace your factory radio, you can also find a step-by-step installation guide to help you with the installation. The following is a professional 2002 2003 2004 Dodge Interpid car stereo installation instruction from Seicane for your reference. You can also find a technician to help you.

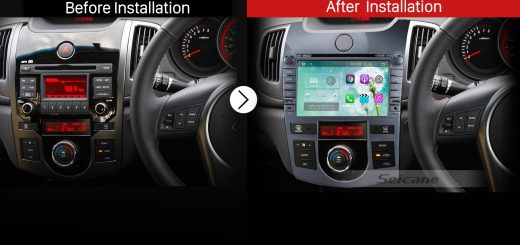
2002 2003 2004 Dodge Interpid car stereo after installation
Safety notes
1.Before connecting, please make sure the ignition is off to avoid short circuit.
2.Ensure connect the yellow and red power cable at last.
3.Ensure that all loose wires are isolated with electrical tape
4.Ensure don’t tangle the wire when tighten the moving parts(Such as seat rails).
5.Ensure that all ground is connected to the same place.
6.Using the improper fuse may cause damage of fire, so when replace the fuse, please consult the professional.
2002 2003 2004 Dodge Interpid car stereo installation steps
1.Remove the trim piece above cup holder with a lever.

Remove the trim piece above cup holder with a lever
2.Remove 2 screws behind the trim piece.

Remove 2 screws behind the trim piece
3.Gently pry around the side of trim panel with the lever and then remove the trim panel.

Gently pry around the side of trim panel with the lever and then remove the trim panel
4.Remove 4 screws which holds the factory radio in place.

Remove 4 screws which holds the factory radio in place
5.Take out the factory radio.

Take out the factory radio
6.Disconnect the smaller harness on the behind of the factory radio.

Disconnect the smaller harness on the behind of the factory radio
7. Check all the accessories for the new Seicane car stereo.

Check all the accessories for the new Seicane car radio
8. Connect the harnesses to the back of the new Seicane car stereo.

Connect the harnesses to the back of the new Seicane car radio
9. Connect the Seicane car stereo to your original car radio ‘s plugs.
10.Install four screws and trim panel.
11.Install 2 screws behind the trim piece and the trim piece.
12.Turn on the new radio and have a comprehensive test if everything works well. If it doesn’t, please check whether all the cables are connected correctly.
Above all, you need to make clear about every step before you start to install this 2002 2003 2004 Dodge Interpid car stereo In your car. If there is any question, you can seek help from your dealer. If you don’t have any experience on the installation, it’s strongly suggested you ask a professional to install your new unit. If you are still looking for a suitable head unit for your car, I’d like to recommend an intelligent 2002 2003 2004 Dodge Interpid car stereo from Seicane to you. Please click for more details:
Loaded with a remarkable Android 4.4.4 system, this unit with higher configurations is the best choice for you to replace your factory radio right now. It comes with a large 4.4 inch multi-touch screen with 800*480 pixel resolution to facilitate the operation as well as improve the display. Now to go on your wonderful trips with this great Dodge Interpid car stereo from now on!

Recent Comments