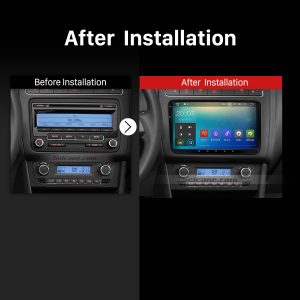
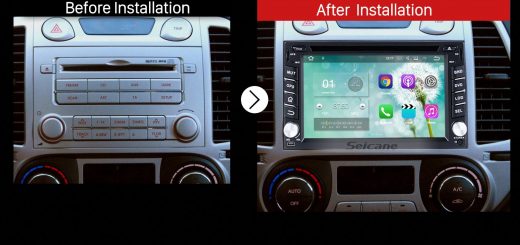
When you are desired to get access to a lot of upgraded features to get more in-car convenience and entertainment in your car, it will be wise of you to replace your factory radio with a new aftermarket car stereo. With such a multifunctional car stereo installed in your car, you are able to have a brand new driving experience. We write this post to introduce how to replace a 2009 2010 2011 2012-2013 VW Volkswagen BORA Polo V 6R car stereo. If you have the same car model and plan to upgrade your factory radio, you can carefully refer to the following installation instruction.
Precautions for this installation:
1. Before you start up any work, park your car well and unplug the negative power cable to avoid any danger.
2. Please make sure that all fastened wires are isolated with electrical tape.
3. Please make sure the ignition is off to avoid short circuit.
4. For your convenience, here’s the recommended tools for removal and installation from Seicane, please check for more details: http://www.seicane.com/car-dvd-dismantling-device-srd-400
2009 2010 2011 2012-2013 VW Volkswagen BORA Polo V 6R car stereo installation guide
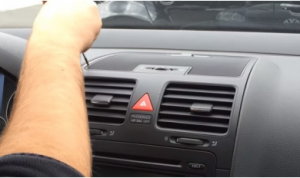
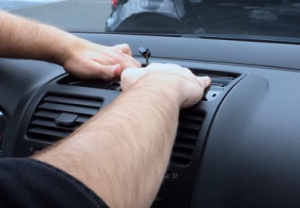
1. Remove the top panel with a lever.
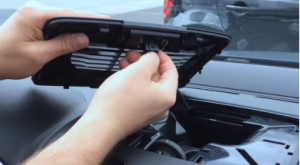
2. Disconnect the connector at the back of the panel.
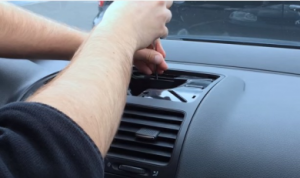
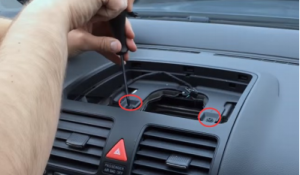
3. Unscrew the screw with a screwdriver.
4. Remove the metal sheet on the top with your hands.
5. Unscrew two screws circled in red shown as follows under the metal sheet.
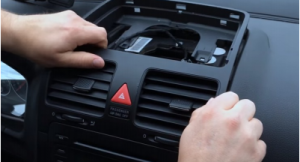
6. Remove the air conditioner vent with your hands.
7. Unscrew two screws under the vent with a screwdriver.
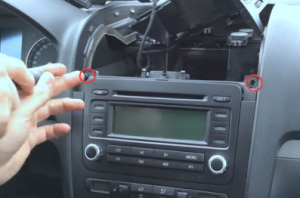
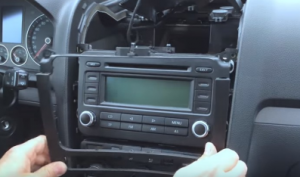
8. Remove the panel on the original car radio.
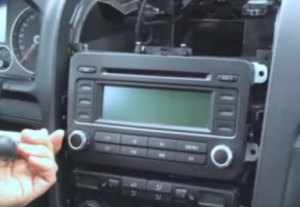
9. Unscrew four screws holding the original car radio with a screwdriver.
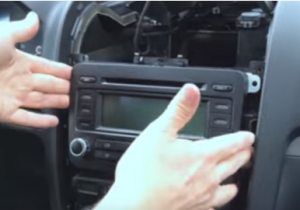
10. Take the original car radio out of the dash.
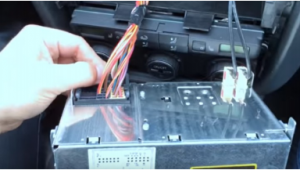
11. Disconnect all the connectors at the back of the original car radio.
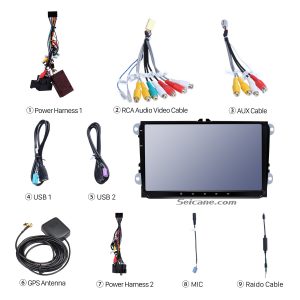
12. Check all the accessories for the new Seicane car radio.
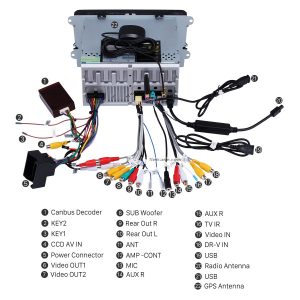
13. Connect the harnesses to the back of the new Seicane car radio.
14. Connect the Seicane car radio to your original car radio’s plugs.
15. Turn on the new Seicane car radio to have a careful check if everything works well. If it doesn’t, please check whether all the cables are connected correctly.
16. Put the new Seicane car radio into the dash.
17. Put everything into their original place.
Wish the above installation guide can be helpful for you. If you meet any trouble, please feel free to contact your dealer, communicate with someone experienced or turn to a professional for help. But if you still think it hard for you to finish the whole installation process, you’d better arrange a professional technician to help you install the new car stereo. Besides, since it is very important to pick an ideal car stereo, here I would like to share an amazing 2009 2010 2011 2012-2013 VW Volkswagen BORA Polo V 6R car stereo from Seicane to you. Here comes the related link, please click:
Upgraded to the most stable Android 7.1 operation system, a strong quad-core CPU processor as well as 2GB RAM, this car stereo can largely facilitate the operation to allow you to have a much smoother, faster and easier operation experience.
A wide range of comprehensive features are supported by this car stereo, including 3D GPS navigation, FM/AM radio tuner, CD/DVD player, Bluetooth hands-free calls, Bluetooth streaming music, AUX, steering wheel control, USB & SD card connection, etc. Among these features, one of the highlights is 3D GPS navigation. With its help, you can easily know your current locations and accurately get to your destinations through turn-by-turn directions and voice prompts.
Besides, a backup camera can also be added for automatically switching to the parking image while reversing, which promises your parking safety.
If you like this unit, just don’t forget to add it to your shopping cart. Good luck to you.
Recent Comments