There is no doubt that you can easily get tired when you have driven for a long time. In that case, you must want an amazing car radio which comes with entertainment features to cheer you up. If your factory radio is not up-to-date enough to support a lot of entertainment features, you can consider replacing your factory radio with a brand new car radio. As for the installation, you can find a related installation instruction to help you. The following is a 2010 2011 2012 2013 VW Volkswagen Sharan car radio installation instruction, and if you have the same or similar dashboard, you can follow it to install a new car radio in your car.
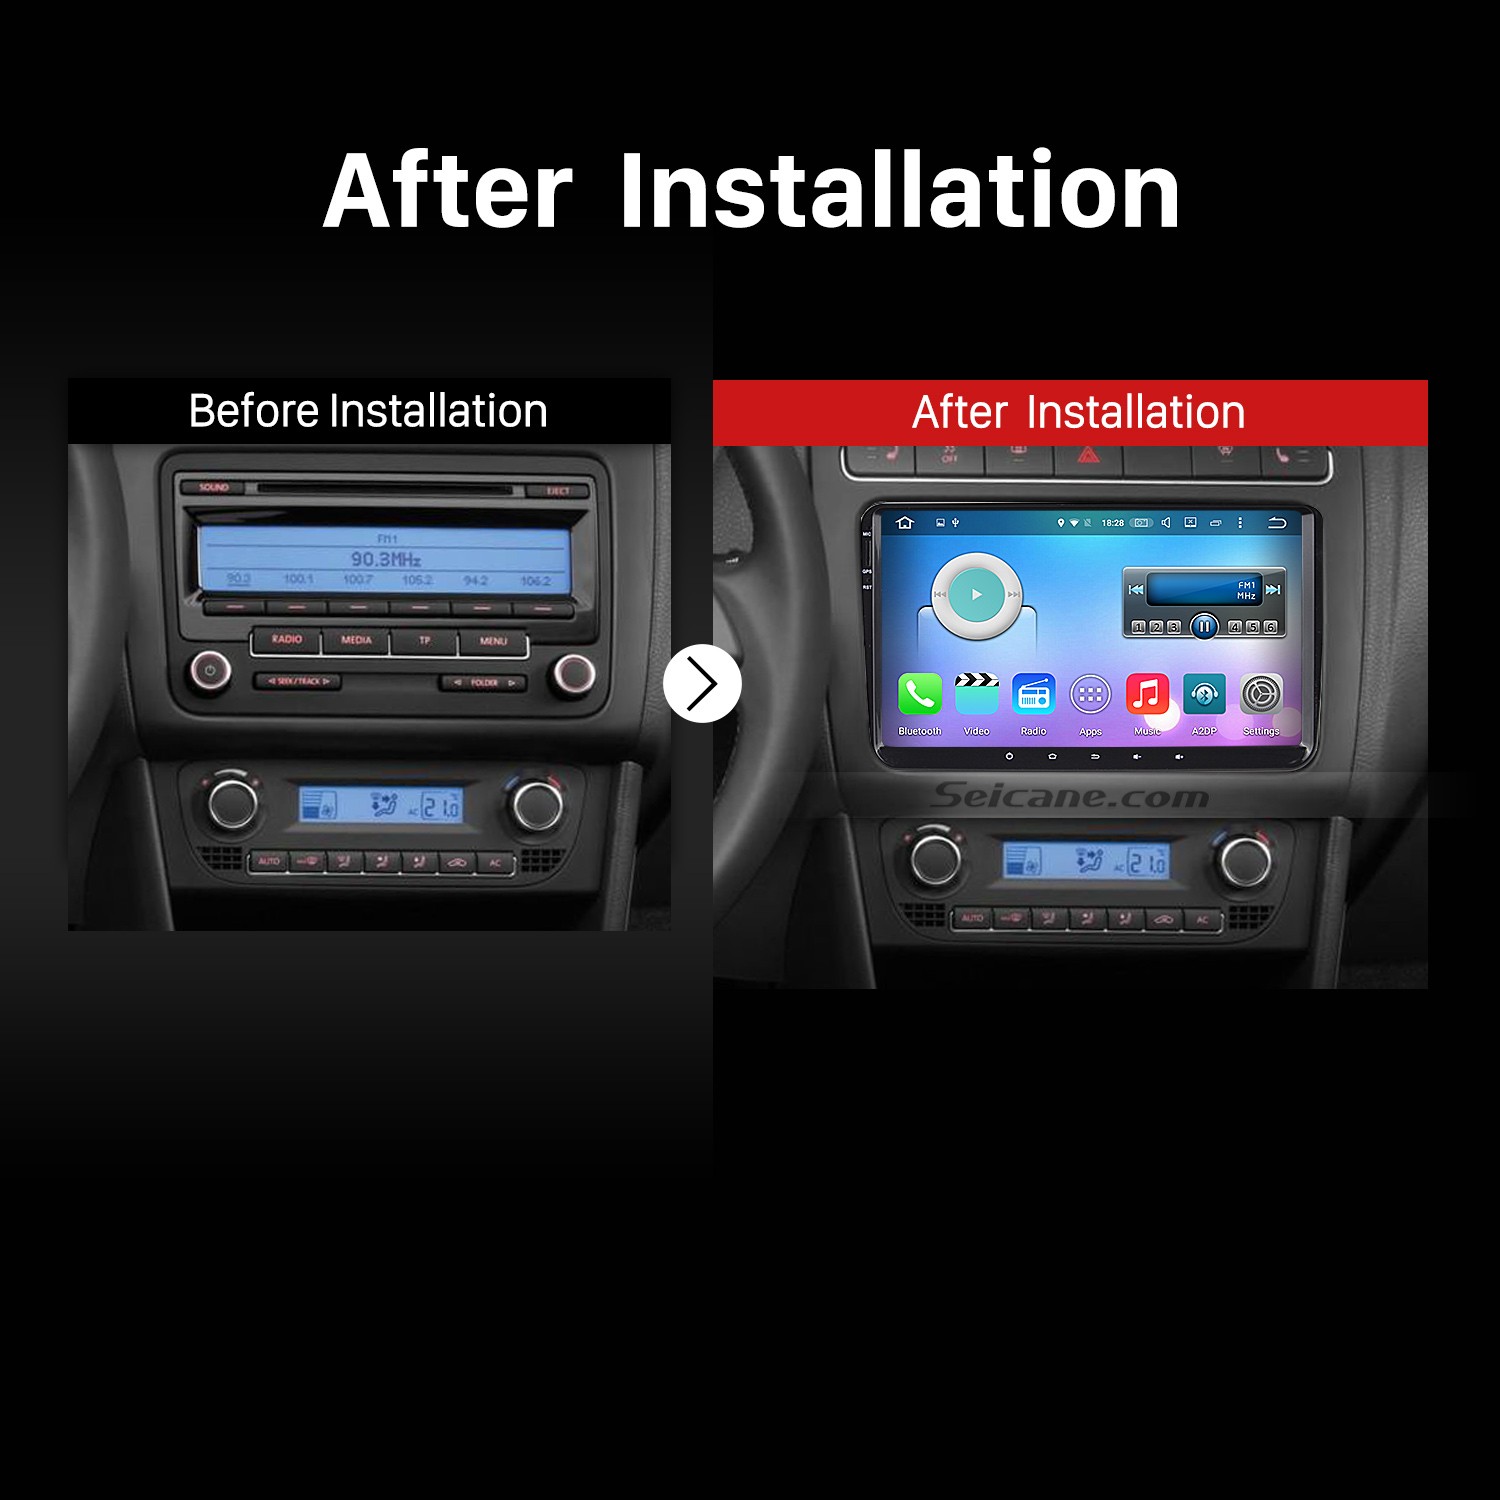
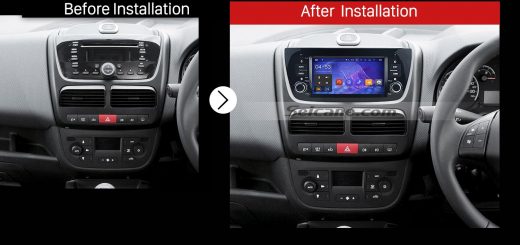
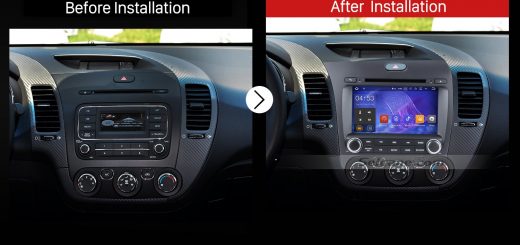
2010 2011 2012 2013 VW Volkswagen Sharan car radio after installation
Tips about the installation:
1.Please disconnect the power before the installation.
2.Please prepare a lever and a screwdriver before the removal and the installation.
3.Please keep all the separate parts from the car. Please take great care of the dashboard to avoid scratching it during its detachment and installation. Please keep handy any parts from the car and make use of all the original screws from the car as much as possible. so each related part of the unit can be fixed securely.
4.For your convenience, here’s the recommended tools for removal and installation from Seicane, please check for more details: http://www.seicane.com/car-dvd-dismantling-device-srd-400
2010 2011 2012 2013 VW Volkswagen Sharan car radio installation instruction
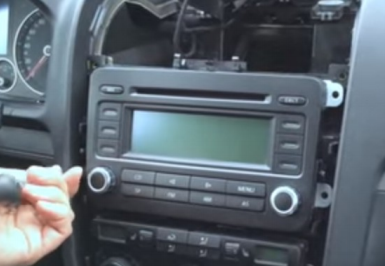
1. Remove the top panel with a lever.
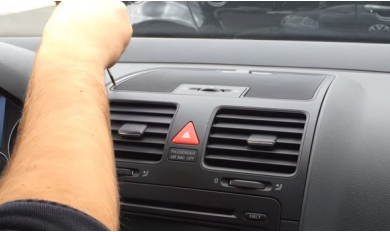
Remove the top panel with a lever
2. Disconnect the connector at the back of the panel.
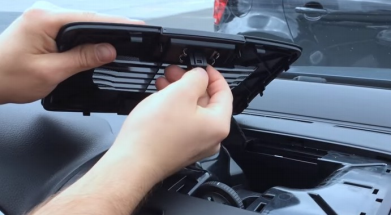
Disconnect the connector at the back of the panel
3. Unscrew the screw with a screwdriver.
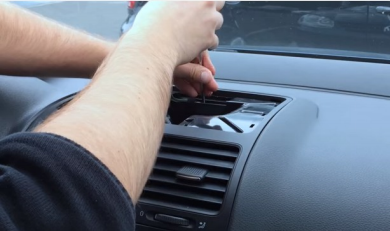
Unscrew the screw with a screwdriver
4. Remove the metal sheet on the top with your hands.

Remove the metal sheet on the top with your hands
5. Unscrew two screws circled in red shown as follows under the metal sheet.
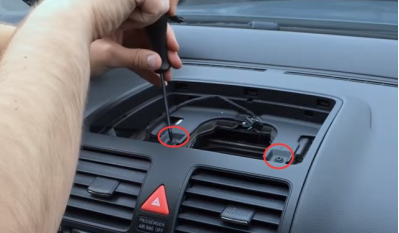
Unscrew two screws circled in red shown as follows under the metal sheet
6. Remove the air conditioner vent with your hands.
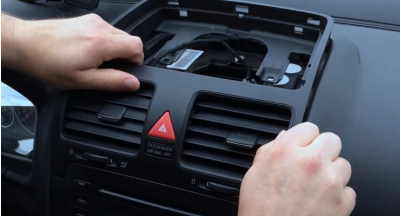
Remove the air conditioner vent with your hands
7. Unscrew two screws under the vent with a screwdriver.
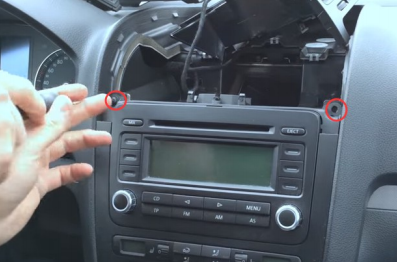
Unscrew two screws under the vent with a screwdriver
8. Remove the panel on the original car radio.
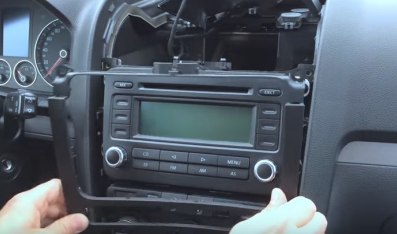
Remove the panel on the original car radio
9. Unscrew four screws holding the original car radio with a screwdriver.
Unscrew four screws holding the original car radio with a screwdriver
10. Take the original car radio out of the dash.
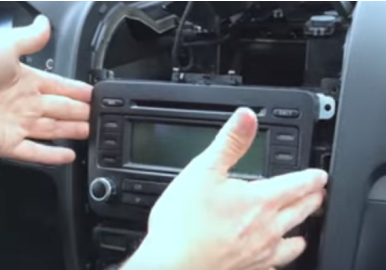
Take the original car radio out of the dash
11. Disconnect all the connectors at the back of the original car radio.
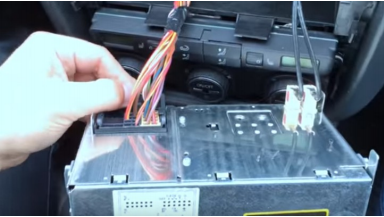
Disconnect all the connectors at the back of the original car radio
12. Check all the accessories for the new Seicane car radio.
13. Connect the harnesses to the back of the new Seicane car radio.
14. Connect the Seicane car radio to your original car radio’s plugs.
15. Turn on the new Seicane car radio to have a careful check if everything works well. If it doesn’t, please check whether all the cables are connected correctly.
16. Put the new Seicane car radio into the dash.
17. Put everything into their original place.
Wish you can learn some skills from the above installation steps. If you have any problems you cannot deal with independently, you may consult your dealer, communicate with someone experienced or turn to a professional for help. Or you can straightly arrange someone experienced to help you install the new car radio.
If you are still looking for an ideal car radio for your beloved car, you may check out the following link which is a remarkable 2010 2011 2012 2013 VW Volkswagen Sharan car radio from Seicane.
Integrated with a wide range of practical and entertainment features, this car radio enables you to make full use of these features so as to meet your different needs in car. Today I would like to take 3D GPS navigation and Bluetooth function as instances.
With the assistance of the high-accuracy worldwide real-time GPS navigation system, you are able to easily know your current locations and accurately find the best way to reach your desired destinations through turn-by-turn directions and voice prompts. And with the dual zone function, you are able to listen to music behind the scene under GPS mode.
While under the wireless Bluetooth technology, you can connect your Bluetooth-enabled mobile phone with this intelligent car radio, thus you can make, receive, reject and mute Bluetooth hands-free calls as well as listen to Bluetooth streaming music from your phone playlists, which is beneficial to your driving safety and enjoyment.
Just add this unit to your shopping cart. Good luck to you!

Recent Comments