If you would like to upgrade your in-car life, why not think about replacing your factory radio with a brand new multifunctional car radio? And while for the installation, you can search for a related car radio installation guide and follow it to deal with the installation. The following is a 2009 2010 2011 2012 Mazda 3 car radio installation guide from Seicane. If you own the same or similar dashboard, you can refer to this guide carefully. Wish this guide is helpful for you.
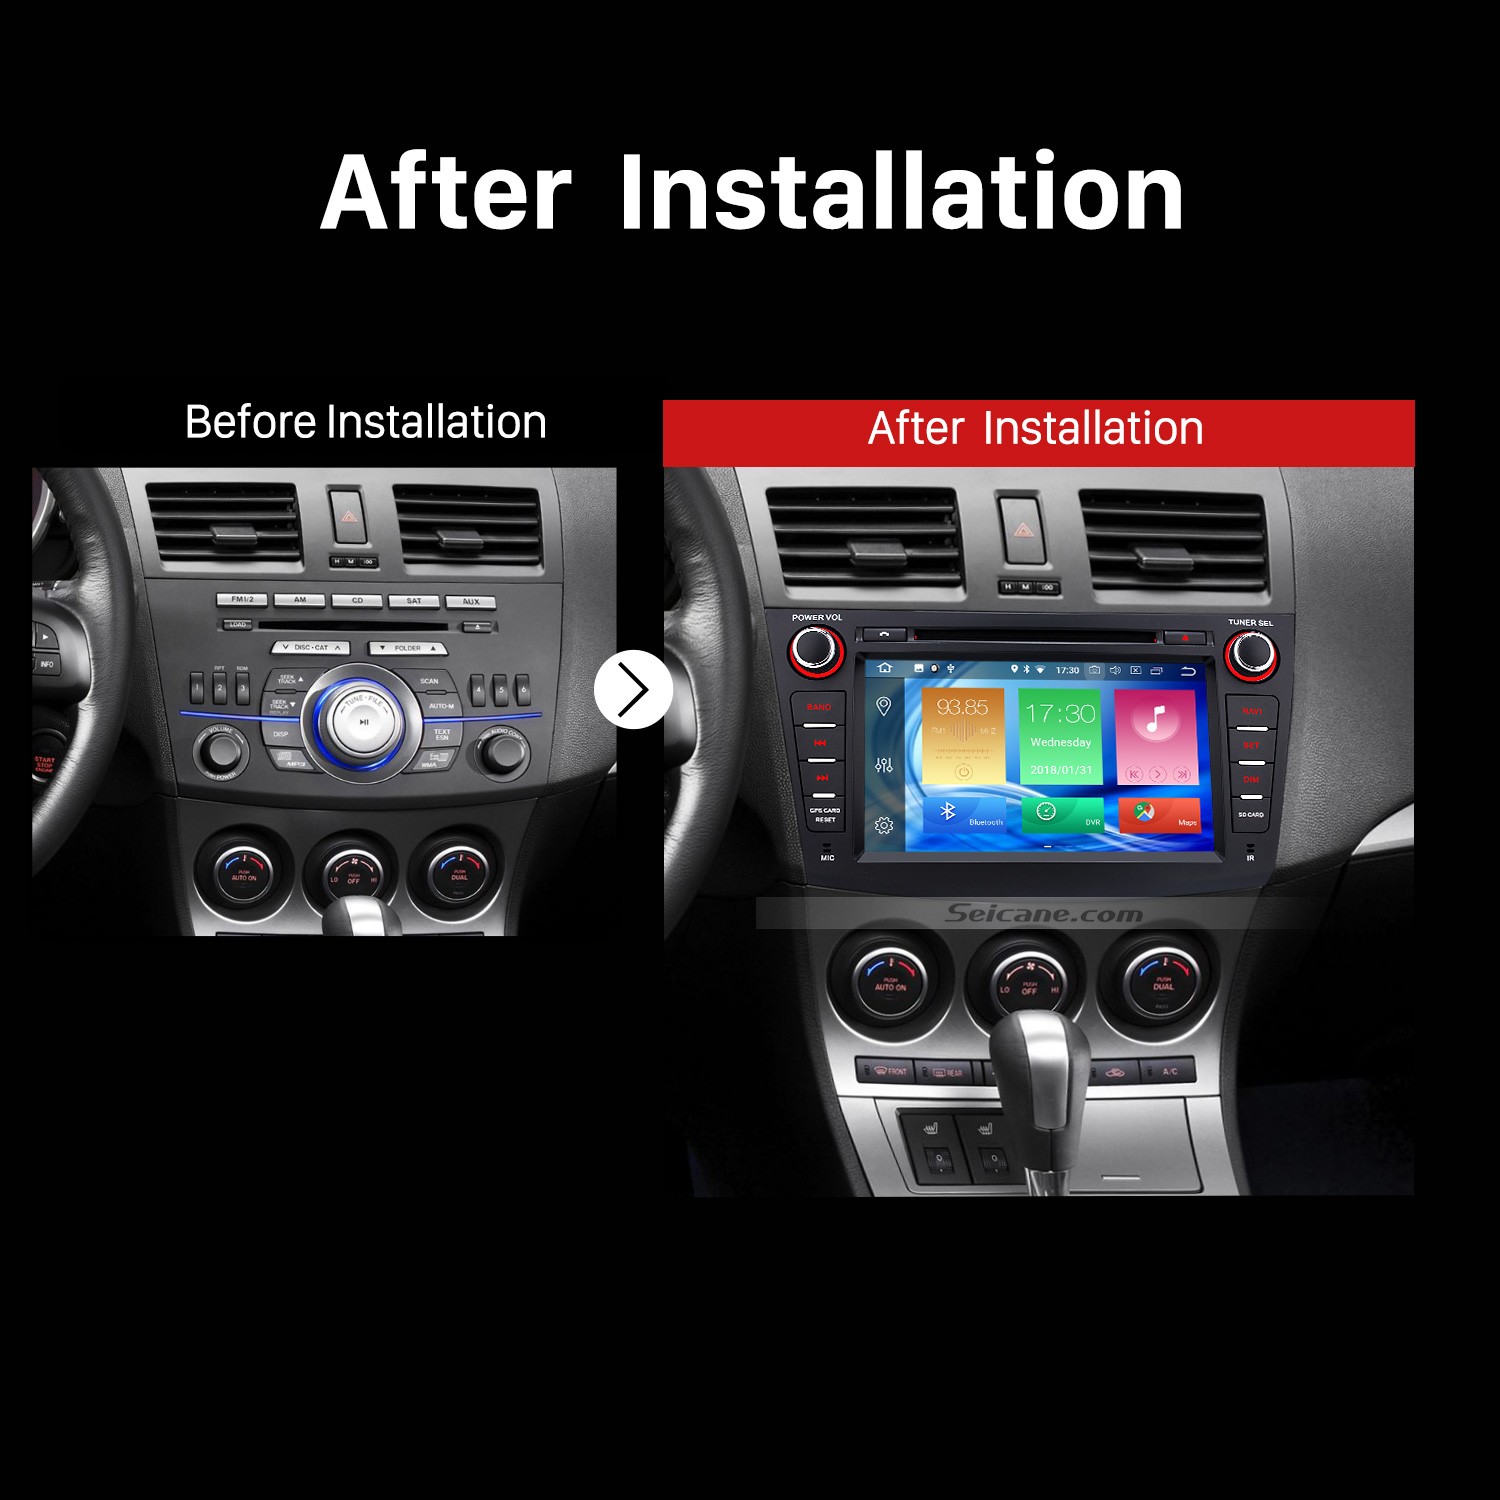
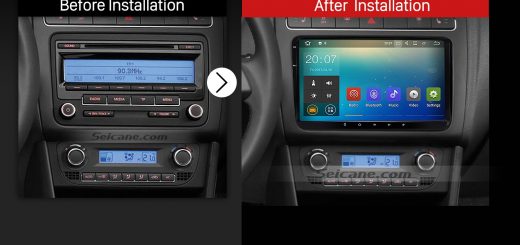
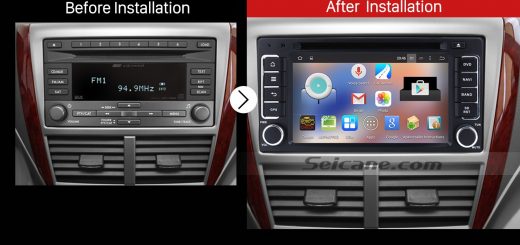
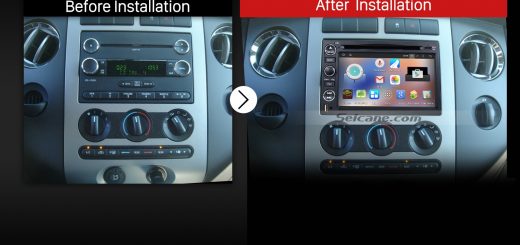
2009 2010 2011 2012 Mazda 3 Car Stereo after installation
Tips about the installation:
1. Please disconnect the power before the installation.
2. Please prepare a lever and a screwdriver before the removal and the installation.
3. Please keep all the separate parts from the car. Please take great care of the dashboard to avoid scratching it during its detachment and installation. Please keep handy any parts from the car and make use of all the original screws from the car as much as possible. so each related part of the unit can be fixed securely.
4. For your convenience, here’s the recommended tools for removal and installation from Seicane, please check for more details: http://www.seicane.com/car-dvd-dismantling-device-srd-400
2009 2010 2011 2012 Mazda 3 car radio installation guide
1. Unclip and remove the cup holder panel in the center console.
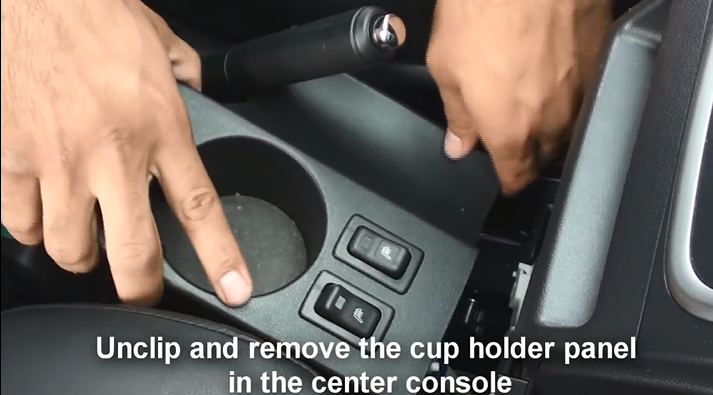
Unclip and remove the cup holder panel in the center console

1-1
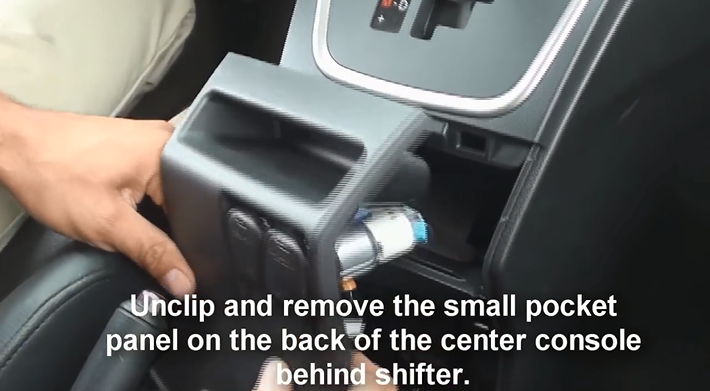
2. Unclip and remove the small pocket panel on the back of the center console behind shifter.
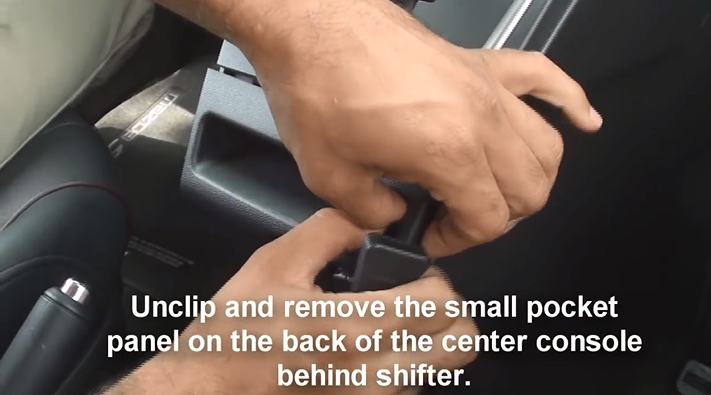
Unclip and remove the small pocket panel on the back of the center console behind shifter
2-1
3. Remove two 8mm bolts under the cup holder panel holding the back half of the center console to the front half.
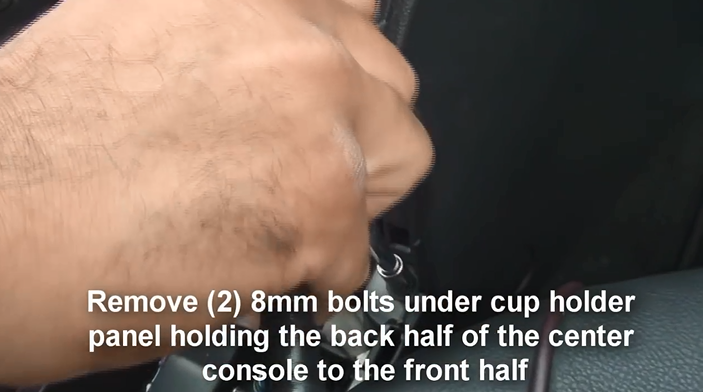
Remove two 8mm bolts under the cup holder panel holding the back half of the center console to the front half
4. Unscrew the shift knob and remove it carefully.
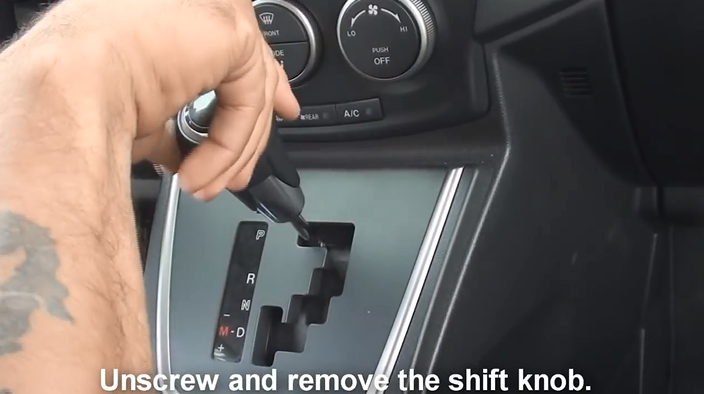
Unscrew the shift knob and remove it carefully
5. Unclip and remove the shifter trim panel.
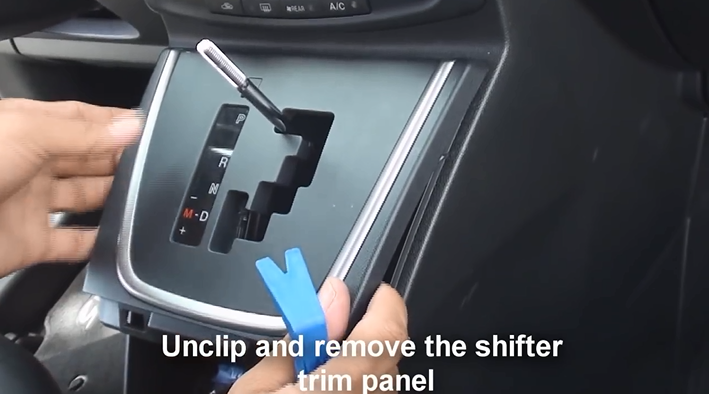
Unclip and remove the shifter trim panel
6. Slide both seats forwards and remove two Phillips screws on each side of the center console under the screw covers.
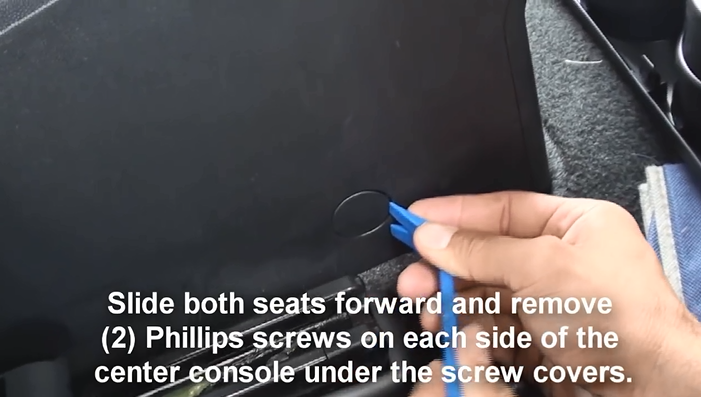
Slide both seats forwards and remove two Phillips screws on each side of the center console under the screw covers
7. Unclip and pull back the panels at the lower front sides of the center console.
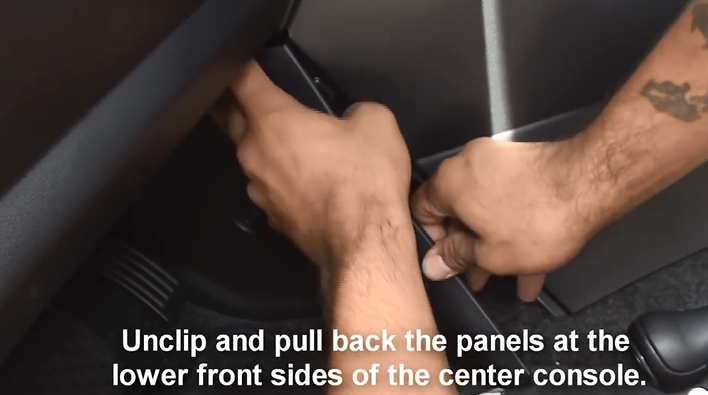
Unclip and pull back the panels at the lower front sides of the center console
8. Remove two Phillips screws from both sides(total of four) of the front lower half of the center console.
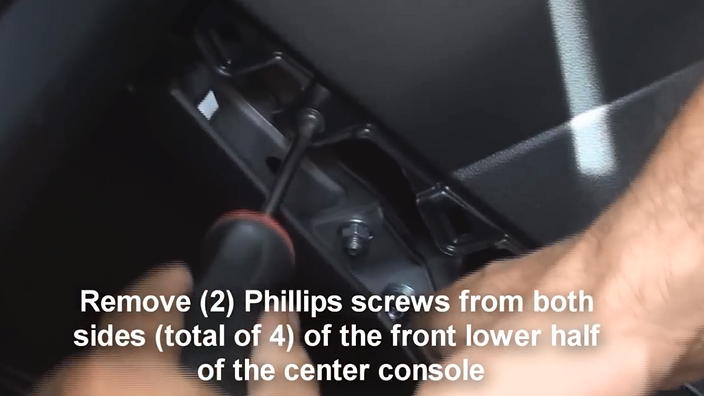
Remove two Phillips screws from both sides(total of four) of the front lower half of the center console
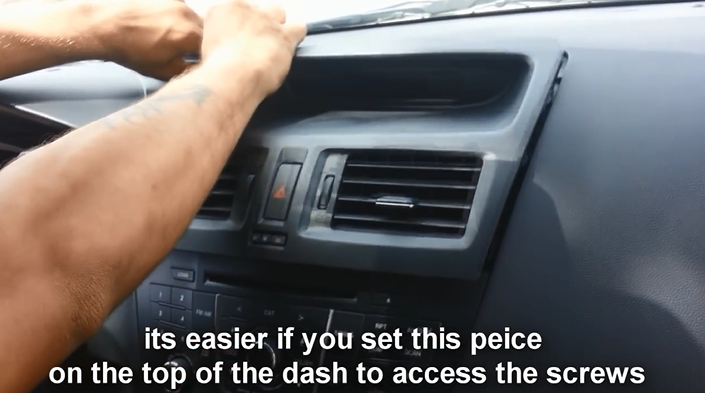
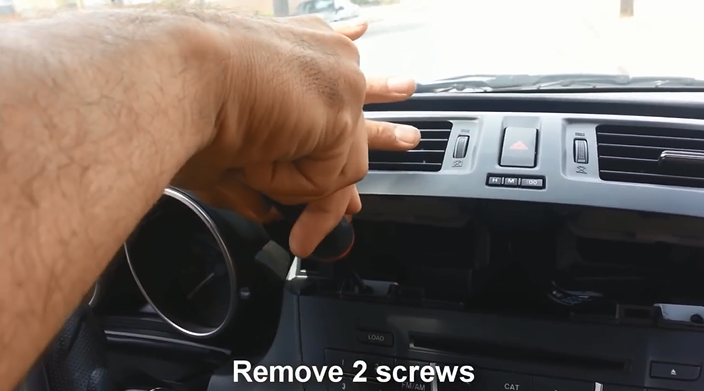
9. Unclip and remove the vent panel including the hazard switch above the factory radio. Then it will be much easier for you to get access to the screws. And remove the two screws.
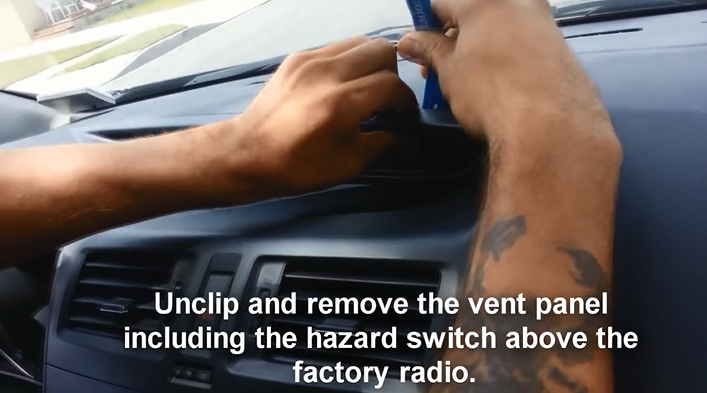
Unclip and remove the vent panel including the hazard switch above the factory radio. Then it will be much easier for you to get access to the screws. And remove the two screws
9-1
9-2
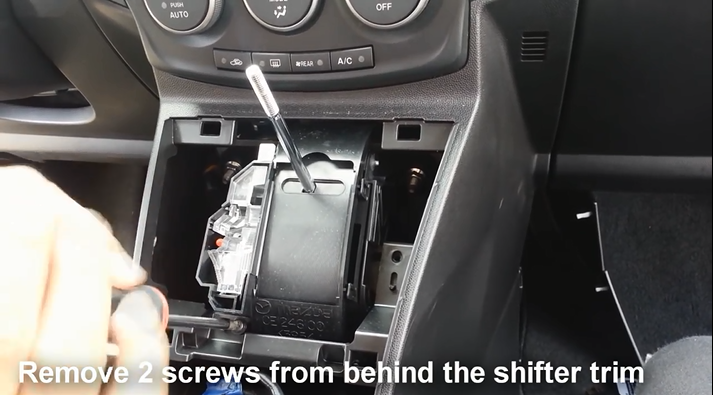
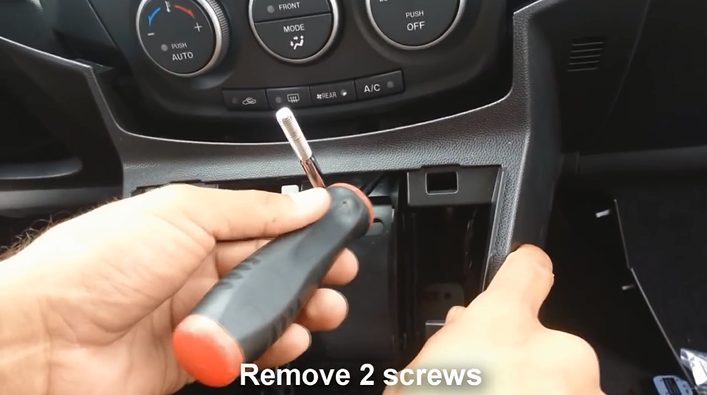
10. Remove two screws from behind the shifter trim.
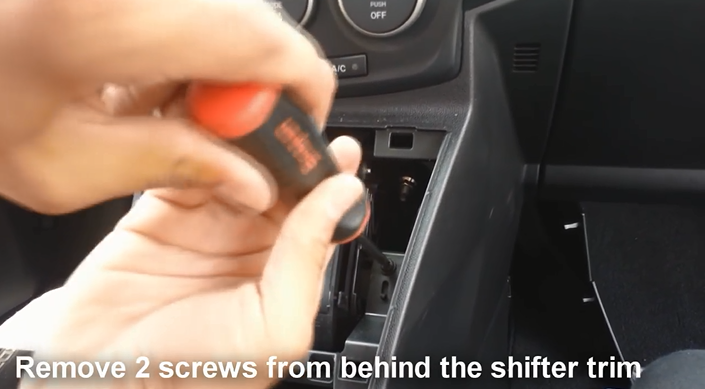
Remove two screws from behind the shifter trim
10-1
11. Pull center console forward so as to gain access to two screws under the climate controls. And then remove these two screws.
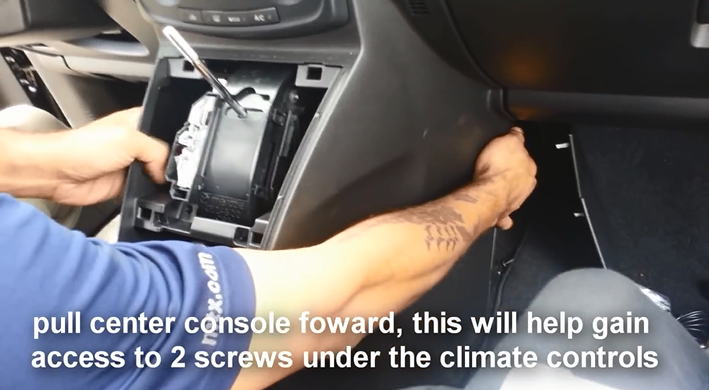
Pull center console forward so as to gain access to two screws under the climate controls. And then remove these two screws
11-1
12. Unclip harness and pull rear center console backwards.
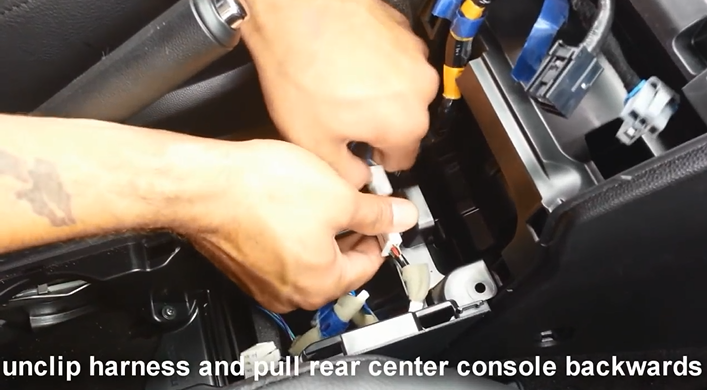
Unclip harness and pull rear center console backwards
13. Press in shifter to release trigger and pull shifter down, make sure to have a brake on.
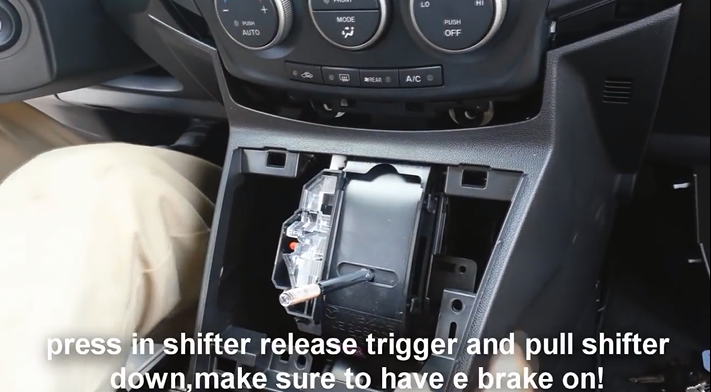
Press in shifter to release trigger and pull shifter down, make sure to have a brake on
14. Use a pry tool to release climate controls.
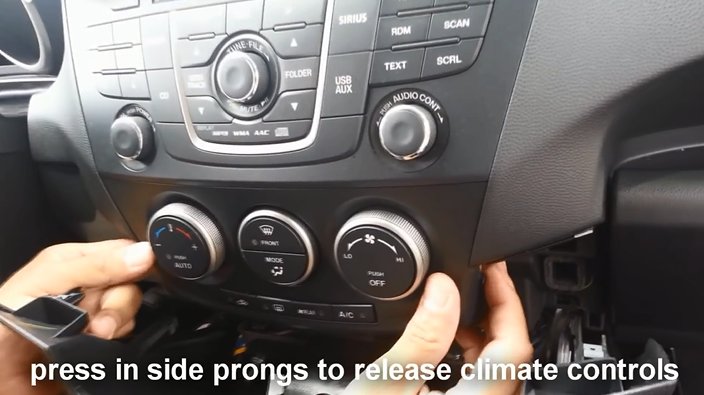
Use a pry tool to release climate controls
15. Remove one screw and one 10mm bolt.
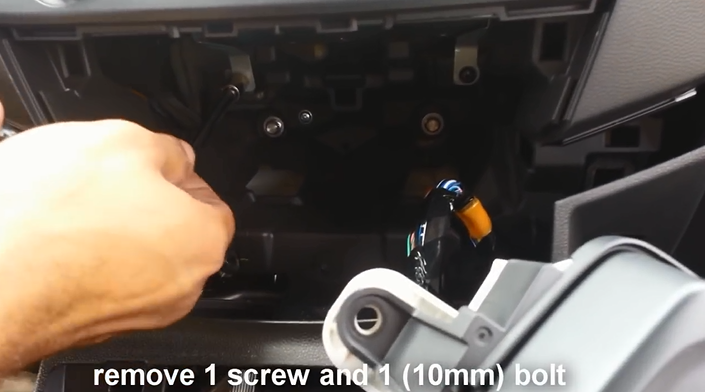
Remove one screw and one 10mm bolt
16. Pull factory radio out, release clips and unplug radio connectors.
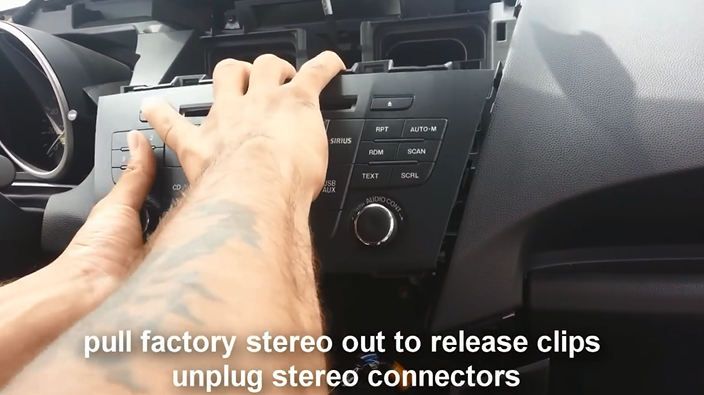
Pull factory radio out, release clips and unplug radio connectors
17. Check all the accessories for the new Seicane car radio.
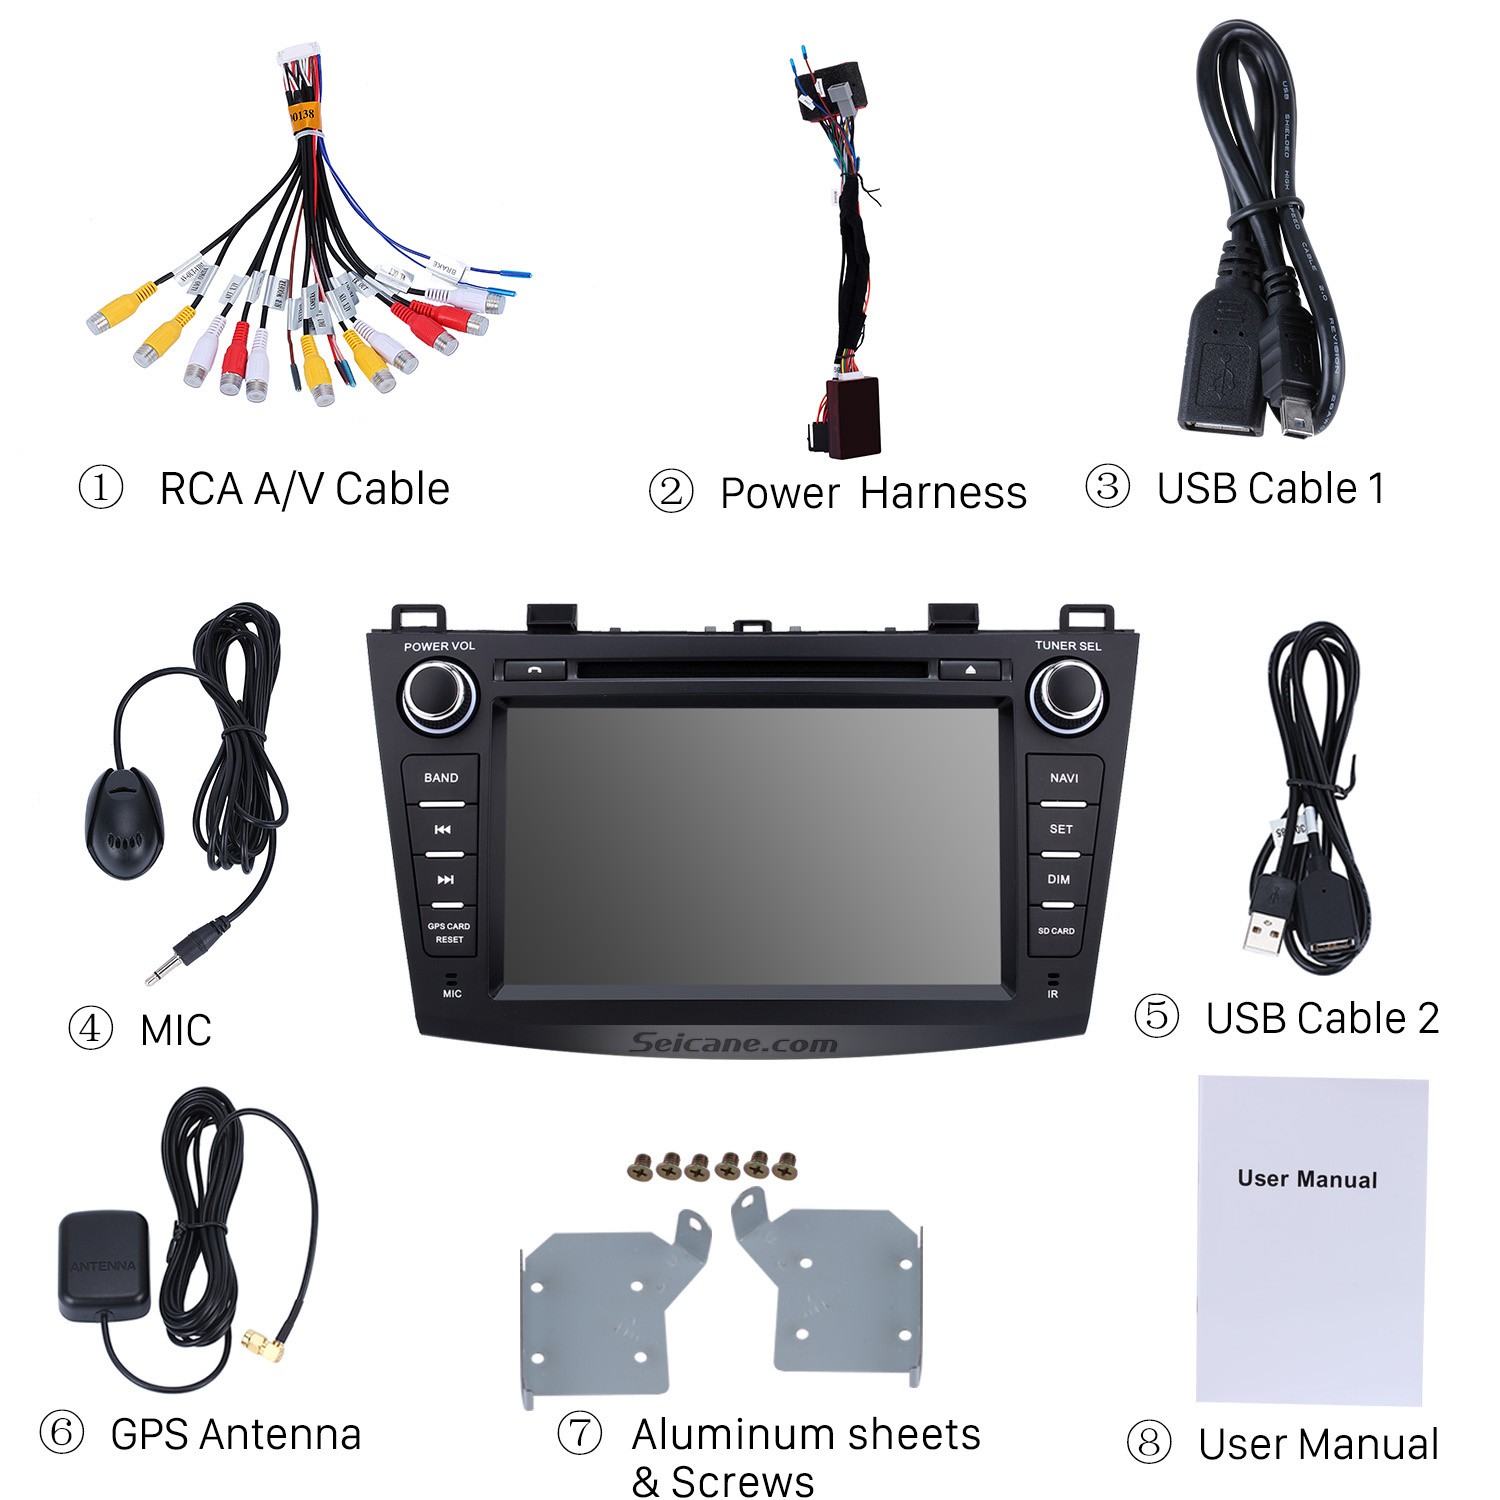
Check all the accessories for the new Seicane car radio
18. Connect the harnesses to the back of the new Seicane car radio.
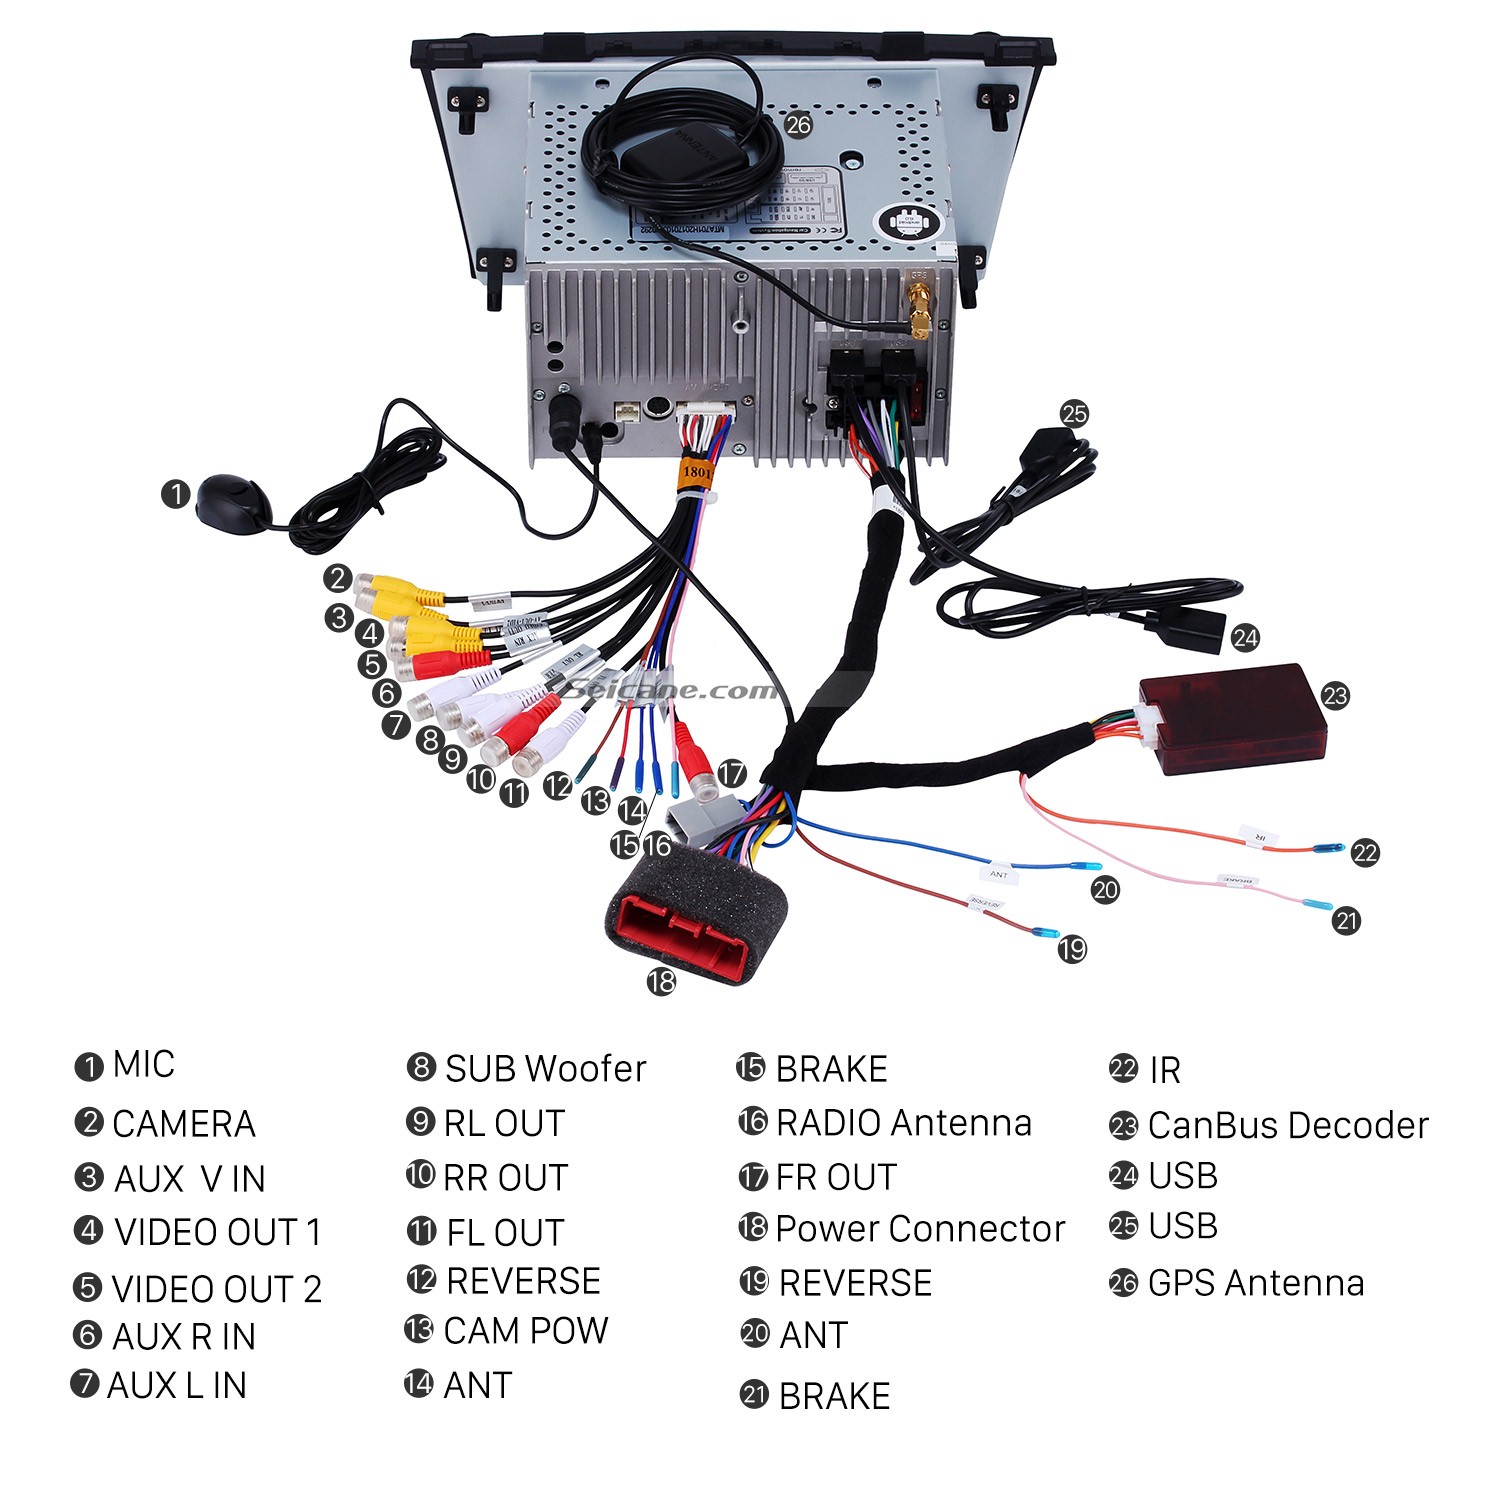
Connect the harnesses to the back of the new Seicane car radio
19. Connect the Seicane car radio to your original car radio ‘s plugs.
20. Turn on the new Seicane radio to have a careful check if everything works well. If it doesn’t, please check whether all the cables are connected correctly.
21. Put the new Seicane radio into the dash.
22. Put everything into their original place. All the installation is done.
That’s all about how to upgrade your factory radio by installing a new car radio in your car. If you have any doubts, you can contact your dealer, communicate with someone experienced or turn to a professional for help. Or you can arrange a professional technician to help you install the new car radio. Anyway, before installation, it is essential for you to select an ideal car radio for your beloved car. If you have no ideas, you can check out the following link which is an amazing 2009 2010 2011 2012 Mazda 3 car radio from Seicane. Here comes the link, please click:
This car radio, loaded with the most advanced Android 8.0 operation system and a powerful 8-core CPU processor as well as 4GB RAM and 32GB ROM, comes with both practical and entertainment features, such as GPS navigation, Bluetooth hands-free phone calls, Bluetooth streaming music, DVD player, FM/AM radio, file management, etc. Thanks to the built-in GPS navigation system, you can accurately go wherever you would like to go to through the turn-by-turn directions and voice prompts.
Besides, under the wireless Bluetooth technology, you can easily and freely link your Bluetooth-enabled mobile phone with this car radio so that you can get access to Bluetooth hands-free phone calls as well as enjoy Bluetooth streaming music.
What are you waiting for? If you like this unit, just add it to your shopping cart right now!
Recent Comments