It is a common phenomenon that more and more car owners would like to embrace a more wonderful driving experience. As far as I am concerned, to achieve that goal, it is wise of them to replace their factory radio with a new aftermarket car radio. If you are one of them, you can find a related car radio installation guide and refer to it carefully. The following is a 2012 Honda Civic car radio installation guide, which can be taken as your reference if you own the same vehicle type.
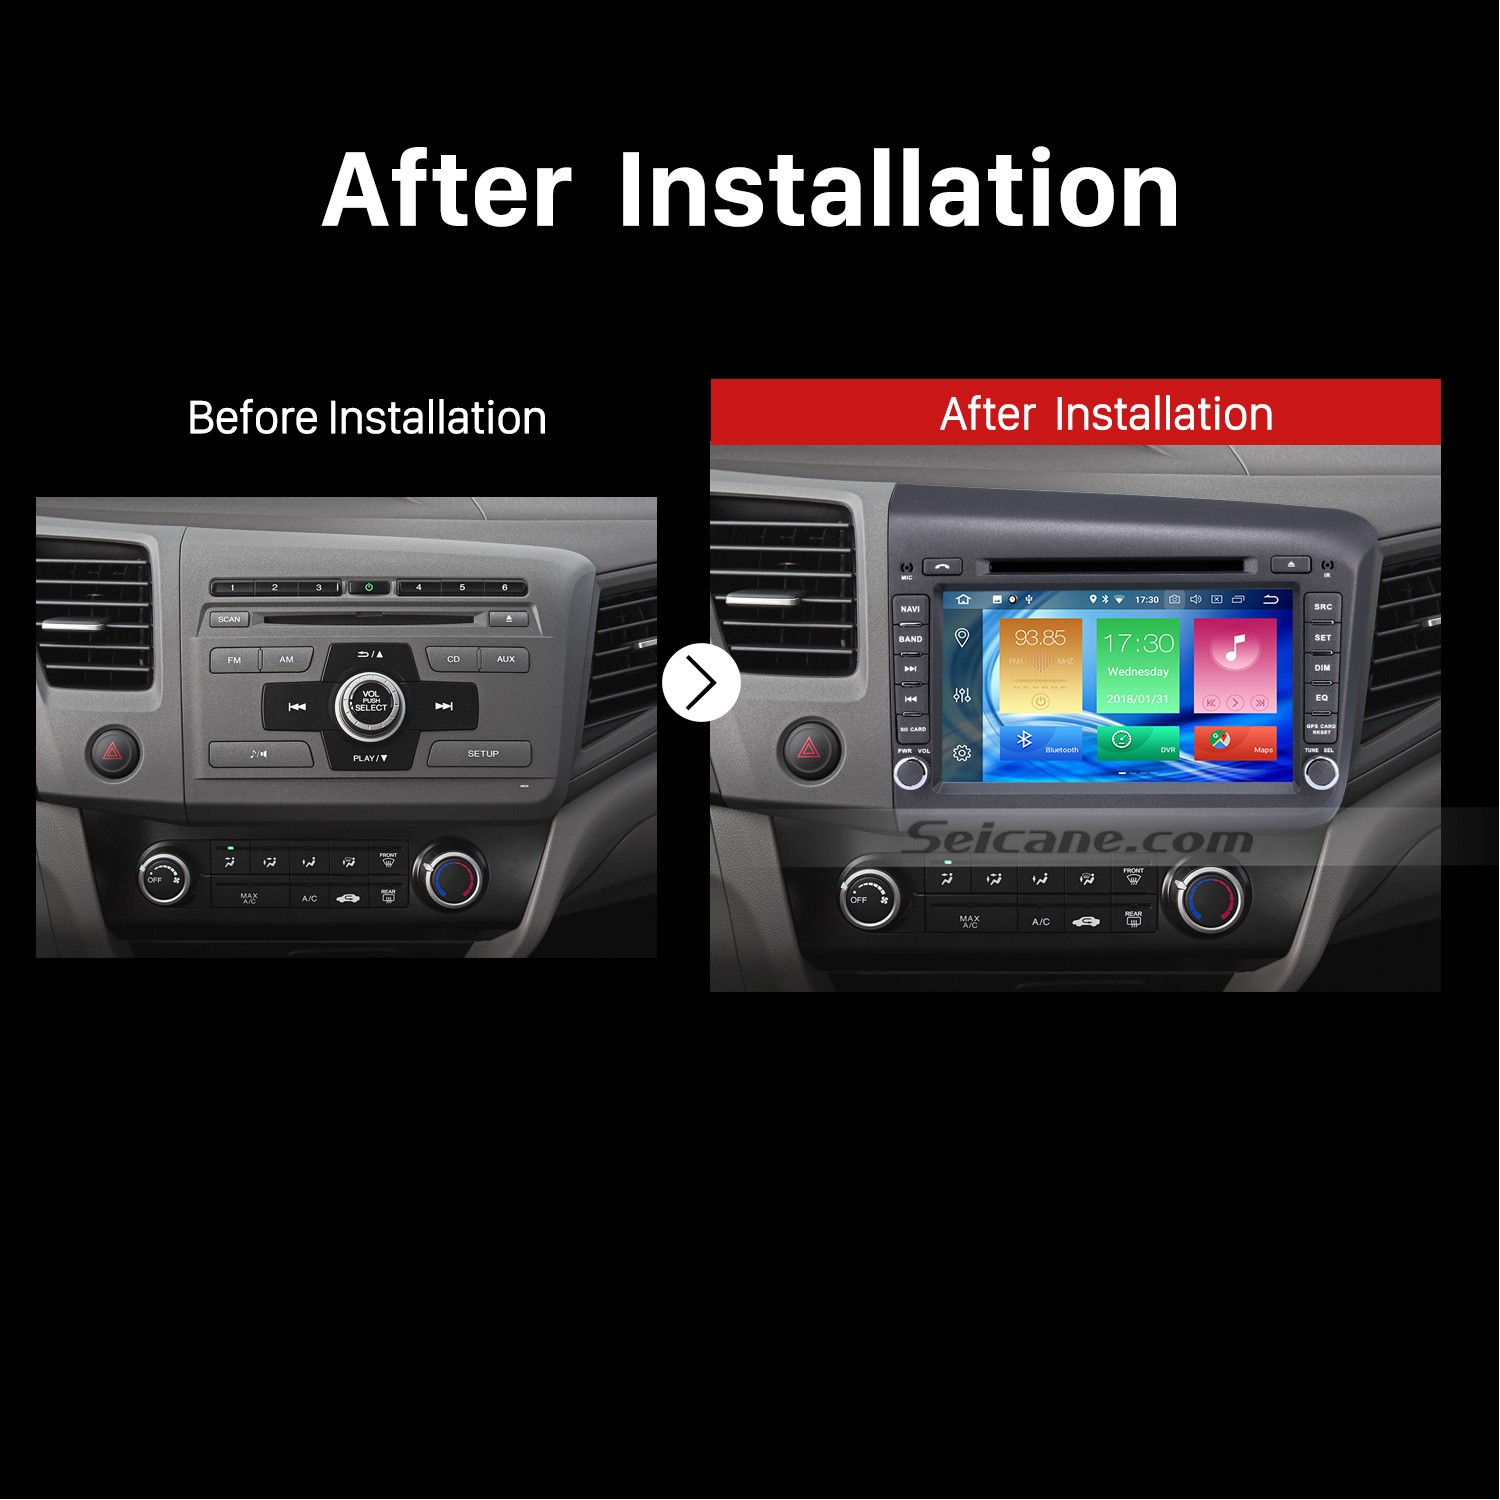
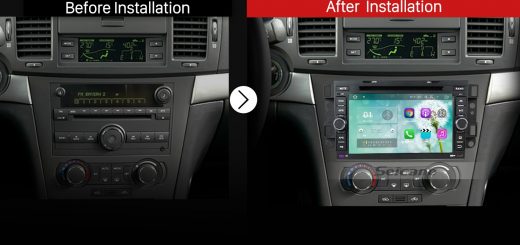
2012 Honda Civic Car Radio after installation
Before and during installation, you should notice:
1.Before connecting, please make sure the ignition is off to avoid short circuit.
2.Ensure connect the yellow and red power cable at last.
3.Ensure that all loose wires are isolated with electrical tape
4.Ensure don’t tangle the wire when tighten the moving parts(Such as seat rails).
5.Ensure that all ground is connected to the same place.
6.Using the improper fuse may cause damage of fire, so when replace the fuse, please consult the professional.
7.For your convenience, here’s the recommended tools for removal and installation from Seicane, please check for more details: http://www.seicane.com/car-dvd-dismantling-devicesrd-400
2012 Honda Civic car radio installation guide
1. Remove the automotive oil table top panel with plastic knife.
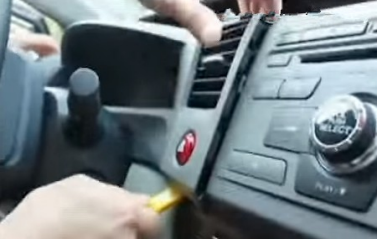
Remove the automotive oil table top panel with plastic knife
2. Remove the screws under the original car CD.
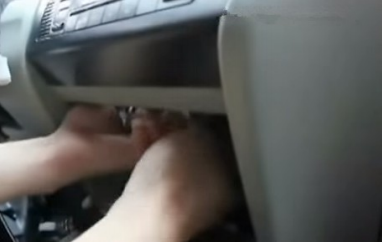
Remove the screws under the original car CD
3. Take the original radio out of the dash.
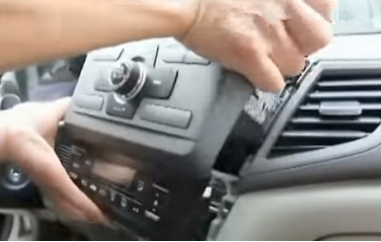
Take the original radio out of the dash
4. Pull the plugs at the back of the original radio.
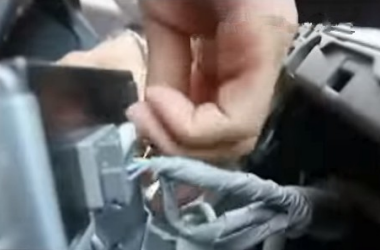
Pull the plugs at the back of the original radio
5. Check all the accessories for the new Seicane car radio.
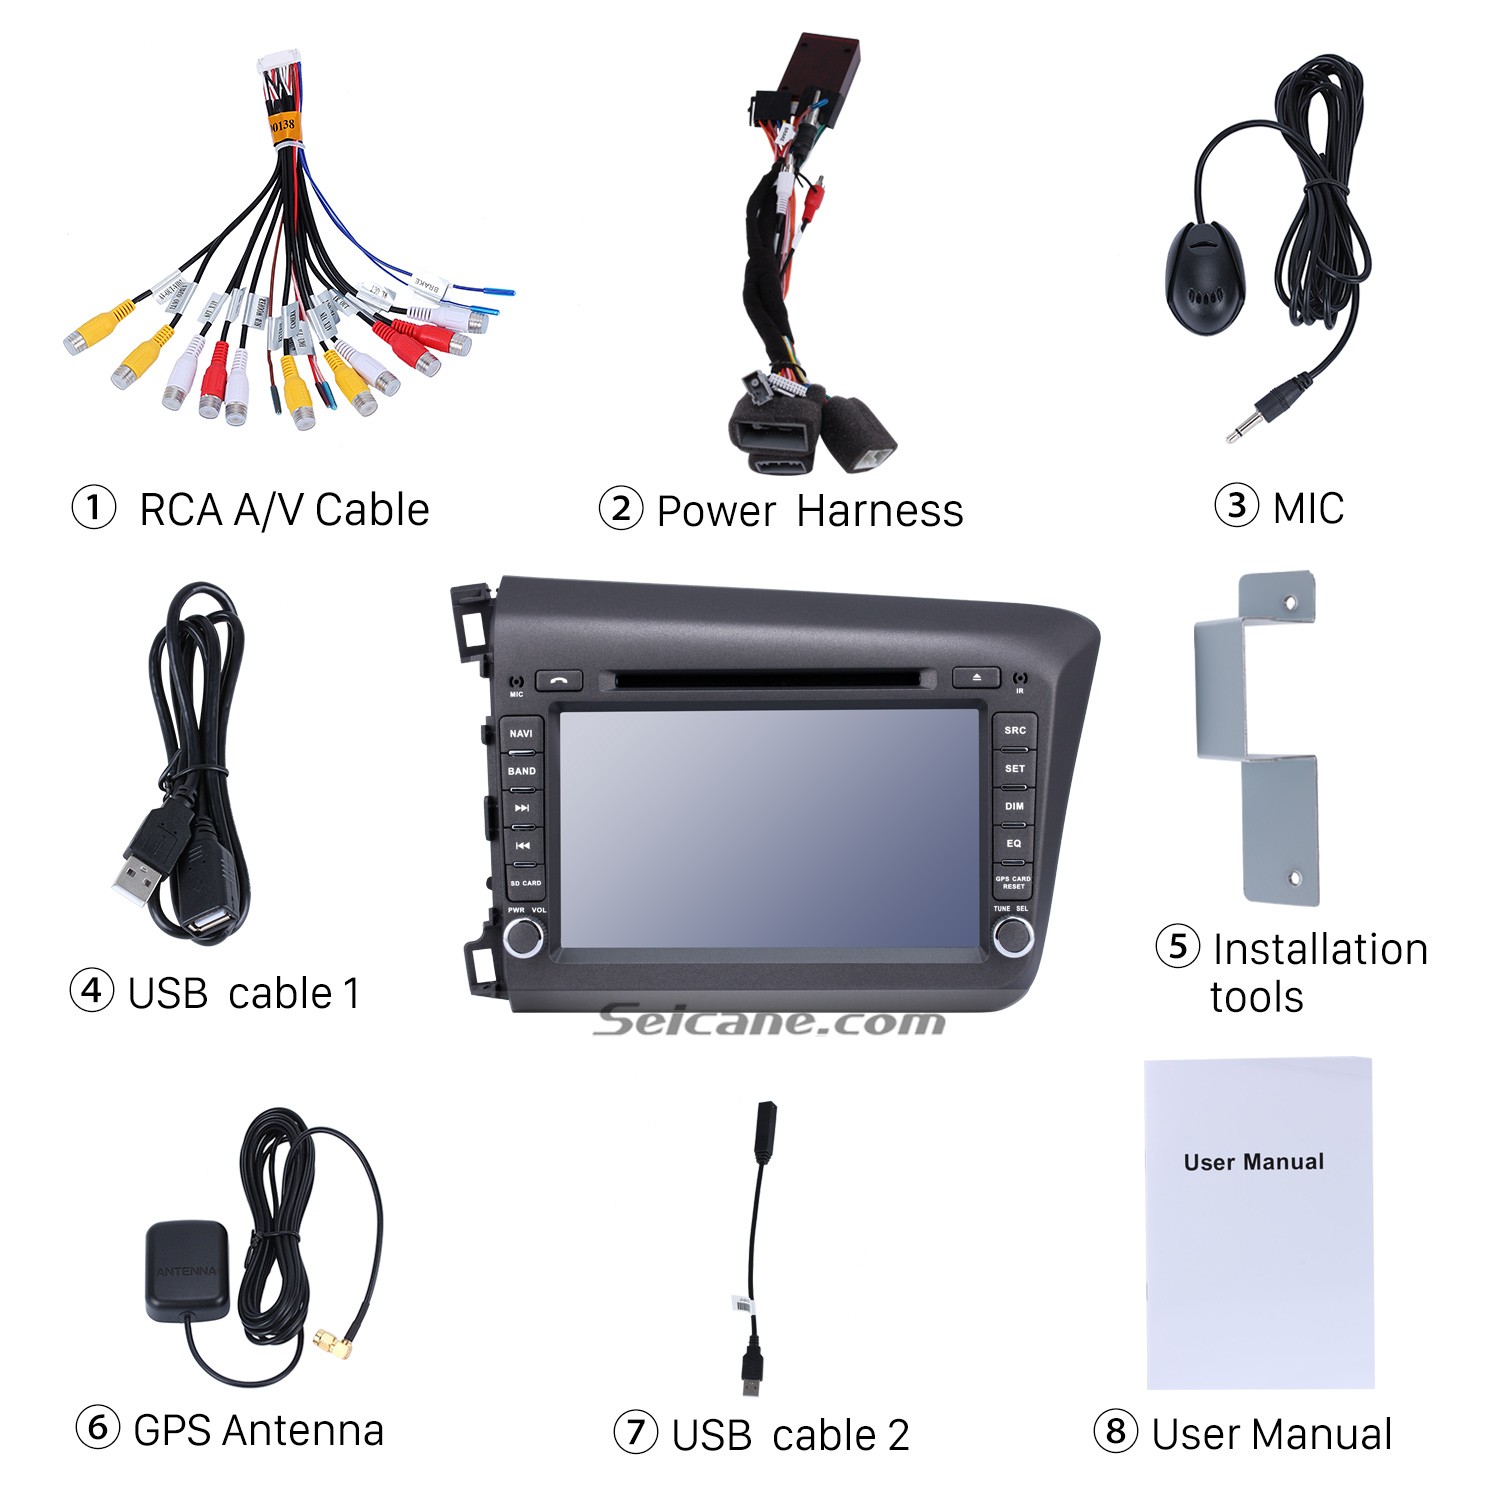
Check all the accessories for the new Seicane car radio
6. Connect the harnesses to the back of the new Seicane car radio.
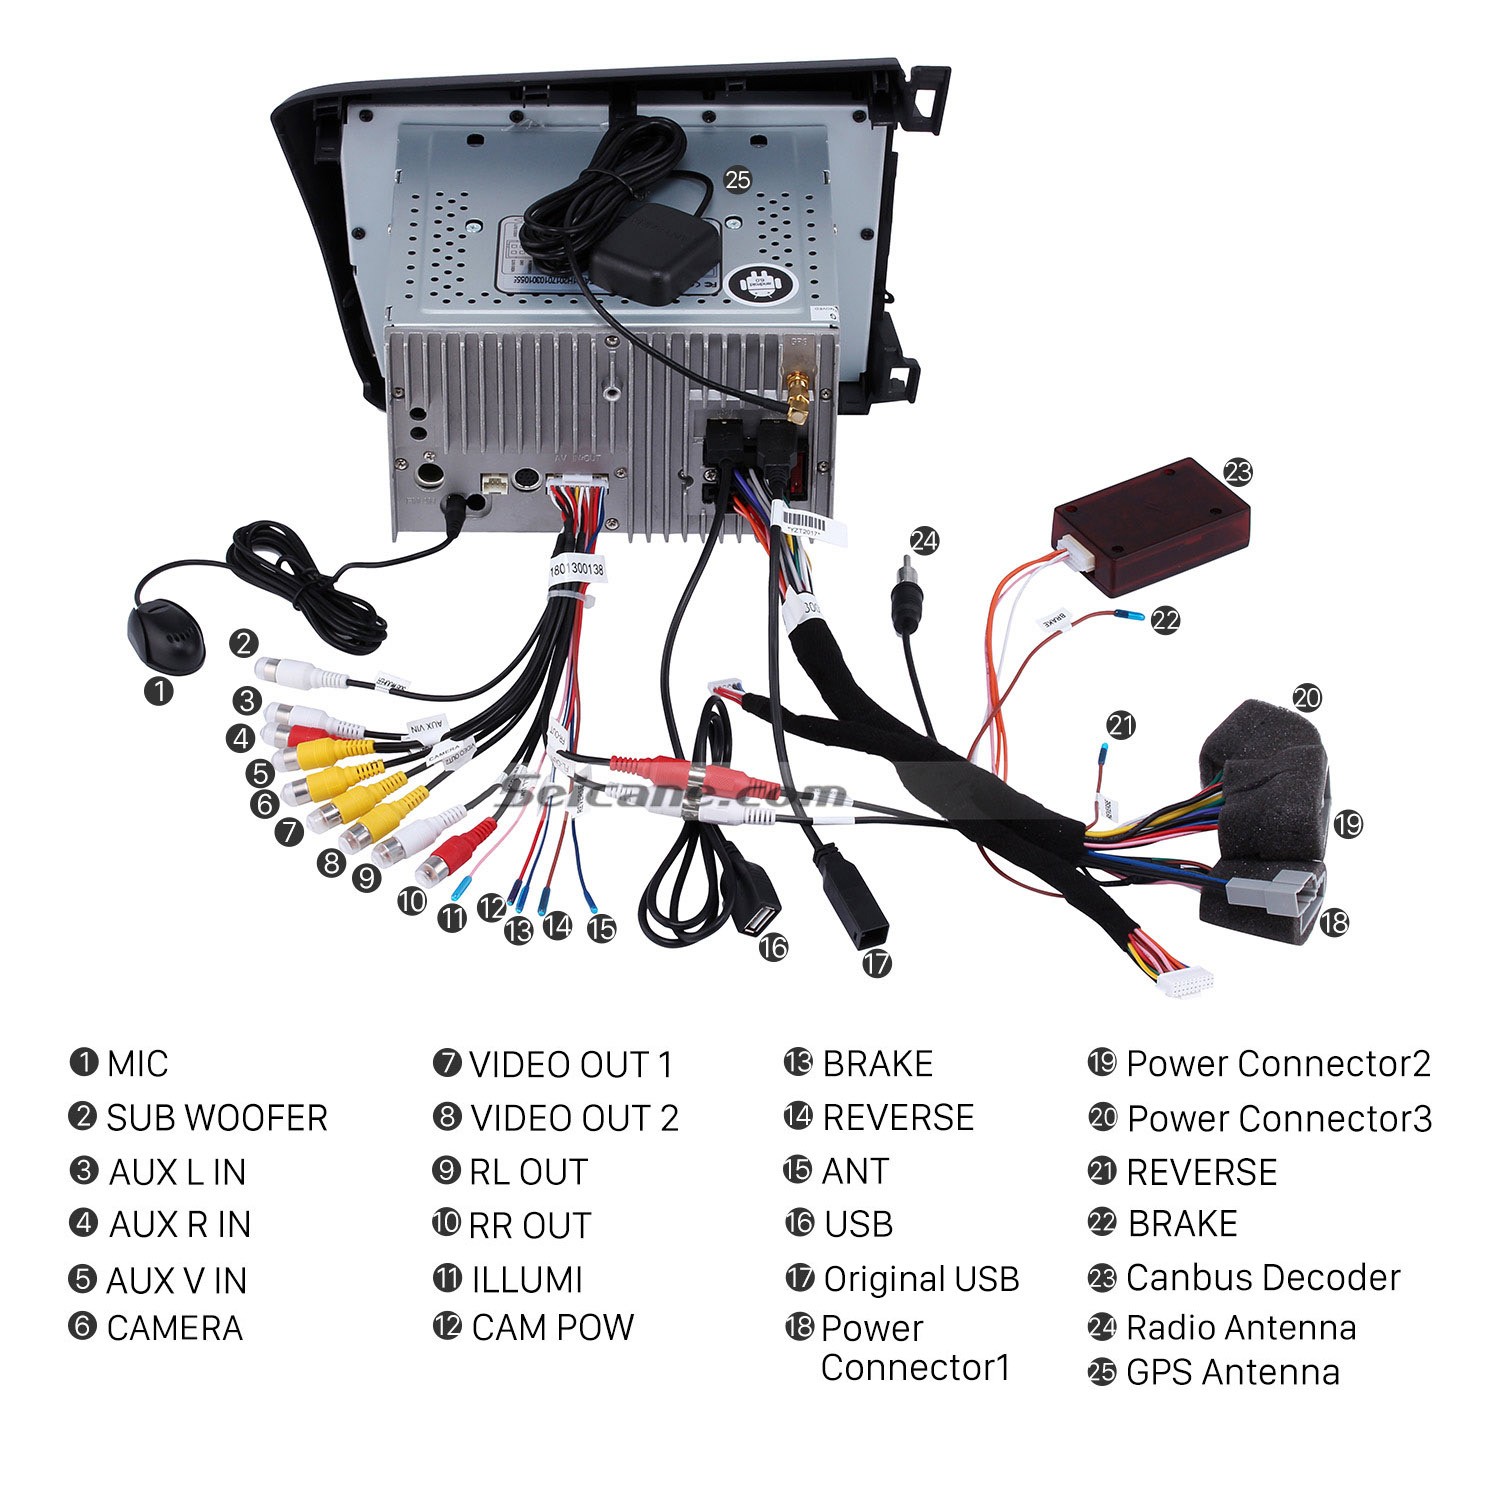
Connect the harnesses to the back of the new Seicane car radio
7. Connect the Seicane car radio to your original car radio’s plugs.
8. Put the new Seicane car radio into the dash.
9. Turn on the new Seicane car radio and check whether the unit is working properly. If not, please check whether all the cables are connected correctly.
10. Install screws and the panel, and put everything into their original place.
Wish you can get some inspiration from the above installation steps. If you have any problems, you can consult your dealer, communicate with someone experienced or turn to a professional for help. Or you’d better go to a car radio upgrade center and get the car radio installed by a professional technician. Besides, it is very vital for you to pick an ideal car radio for your beloved car. If you have no ideas, you can check out the following link which is a marvelous 2012 Honda Civic car radio from Seicane.
The car radio is running on the latest and stable Android 8.0 operation system and a powerful 8-core CPU processor as well as 4GB RAM and 32GB ROM, so you will be able to enjoy its great utility and super high performance. Besides, it also comes with a lot of comprehensive feature for you to replace your factory radio, mainly including 3D GPS navigation function, FM/AM radio, Bluetooth hands-free phone calls, Bluetooth streaming music, USB port, file management, etc.
For the entertainment features, you can utilize this car radio’s DVD player function to play your favorite videos, TV programs or movies to relax both yourself and your passengers.
Wish you like this unit and good luck to you!

Recent Comments