If you would like to get the greatest convenience and enjoyment, you can think about removing your factory radio and installing a brand new car radio which can be compatible with a wide range of practical and entertainment features. And if you have some related installation experience, you can follow a correct guide to deal with the installation. Now I’d like to share a 2010 2011 2012 KIA SORENTO car radio installation guide from Seicane with you. If you own the same or similar dashboard, you can take this installation guide as a reference.
Tips about the installation:
1. Please disconnect the power before the installation.
2. Please prepare a lever and a screwdriver before the removal and the installation.
3. Please keep all the separate parts from the car. Please take great care of the dashboard to avoid scratching it during its detachment and installation. Please keep handy any parts from the car and make use of all the original screws from the car as much as possible. so each related part of the unit can be fixed securely.
4. For your convenience, here’s the recommended tools for removal and installation from Seicane, please check for more details: http://www.seicane.com/car-dvd-dismantling-device-srd-400
2010 2011 2012 KIA SORENTO car radio installation guide
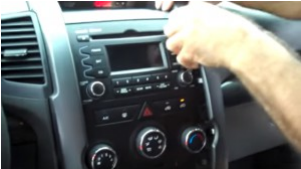
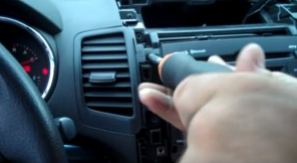
1. First remove the shifter knob.
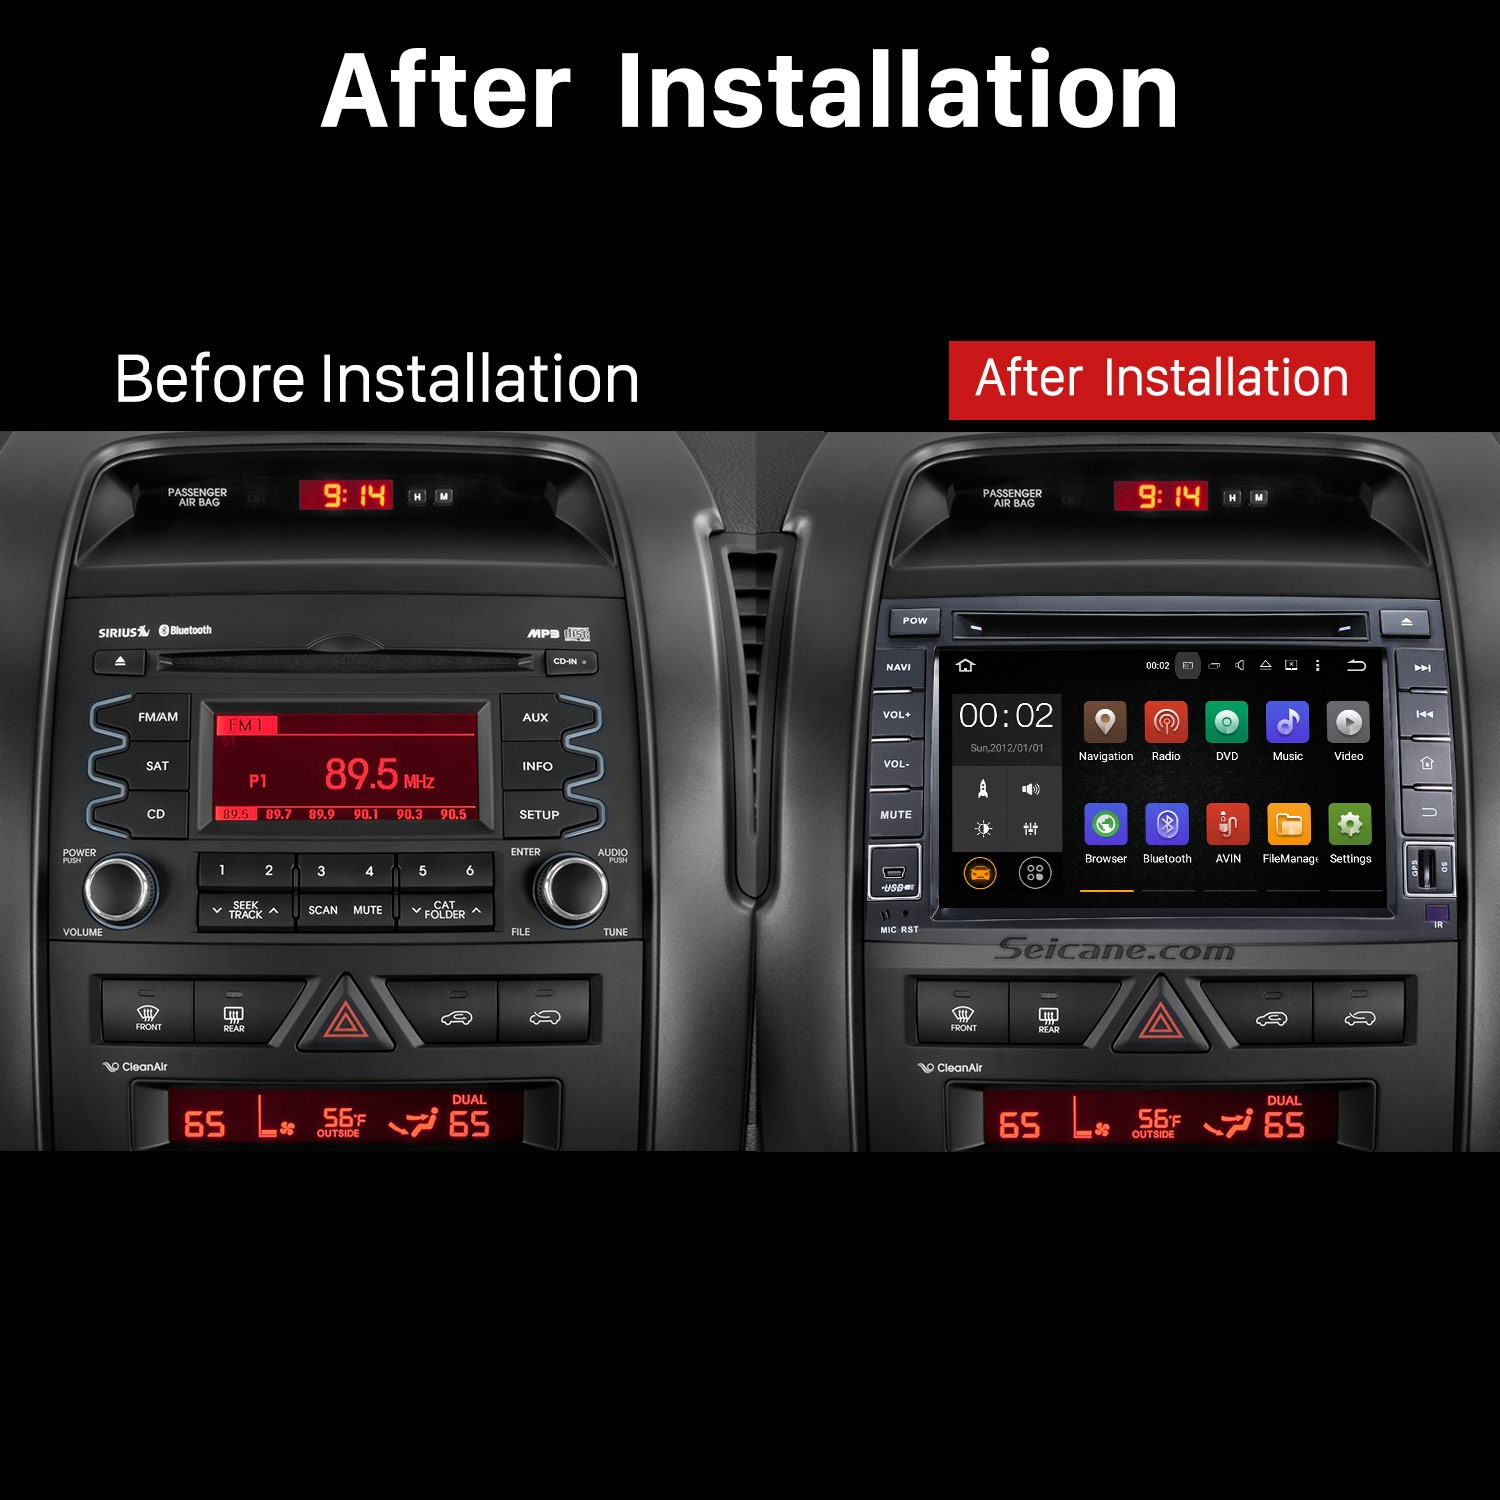
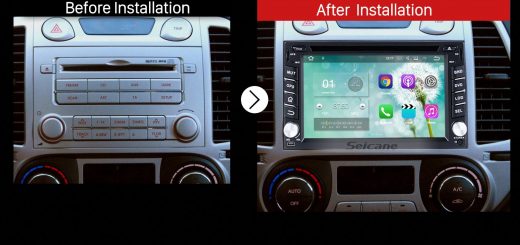
2010 2011 2012 KIA SORENTO Car Radio Stereo DVD Player after installation
2. Remove the cup holder by pulling them upward.
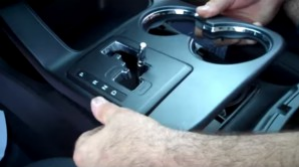
Remove the cup holder by pulling them upward
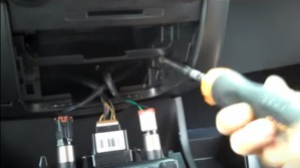
3. Watch out the connector behind the cup holder, unplug it.
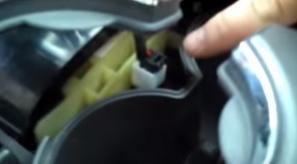
Watch out the connector behind the cup holder, unplug it
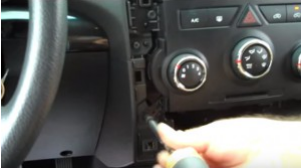
4. Pull out the panel without unplug connectors behind as the picture shows.
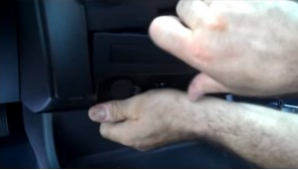
Pull out the panel without unplug connectors behind as the picture shows
5. Remove two screws holding the console panel in place with a Phillips screwdriver.
Remove two screws holding the console panel in place with a Phillips screwdriver
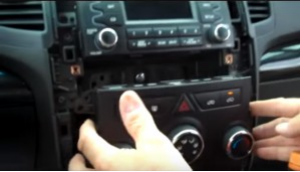
6. Remove the console panel without disconnect the harness behind it.
Remove the console panel without disconnect the harness behind it
7. Remove four screws holding the air condition in the place.
Remove four screws holding the air condition in the place
8. Pull out the air condition.
Pull out the air condition
9. Remove four screws holding the radio in the dashboard.
Remove four screws holding the radio in the dashboard
10. Pull out the original car radio.
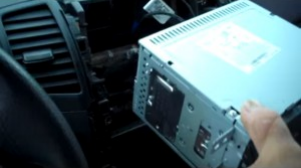
Pull out the original car radio
11. Unplug the connectors behind the radio.
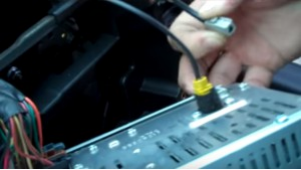
Unplug the connectors behind the radio
12. Check all the accessories for the new Seicane car radio.
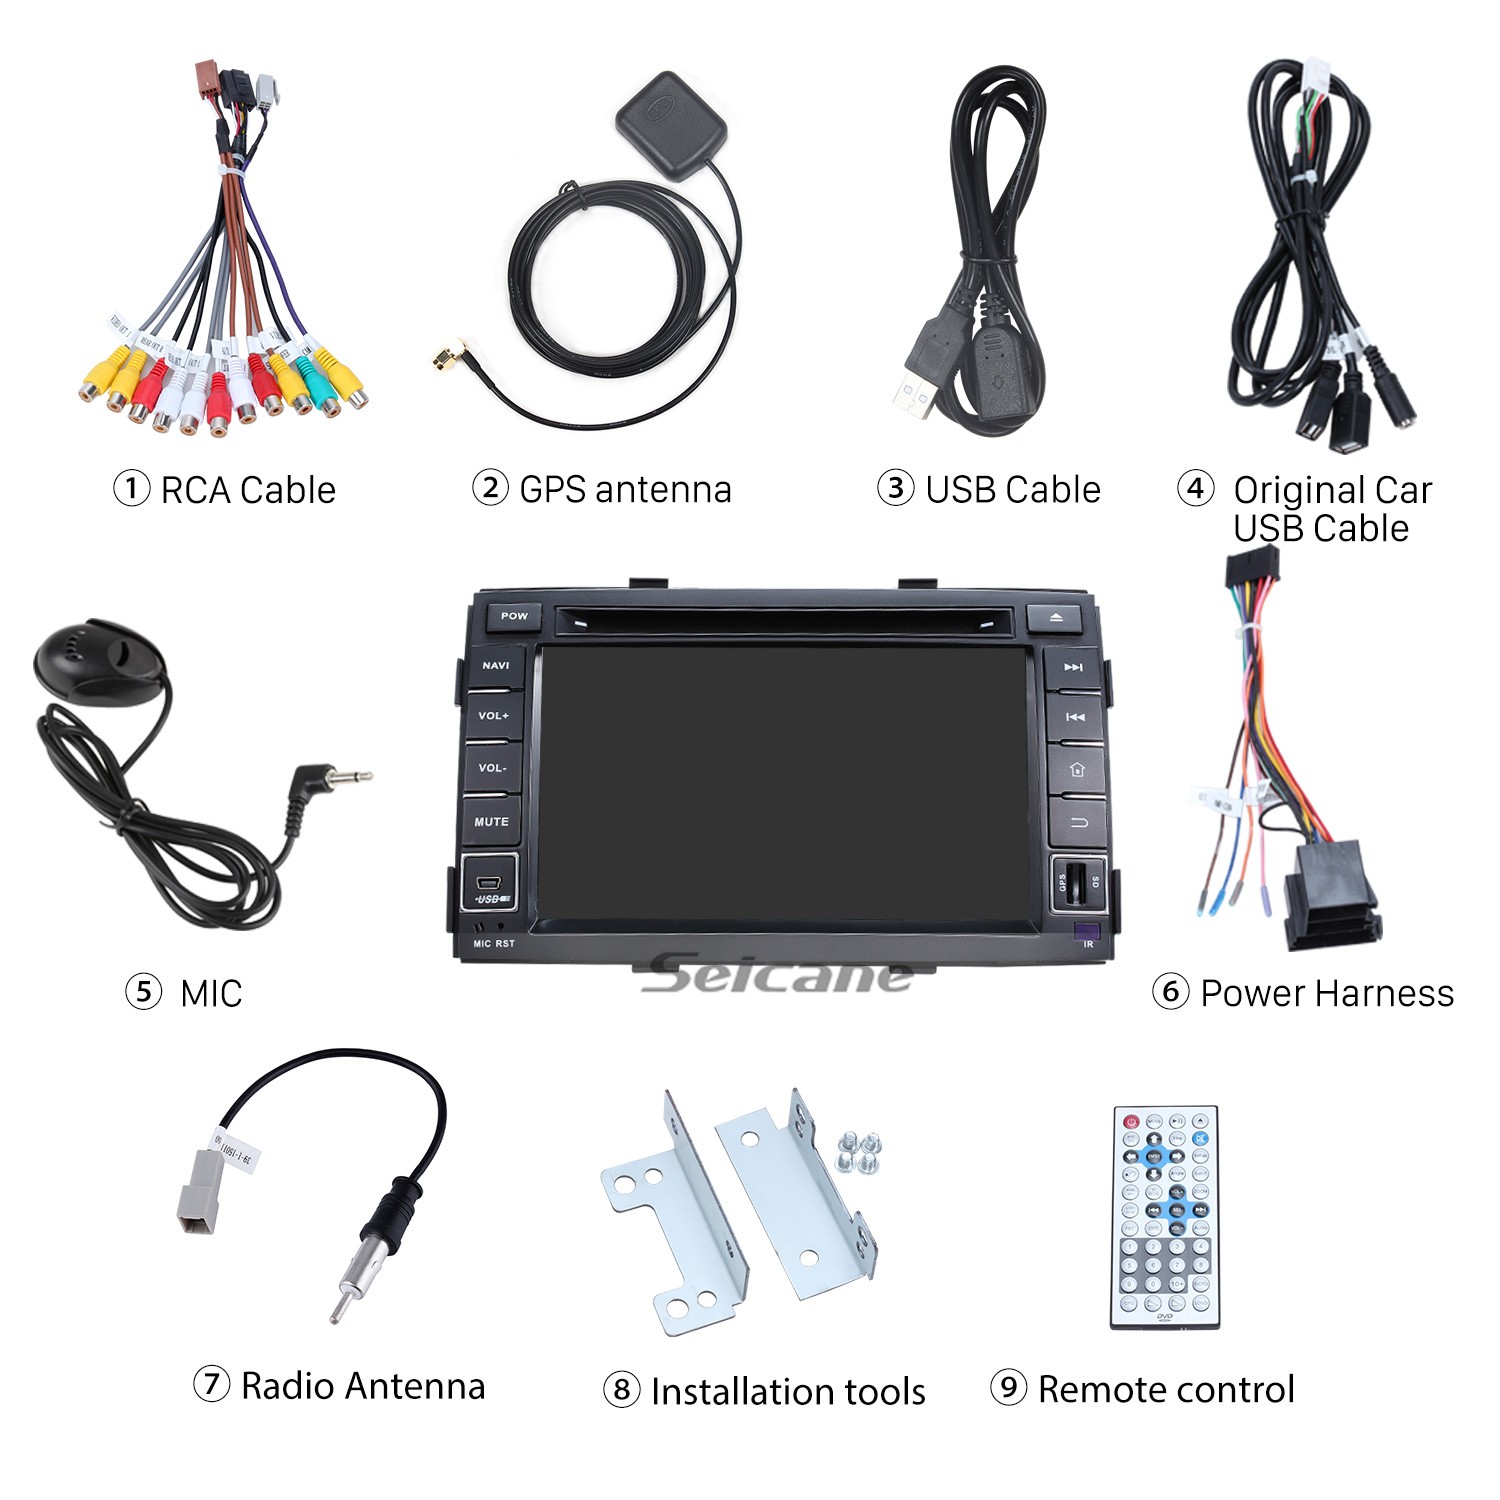
Check all the accessories for the new Seicane car radio
13. Connect the harnesses to the back of the new Seicane car radio.
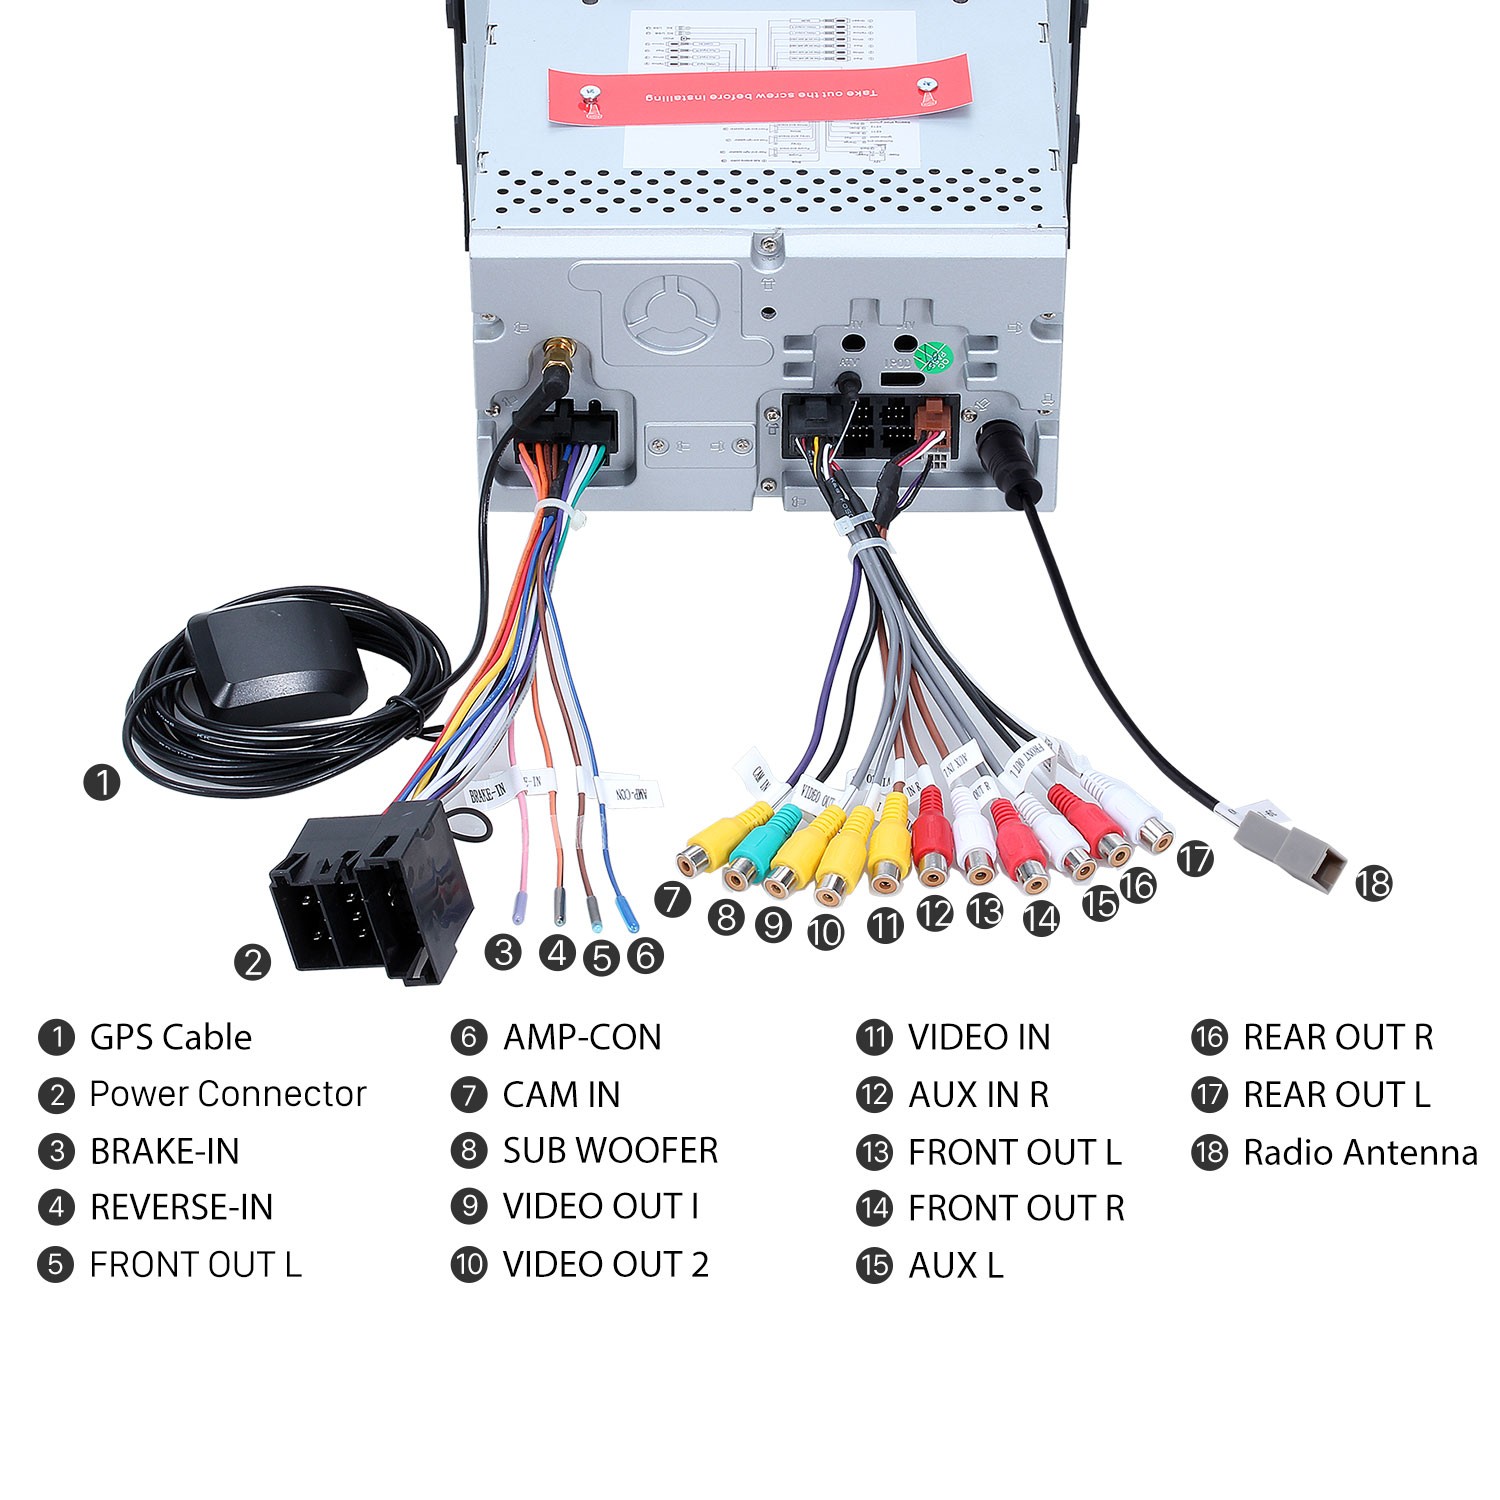
Connect the harnesses to the back of the new Seicane car radio
14. Connect the Seicane car radio to your original car radio ‘s plugs.
15. Turn on the new Seicane radio to have a careful check if everything works well. If it doesn’t, please check whether all the cables are connected correctly.
16.Put the new Seicane radio into the dash.
17. Put everything into their original place. All the installation is done.
Now do you know how to install your new car radio by yourself? If not, please don’t be over worried. In that case, you can contact your dealer, seek help from a professional or turn to a professional for help. And you can also directly go to a car radio upgrade center to arrange a professional technician to help you install the new car radio directly.
To help you select an ideal car radio for your beloved car, here I would like to share a remarkable 2010 2011 2012 KIA SORENTO car radio from Seicane with you. For more details, please click:
This car radio is loaded with the latest Android 7.1 operation system, a high-quality quad-core CPU processor and a 2GB RAM to enhance its capabilities and improve its performance. So it is advanced enough to be taken as one of the best replacements for your factory radio.
With this all-in-one car radio installed in your car, you will be able to get access to a wide range of practical and entertainment features, which mainly include 3D GPS navigation, FM/AM radio tuner, DVD player, Bluetooth hands-free phone calls, Bluetooth streaming music, AUX, file management, etc.
Apart from the above basic comprehensive features I’ve mentioned, there are also some optional features being supported by this unit, and you can freely choose to add them to this unit according to your requirement, including car DVR, backup camera, OBD2, DAB, TPMS, etc.
Wish you have a wonderful driving experience accompanied by this unit. Good luck to you!
Recent Comments