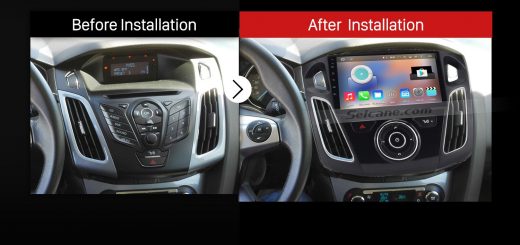
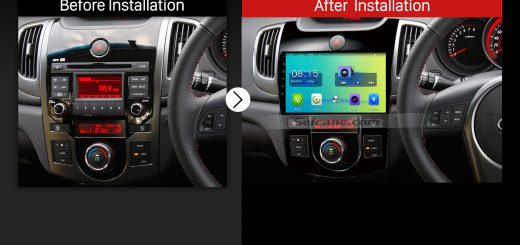
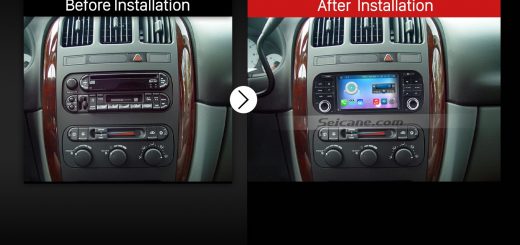
Most of car owner will worry about the installation when they want to upgrade the old factory radio. So they would rather keep the old factory radio in the car. In fact, it’s easy for car owner to install the new head unit by themselves. Now I’d like to share a detailed installation guide for a 2012 Toyota Hilux head unit from Seicane and you can take it as reference.
Precautions for this installation:
1.Before you start up any work, park your car well and unplug the negative power cable to avoid any danger.
2.Please make sure that all fastened wires are isolated with electrical tape.
3.Please make sure the ignition is off to avoid short circuit.
4.For your convenience, here’s the recommended tools for removal and installation from Seicane, please check for more details: http://www.seicane.com/car-dvd-dismantling-device-srd-400
2012 Toyota Hilux head unit installation guide
1. Remove the original panel with a plastic knife, pry gently along the gap and pick up the panel, then remove it and then set it aside.

Remove the original panel with a plastic knife, pry gently along the gap and pick up the panel, then remove it and then set it aside
2. Remove screws that fixed the radio on the dashboard.
3. Pull the factory radio out of the dash. Pull it with medium force, as the wires are connected to the radio.

Pull the factory radio out of the dash. Pull it with medium force, as the wires are connected to the radio
4. Unplug the connectors at the back of the factory radio.
5. Make antennas and cables connected step by step, and you should be very careful when you are doing this for it will affect whole procedure.

Make antennas and cables connected step by step, and you should be very careful when you are doing this for it will affect whole procedure
6. Put the new Seicane radio into your car, you should check whether your connections are correct, and you’d better have a tidy for the cables.
7. If everything is OK, firm screws into their original place.
8. Firm the panel on the new Seicane radio. Finally the new Seicane radio is installed and a comprehensive test should be conducted on the new radio.

Firm the panel on the new Seicane car stereo. Finally the new Seicane car stereo is installed and a comprehensive test should be conducted on the new radio
That’s all the detailed installation guide for a 2012 Toyota Hilux head unit. You can try to install the new head unit after reading this article. If you have any problem with the installation, please go to the dealer ask for help. Or arrange the professional to install it directly. In addition, you have to check the new head unit whether can work well in your car in the first time. If you don’t have one, I’d like to introduce a great 2012 Toyota Hilux head unit from Seicane to you. Here is the link:
This multifunctional 2012 Toyota Hilux head unit comes with main features including GPS navigation, DVD, CD, Bluetooth, FM/AM radio, IPOD, etc. You will find it easier to reach wherever you want to go without worrying about getting lost under the direction of the built-in GPS. To pair your Bluetooth-enabled cell phones with the Bluetooth of this unit, you can easily have hand-free calls and stream your favorite music, so that you are able to have a safe and cheerful driving all the time. Let’s enjoy your trips from now!


Recent Comments