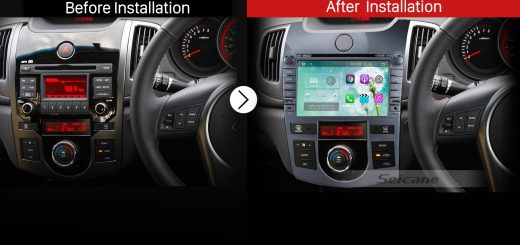
As you can see, nowadays there is a trend that more and more car owners are enjoying replacing their old factory radio by a up-to-date head unit with integrated features can bring both great in-car convenience and entertainment for you when you are in car. This article mainly introduces a detailed installation guide for a 2013 Hyundai IX45 in dash radio. Therefore, if you have a same or similar dashboard, this article is worth you reading.

2013 Hyundai IX45 in dash radio after installation
Before and during installation, you should notice:
1.Before connecting, please make sure the ignition is off to avoid short circuit.
2.Ensure connect the yellow and red power cable at last.
3.Ensure that all loose wires are isolated with electrical tape
4.Ensure don’t tangle the wire when tighten the moving parts(Such as seat rails).
5.Ensure that all ground is connected to the same place.
6.Using the improper fuse may cause damage of fire, so when replace the fuse, please consult the professional.
7.For your convenience, here’s the recommended tools for removal and installation from Seicane, please check for more details: http://www.seicane.com/car-dvd-dismantling-devicesrd-400
2013 Hyundai IX45 head unit installation steps
1. The original head unit.

The original head unit
2. Remove trim panels with a plastic knife from each side of center console.

Remove trim panels with a plastic knife from each side of center console
3. Use a screwdriver to remove four screws that fixed the head unit on the dashboard.

Use a screwdriver to remove four screws that fixed the head unit on the dashboard
4. Pull the factory head unit out of the dash. Pull it with medium force, as the wires are connected to the head unit.

Pull the factory head unit out of the dash. Pull it with medium force, as the wires are connected to the head unit
5. Unplug the connectors at the back of the factory radio.
6. Check all the accessories for the new Seicane head unit.
7. Connect the harnesses to the back of the new Seicane head unit.
8. Connect the Seicane head unit to your original unit’s plugs.
9. Turn on the new Seicane head unit to have a careful check if everything works well. If it doesn’t, please check whether all the cables are connected correctly.
10. Put the new Seicane head unit into the dash.
11. Put everything into their original place. All the installation is done.
Above is the installation instruction for a 2013 Hyundai IX45 in dash radio, wish you can get some inspiration from it. If there are still some problems you cannot solve independently, it is highly suggested that you should consult your dealer or ask a professional for help. But if you haven’t got a suitable stereo yet, I’d like to recommend a wonderful 2013 Hyundai IX45 in dash radio from Seicane to you. You can click the following link for more details.
This remarkable head unit, featured with advanced Android 5.1.1 based system and powerful Quad-core CPU, greatly facilitate the operation and performance. With the built-in Bluetooth technology in this unit, you are able to simply connect your enabled phone with this unit so as to have hands-free calls as well as music streaming to keep you safe and relaxed all the way. Thanks to the text-to-speech guidance provided by the strong 3D GPS navigation system, you can reach your ideal destination accurately and punctually. As for entertainment features, a variety of options are available for you to please both you and your passengers during your in-car time. Wish you like it. Good luck to you!

Recent Comments