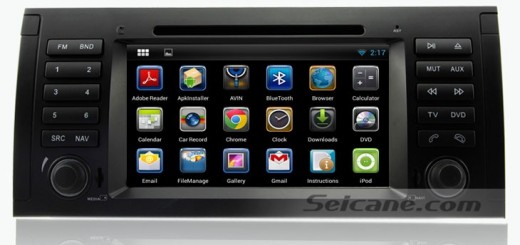
Replacing your factory radio can be done by more and more car owners nowadays, since the step-by-step installation guide can make things easier. If you are a car owner of a 2006-2013 BMW Mini Cooper, please look at the picture below, it’s a 2006-2013 BMW Mini Cooper car stereo from Seicane after installation, if you also have the same dashboard, then you can take this detailed installation guide for a reference to help with the installation of your new car stereo.

2006-2013 BMW Mini Cooper car stereo after installation
Precautions for this installation:
1.Before you start up any work, park your car well and unplug the negative power cable to avoid any danger.
2.Please make sure that all fastened wires are isolated with electrical tape.
3.Please make sure the ignition is off to avoid short circuit.
2006-2013 BMW Mini Cooper car stereo installation guide
1. Remove two tabs in the air conditioning vent above the dash.

1. Remove two tabs in the air conditioning vent above the dash.
2. Remove the tachometer and set it aside.

2. Remove the tachometer and set it aside.
3. Remove the crew pocket panel with a lever, then put it aside.

3. Remove the crew pocket panel with a lever, then put it aside.
4. Open the glove box compartment, and remove the panel inside shown as the picture.

4. Open the glove box compartment, and remove the panel inside shown as the picture.
5. Pop out the panel beneath the steering wheel with a lever and your hands.

5. Pop out the panel beneath the steering wheel with a lever and your hands.
6. Remove the side panel with a lever and your hands.

6. Remove the side panel with a lever and your hands.
7. Remove the other side panel shown as the picture with a lever.

7. Remove the other side panel shown as the picture with a lever.
8. Remove the panel under the air-conditioning control with a lever.

8. Remove the panel under the air-conditioning control with a lever.
9. Unscrew all the screws holding the plastic cover with a screwdriver.

9. Unscrew all the screws holding the plastic cover with a screwdriver.
10. Remove the panel on the factory radio with your hands.

10. Remove the panel on the factory radio with your hands.
11. Remove the plastic cover of the whole air conditioning control.

11. Remove the plastic cover of the whole air conditioning control.
12. Disconnect the connectors at the back of the cover.

12. Disconnect the connectors at the back of the cover.
13. Unscrew all screws holding the factory radio with a screwdriver.

13. Unscrew all screws holding the factory radio with a screwdriver.
14. Gently take the factory radio out of the dashboard.
15. Make antennas and cables connected step by step as installation instructions show, and you should be very careful when you are doing this for it will affect whole procedure.
16. Put the new Seicane radio into your dashboard, you should check whether your connections are correct, the new radio is in right position, and you’d better have a tidy for the cables.
17. Check whether the new Seicane radio is working without problem.
18. If there is no problem, firm removed screws and bolts that are put aside, then make trim panel back on your new Seicane radio.
Is it easy for you to understand all the steps and finish the installation on your own? If you say no, then you’d better have a professional install your new stereo. Because incorrect installation may cause irreparable damage for both your car and your new stereo. Besides, a suitable car stereo is also vital, to ensure you have a successful upgrade, please pick up a suitable car stereo for your car, if you don’t have one, then you can refer to this modern Seicane 2006-2013 BMW Mini Cooper car stereo, please click for more details:
This advanced BMW Mini Cooper car stereo comes with a lot of features for you to upgrade your factory radio. Just reach your desired destination on time with the turn-by-turn direction and voice prompts offered by the latest GPS navigation system. You can enjoy a safe and delightful journey when you pair with your compatible cell phone via the wireless bluetooth connection for hands-free calls and voice prompts.
Wish you like this amazing BMW Mini Cooper car stereo and have a wonderful time on all trips. Good luck to you!

Will it fit in a mini one 1600,r57 convertible HY13FCU 2013
“Dear,
This is Seicane.com.
Thanks for interested in our product.
Could you please send us the photo of your car’s dashboard to sales@seicane.com?
And could you please tell us the model and year of your car?
Then we can help you check if this unit can fit your car or not ,hope you could cooperate with us.
Looking forward to hearing from you soon.
Thank you & Best regards!
“