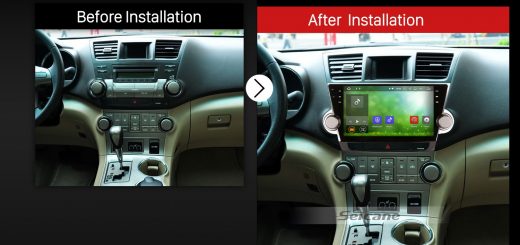
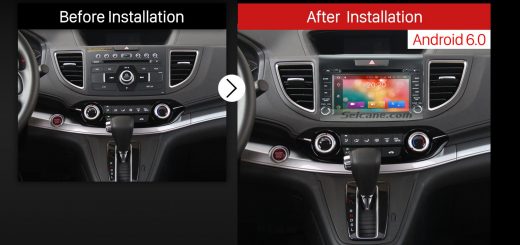
As it is well-known, a car stereo plays an important role in bringing both convenience and entertainment in a car all the way. If you are not so satisfied with your outdated factory radio due to its simple functions, it is suggested that you should upgrade your factory radio by installing a new aftermarket car stereo. To achieve the whole installation process, you need a detailed installation instruction to guide you. Here I would like to share an easy-to-understand installation instruction on a 2011 2012 2013 Hyundai Verna Accent Solaris Car Stereo from Seicane with you. Wish you can get some help from this instruction.
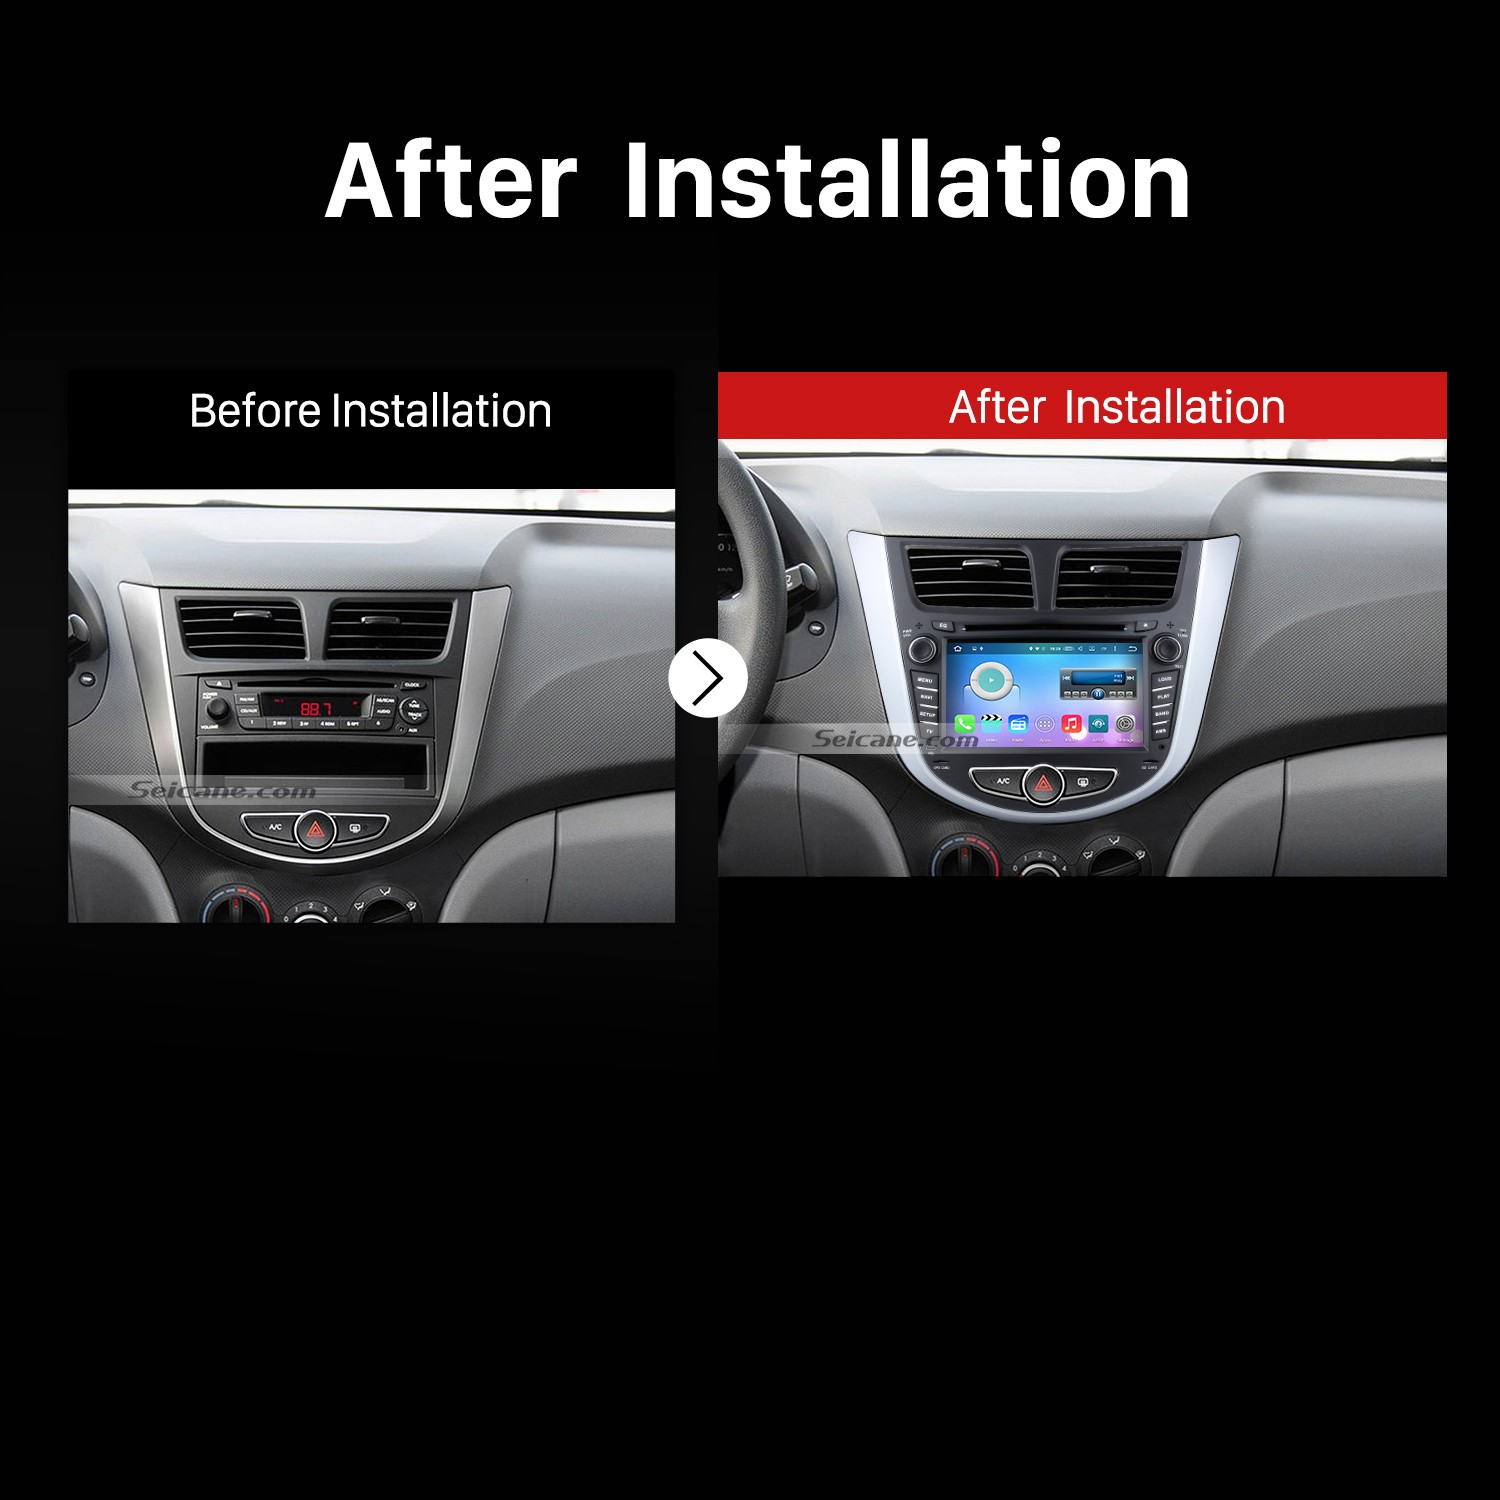
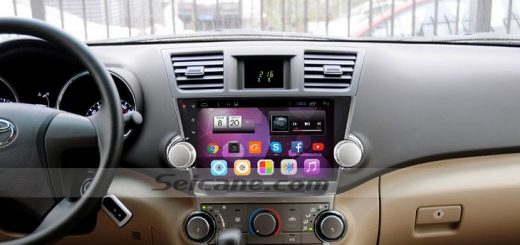
2011 2012 2013 Hyundai Verna Accent Solaris Car Stereo after installation
Some tips before the installation:
1.Please disconnect the power before the installation.
2.Please prepare a lever and a screwdriver before the removal and the installation.
3.Please keep all the separate parts from the car. Please take great care of the dashboard to avoid scratching it during its detachment and installation. Please keep handy any parts from the car and make use of all the original screws from the car as much as possible. so each related part of the unit can be fixed securely.
4.For your convenience, here’s the recommended tools for removal and installation from Seicane, please check for more details: http://www.seicane.com/car-dvd-dismantling-device-srd-400
2011 2012 2013 Hyundai Verna Accent Solaris car stereo installation instruction
1. Pry the edges of the panel with a lever.
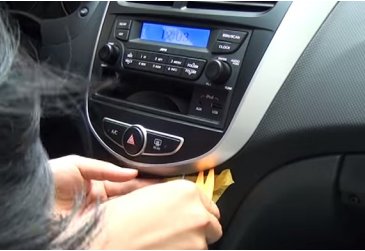
Pry the edges of the panel with a lever
2. Remove the panel with your hands.
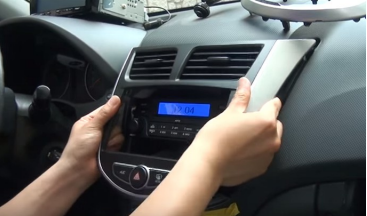
Remove the panel with your hands
3. Disconnect the connectors at the back of the panel.
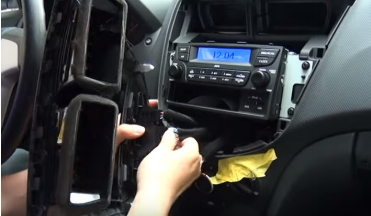
Disconnect the connectors at the back of the panel
4. Unscrew four screws holding the original radio in place with a screwdriver.
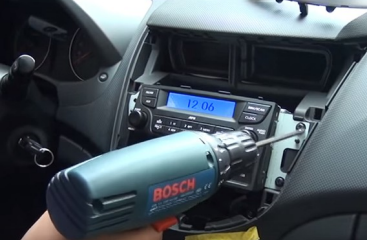
Unscrew four screws holding the original radio in place with a screwdriver
5. Take the original radio out of the dash with your hands.
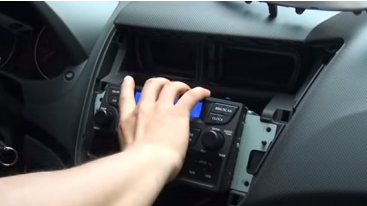
Take the original radio out of the dash with your hands
6. Disconnect the connectors at the back of the original radio.

Disconnect the connectors at the back of the original radio
7. Check all the accessories for the new Seicane car stereo.
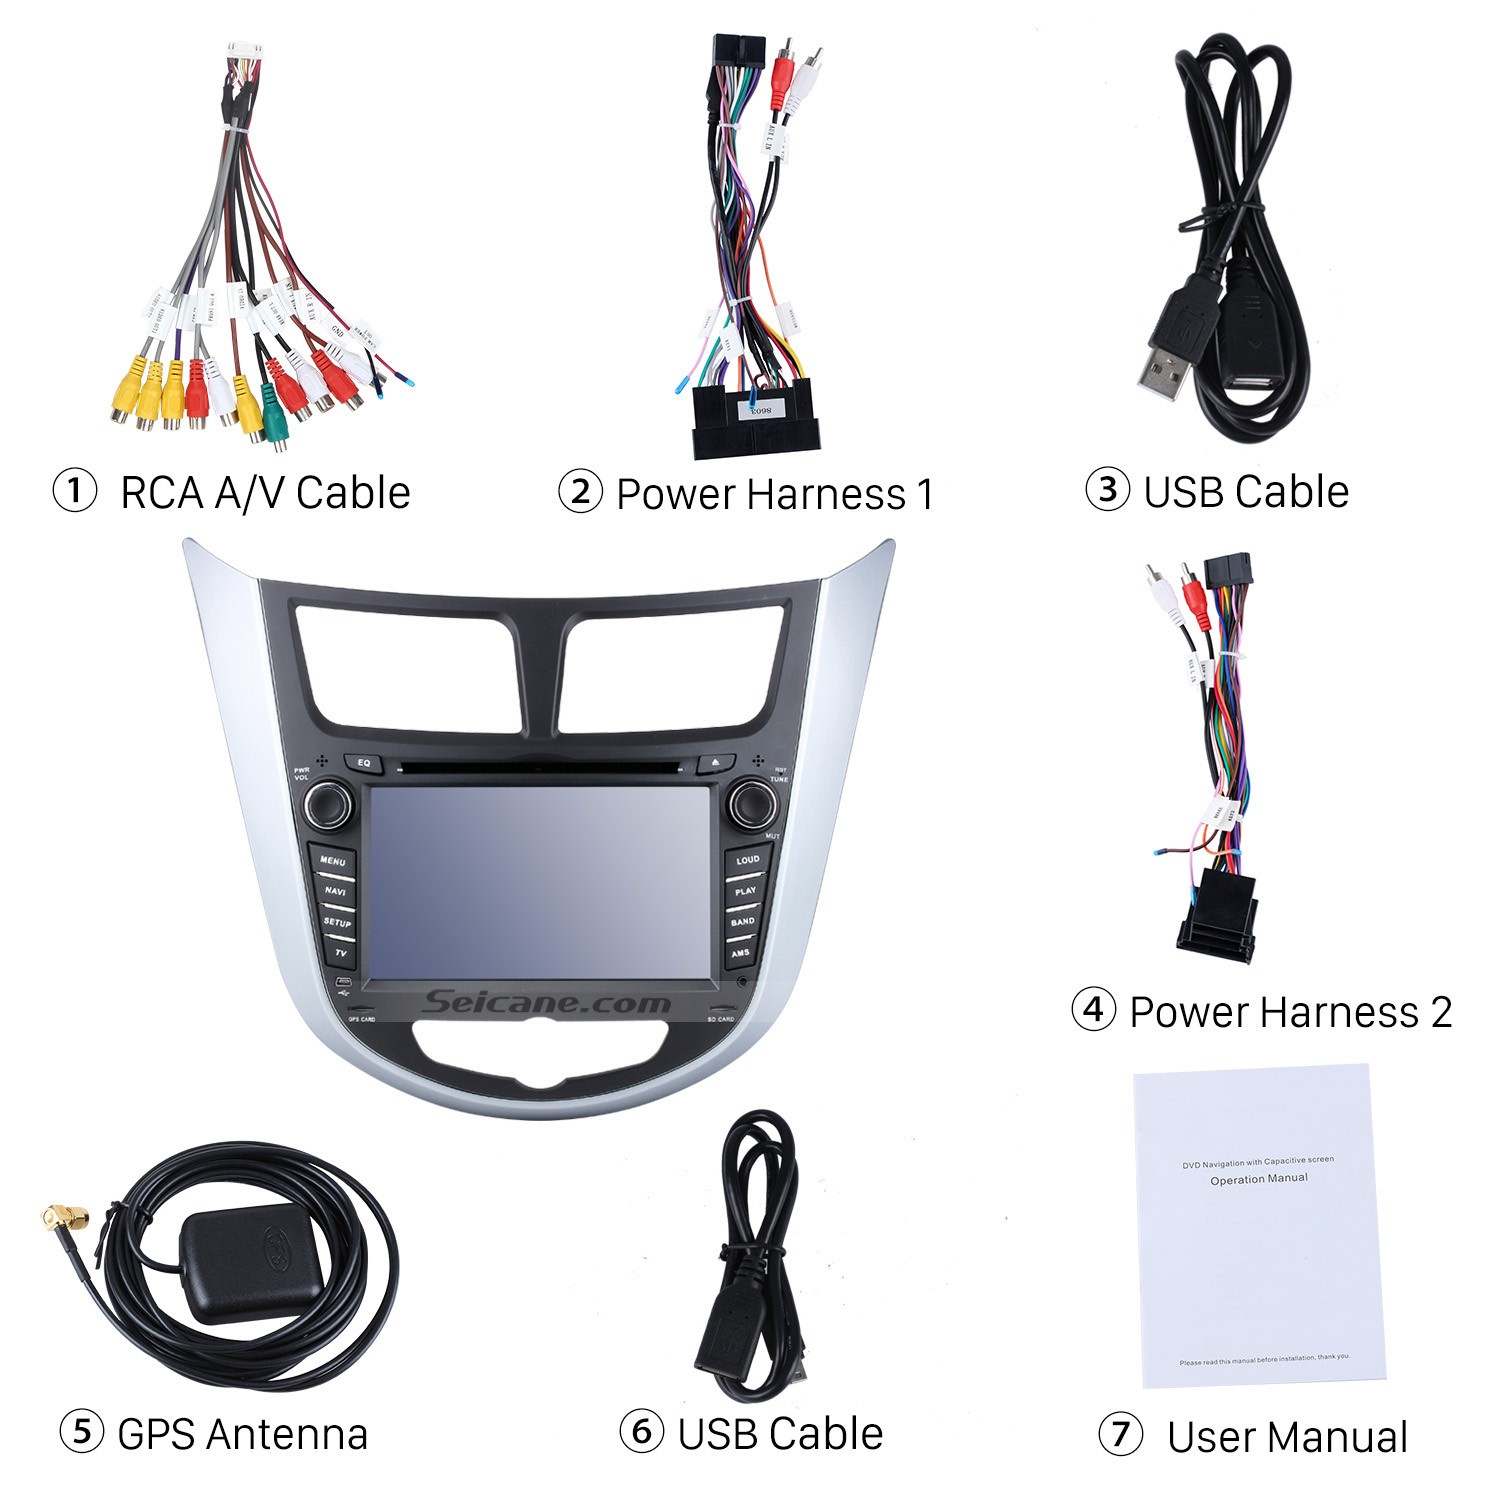
Check all the accessories for the new Seicane car stereo
8. Connect the harnesses to the back of the new Seicane car stereo.
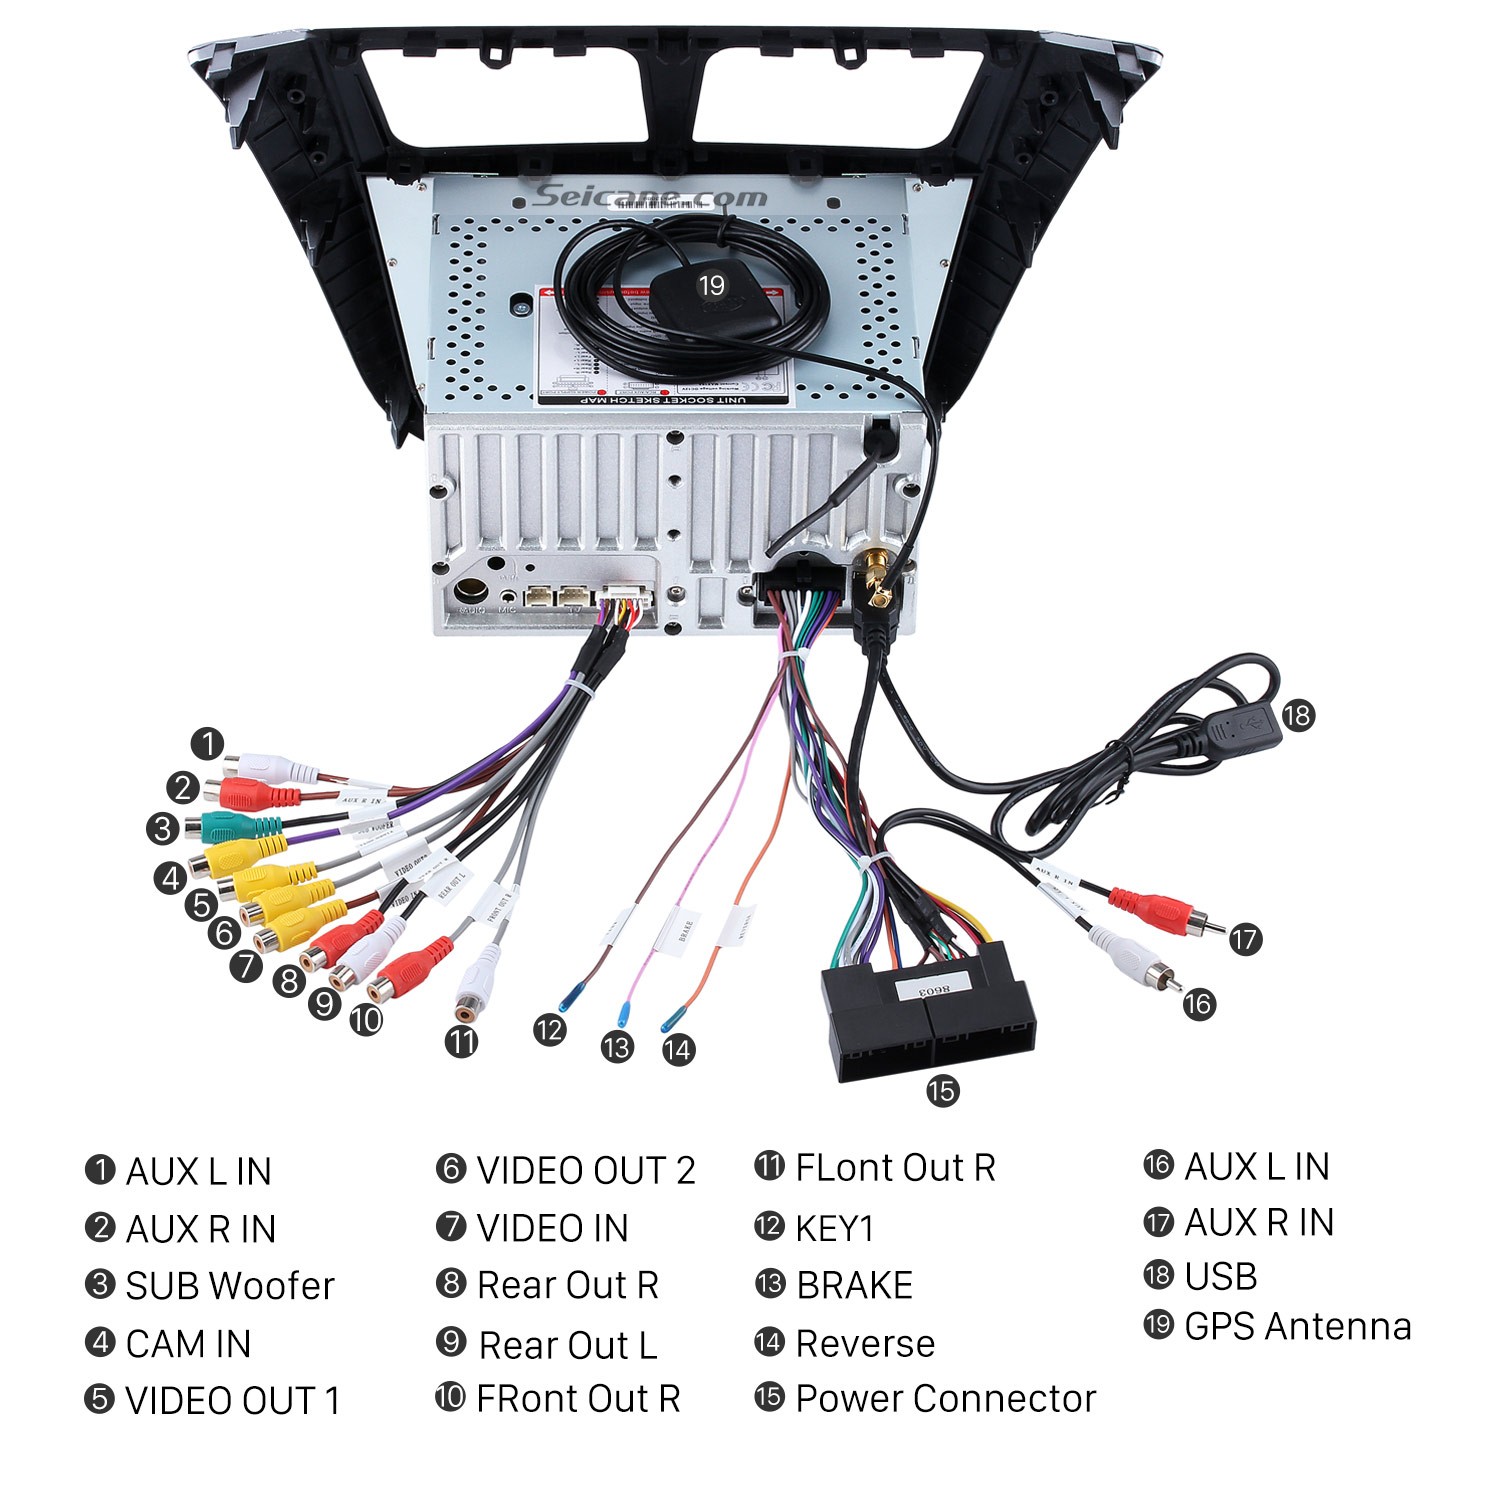
Connect the harnesses to the back of the new Seicane car stereo
9. Connect the Seicane car stereo to your original car radio’s plugs.
10. Turn on the new Seicane car stereo to have a careful check if everything works well. If it doesn’t, please check whether all the cables are connected correctly.
11. Put the new Seicane car stereo into the dash.
12. Put everything into their original place.
Don’t worry if you encounter any problems during the installation. To solve the problems, you can not contact your dealer for a wiring diagram but also turn to a professional for help. Besides, it is very crucial for you to select a compatible car stereo which can fit your car very well. If you have no ideas, I’d like to recommend a remarkable 2011 2012 2013 Hyundai Verna Accent Solaris Car Stereo from Seicane to you. Here comes the link, please click:
With this remarkable car stereo installed in your car, your driving experience will absolutely be taken up a notch. It is running on the most advanced Android 6.0 operation system and powerful 8-core CPU processor.
The high-end 3D GPS navigation system is specially built in this unit, so you will have no trouble in knowing your current location and finding the right way to your desired destinations even though you are not good at identifying directions.
You are able to dial, receive, reject and mute hands-free calls as well as listen to streaming music from your phone music playlists if you connect your Bluetooth-enabled mobile phone to this unit.
Apart from basic comprehensive features, you can also add a backup camera to this unit, which can make it easier for your parking.
Wish you like this unit and enjoy your in-car life accompanied by this unit from now on.
Recent Comments