This is a picture of original Toyota Tundra Radio.There are few functions in it.If you want to have more useful functions, you can upgrade it.If your car’s dashboard is familiar to this one, and you want to upgrade the head unit by yourself. I will tell you some simple steps to do it by yourself.
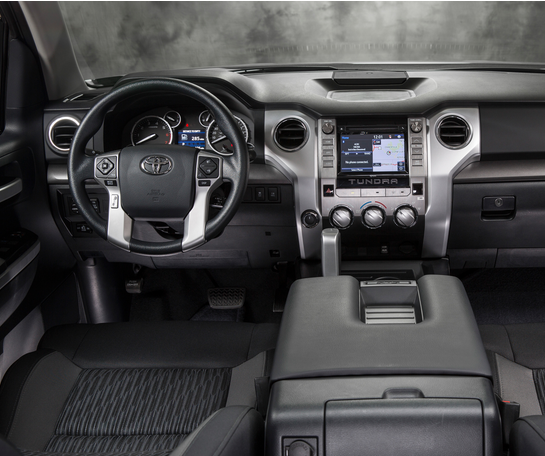
2014 Toyota Tundra dashboard
2014 Toyota Tundra radio removal
1)Unscrew the shifter knob by turning it counterclockwise and remove it
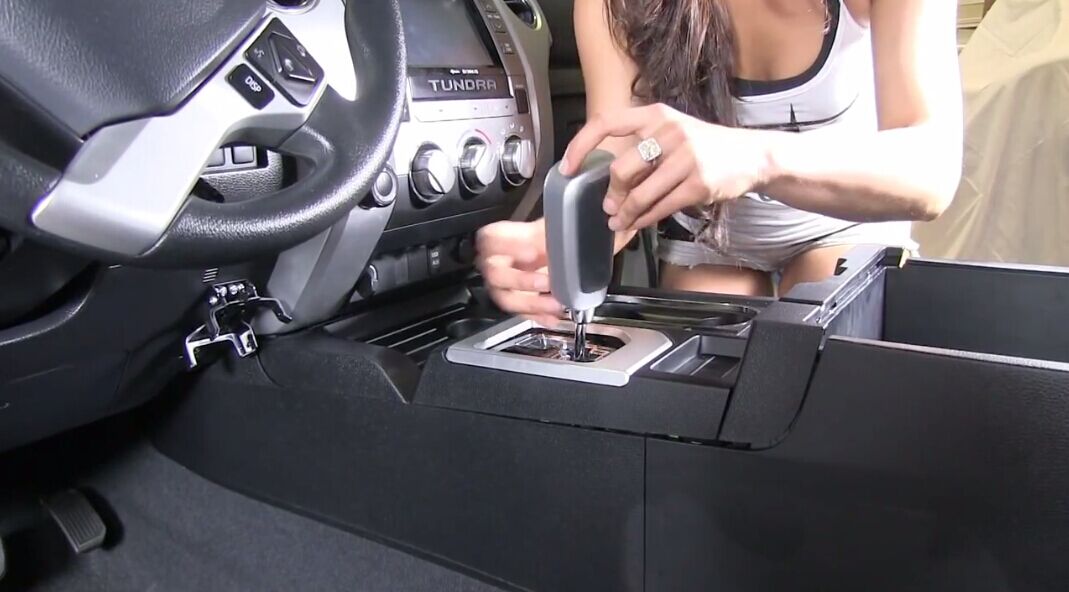
2014 Toyota Tundra radio upgrade step 1
2) Pull out the ashtray and then remove the center cover
3) Remove the cup holders by pulling them upward
4) Remove the center console by opening the armrest storage and pulling the center console up at the end closest to the armrest. It might take a little force to release the yellow tabs holding the console into place
5) Remove the shift cover by removing the screws at the end of the cover near the armrest and pulling the cover upward. Make sure the vehicle is in neutral and the parking brake is set for safety
6) Pull the dash toward you, starting at the bottom corner to the right of the steering wheel until the corner comes free, exposing the panel below the climate controls. Pull off that panel, being careful not to damage any of the wiring behind it
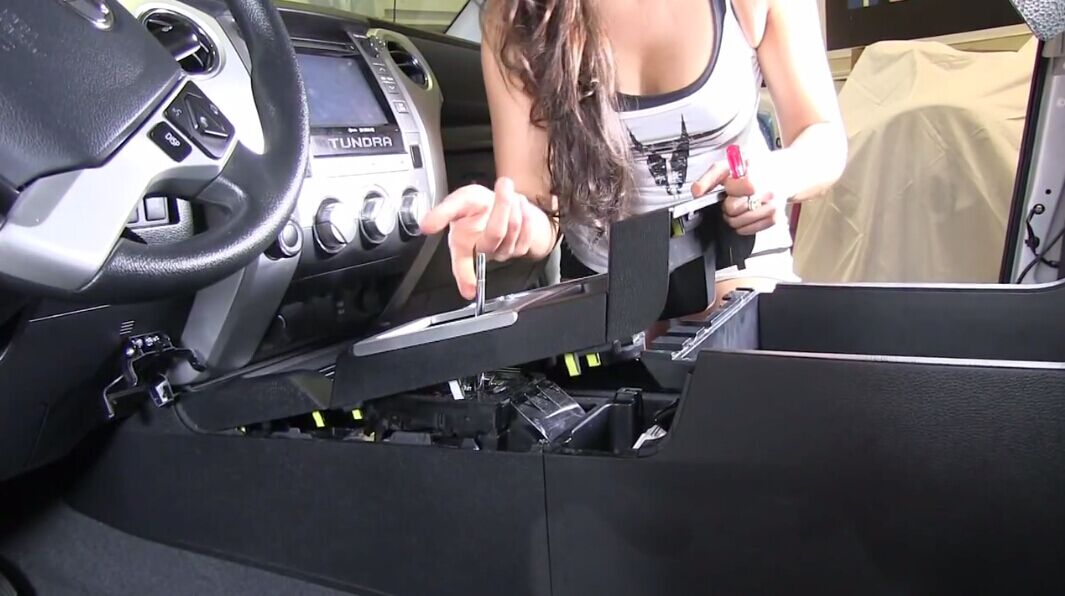
2014 Toyota Tundra radio upgrade step 2
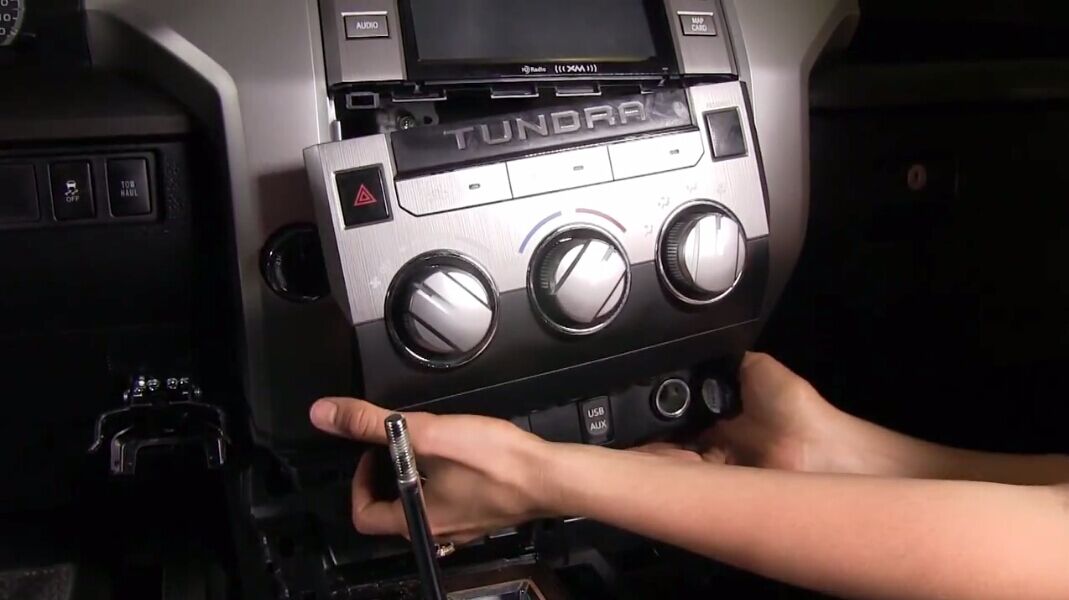
7) Remove the control panel by pulling it toward you, starting at the bottom left corner
2014 Toyota Tundra radio upgrade step 3
2014 Toyota Tundra radio upgrade step 4
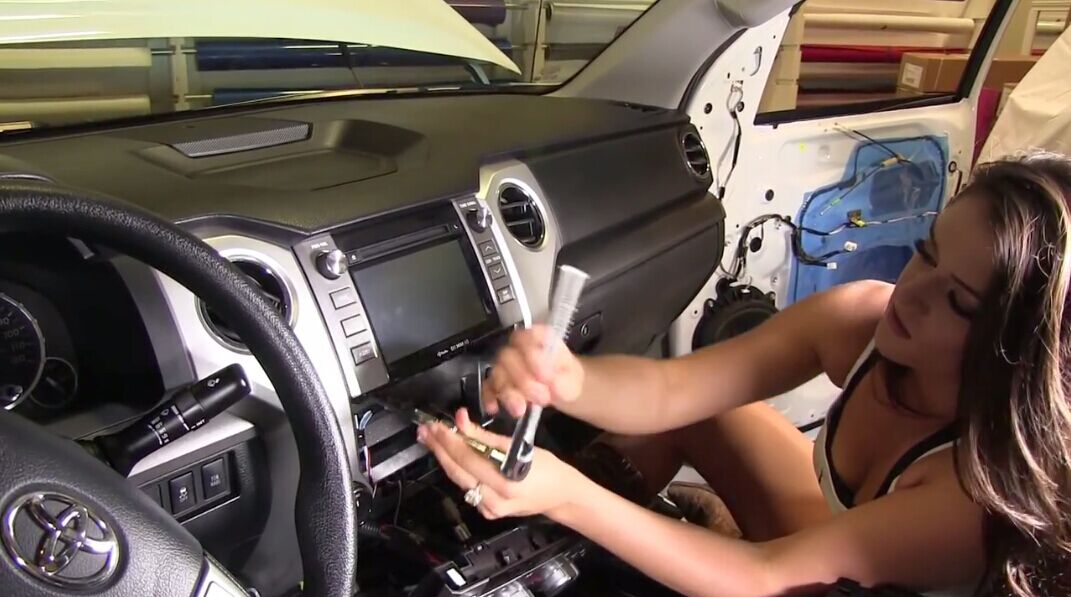
8) Remove the four bolts holding the stereo in place using a 10 mm socket. Pull the stereo toward you. Again, be careful not to damage any of the wiring coming from the stereo
2014 Toyota Tundra radio upgrade step 5

2014 Toyota Tundra radio upgrade step 6
The factory Toyota Tundra Radio has been removed. After few minutes rest we can start install a new aftermarket radio.
2014 Toyota Tundra radio installation
1) Open the hood and disconnect the negative battery cable. Open the parts boxes and verify all of the parts are included.
2)Pry the climate control module away from the dash with firm pressure applied at the bottom of the panel. Disconnect the wires from the climate controls and set it aside.
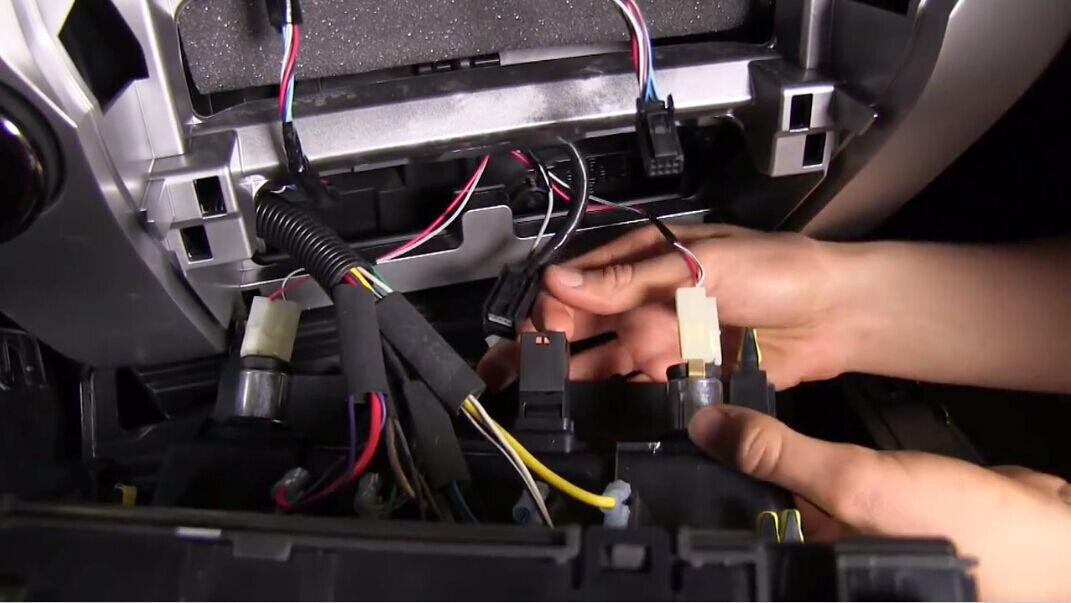
3)Locate and remove the four screws holding the stereo in place. Pull the radio out carefully and disconnect the hazard light switch and the wires behind the stereo.
4)Install the hazard light switch into the new cover on models with molded stereo faces. Connect the wiring harness adaptor to the original harness and let it hang from the dash.
5) Secure the radio into the Toyota radio mounting kit and plug the wiring harness and antenna wire into the back of the new head unit. Slide the stereo and mounting kit into the Toyota Tundra dash and secure it in place with the four original screws.
6)Reconnect the negative battery cable and turn on the radio. Verify the speakers and controls are working properly and replace the climate controls and additional trim.
By the way, if you have no idea about which aftermarket radio is better. I’d like to share a good one with you:
With this unit, you can use high speed 3G&WiFi internet. You can download any applications in the android market for access to games, Skype, MSN, YouTube and so on. You can also use 3D navigation maps. So, have great fun with your new Toyota Tundra Radio.

Recent Comments