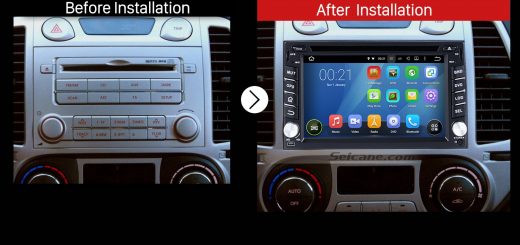
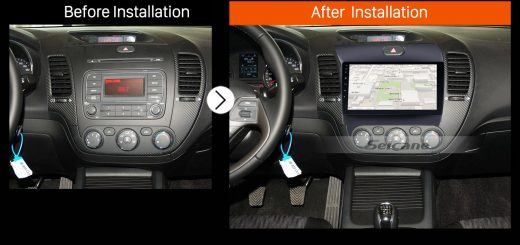
Look at the picture below, it’s a multifunctional 2000-2006 BMW X5 E53 gps navigation dvd radio from Seicane. With the WinCE 6.0 operation system and 1GMHZ CPU, it supports 3D Navigation function, Bluetooth, DVD and so on. You can enjoy the convenience and entertainment from this newest radio. For your convenience, I’d like to introduce a detailed installation guide for 2000-2006 BMW X5 E53 gps navigation dvd radio to you as reference.
Tips about the installation:
1.Please disconnect the power before the installation.
2.Please prepare a lever and a screwdriver before the removal and the installation.
3.Please keep all the separate parts from the car. Please take great care of the dashboard to avoid scratching it during its detachment and installation. Please keep handy any parts from the car and make use of all the original screws from the car as much as possible. so each related part of the unit can be fixed securely.
2000-2006 BMW X5 E53 gps navigation dvd radio installation guide
1. Use a plastic trim tool to remove trim strip.
2. Remove screws marked by red arrows.
3. Take out original DVD player of the car.
4. Pull out original power plug of the car.
5. Connect the power cables as the picture shows.
6. Remove screws in the spare tire in the trunk.
7. Take out the spare tire.
8. Remove four screws marked with red arrows.
9. Remove screws in triangle crutch.
10. Take out triangle crutch.
11. Connect original plug of the car with power plug of DVD GPS.
12. Check all the accessories for the new Seicane head unit.
13. Connect the harnesses to the back of the new Seicane head unit.
14. Connect the Seicane head unit to your original car radio ‘s plugs.
15. Turn on the new Seicane head unit to have a careful check if everything works well. If it doesn’t, please check whether all the cables are connected correctly.
16. Put the new Seicane head unit into the dash and install the four screws.
17. Install the trim panel into its original place.
After reading this detailed installation guide for a 2000-2006 BMW X5 E53 gps navigation dvd radio, you can try to install it by yourself. But if you don’t have any experience. It suggests you to the dealer or professional ask for help. Before you install the new radio, you have to check whether it can work well in your car. If you don’t have one, I’d like to share a wonderful 2000-2006 BMW X5 E53 gps navigation dvd radio from Seicane to you. You can check it in this link:
With the high sensitive FM/AM Radio receiving mode in this radio, it can grasp the global news and traffic conditions at any time. It also supports 3D Navigation function, when you are not on the way which have set before, it will have voice prompts and re-planning of the route automatically. Wish you like this head unit!


Recent Comments