In order to achieve the installation of a new car radio, many car owners would like to choose to go to a car radio upgrade center and ask a technician to help install the new car radio directly. If you are also planning to upgrade your factory radio, you can also try to remove the factory radio and install the new car radio by yourself under the guidance of a car radio installation guide. The following is a 2005 2006 2007 2008 2009-2011 HYUNDAI AZERA car radio installation guide from Seicane which can be taken as your reference if you have the same dashboard.
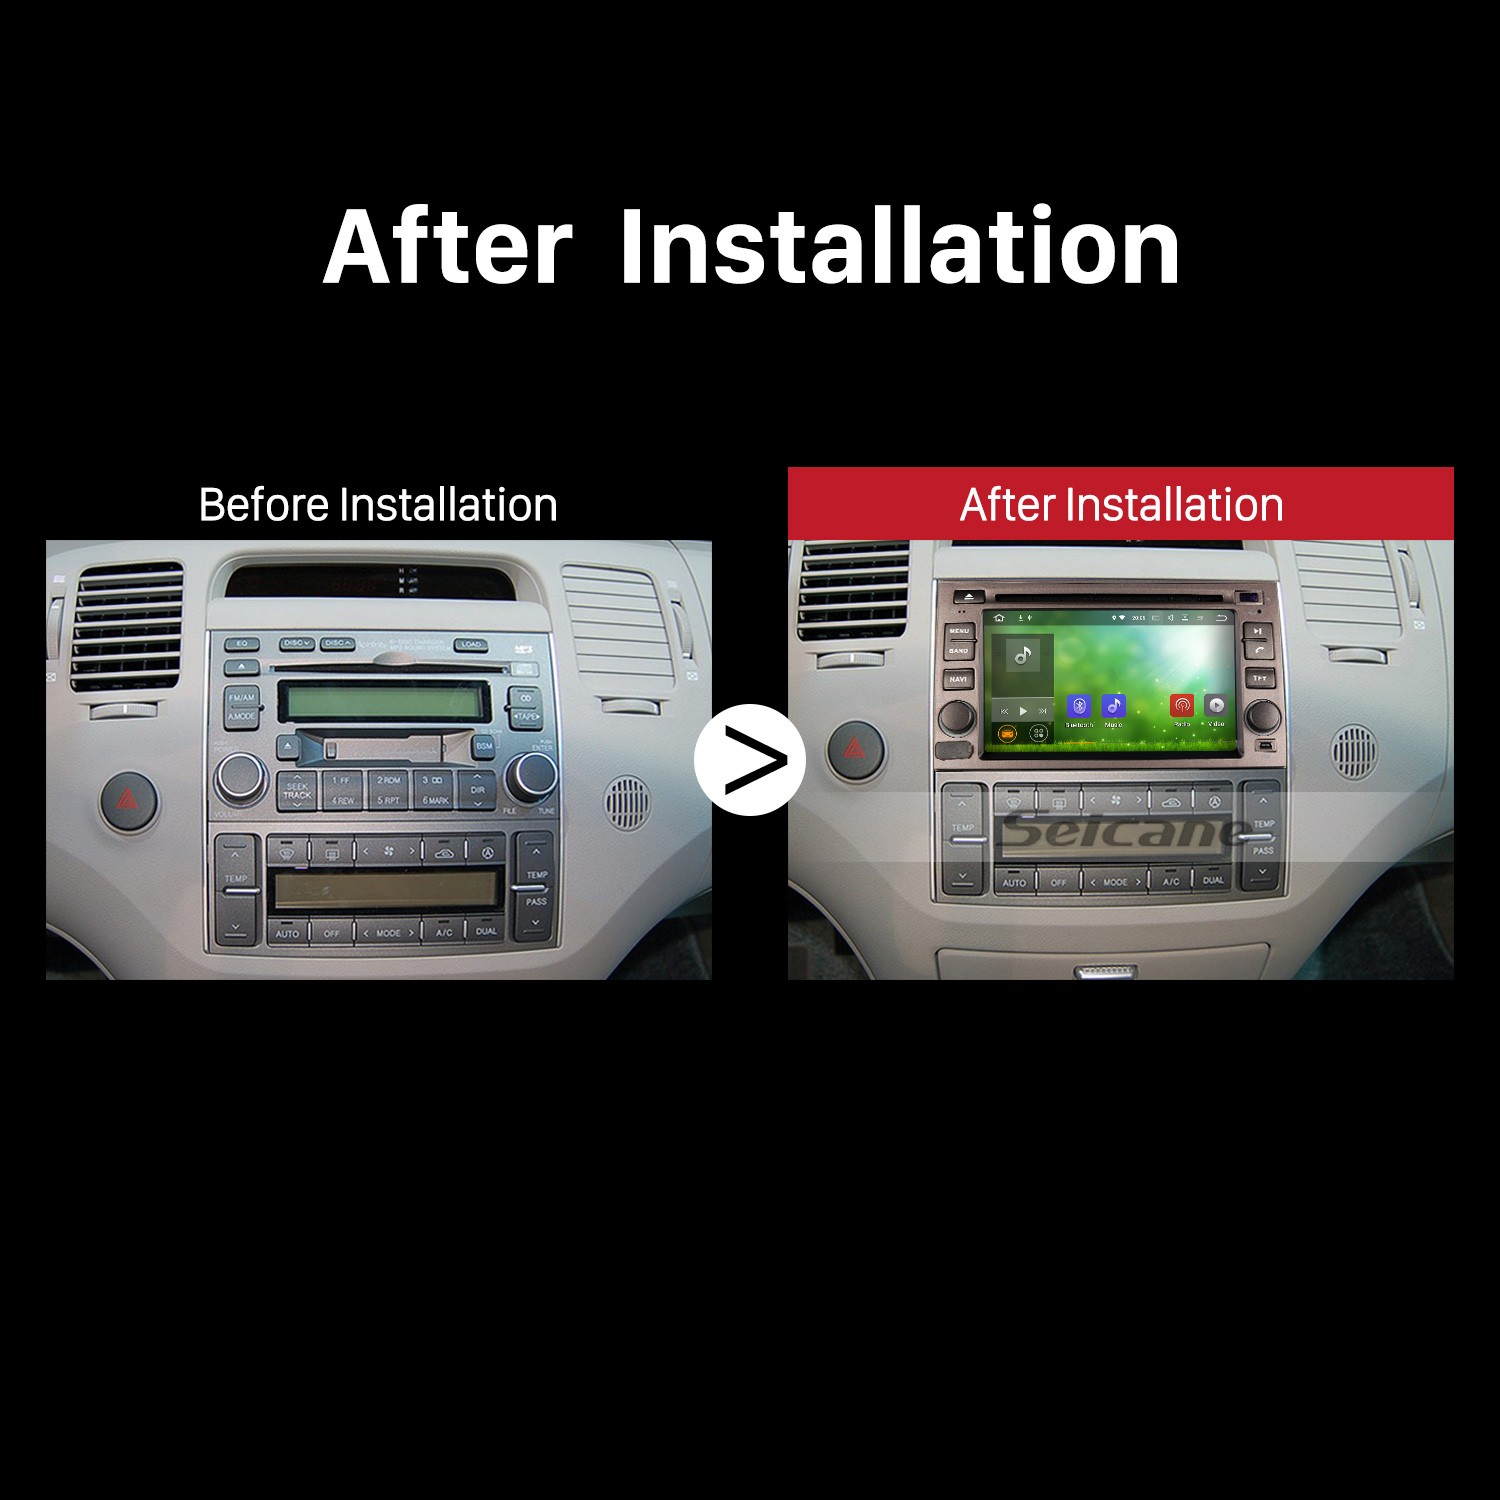
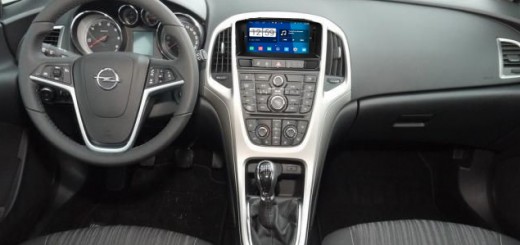
2005 2006 2007 2008 2009-2011 HYUNDAI AZERA Car Radio after installation
Tips about the installation:
1.Please disconnect the power before the installation.
2.Please prepare a lever and a screwdriver before the removal and the installation.
3.Please keep all the separate parts from the car. Please take great care of the dashboard to avoid scratching it during its detachment and installation. Please keep handy any parts from the car and make use of all the original screws from the car as much as possible. so each related part of the unit can be fixed securely.
4.For your convenience, here’s therecommended tools for removal and installation from Seicane, please check for more details: http://www.seicane.com/car-dvd-dismantling-device-srd-400
2005 2006 2007 2008 2009-2011 HYUNDAI AZERA car radio installation guide
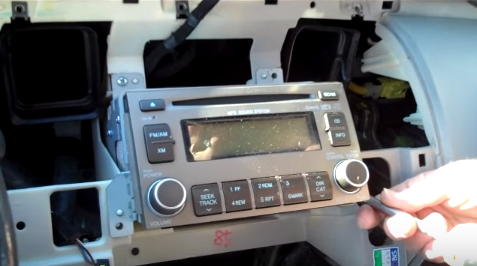
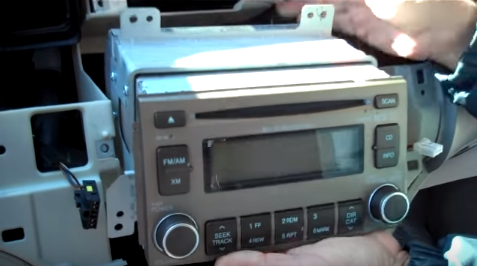
1. The original car radio.
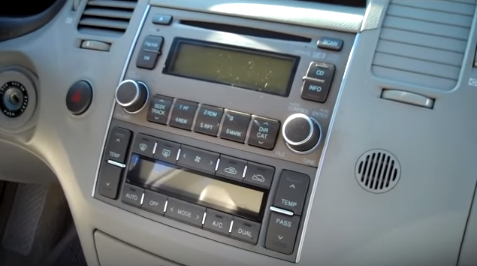
The original car radio
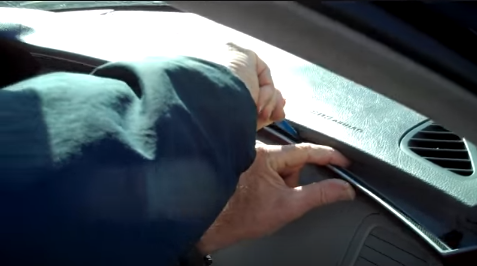
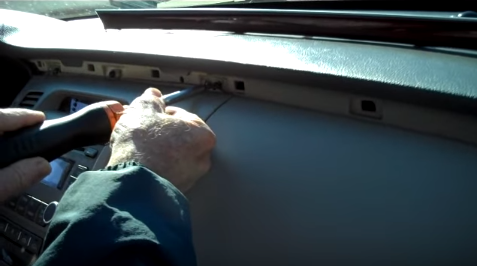
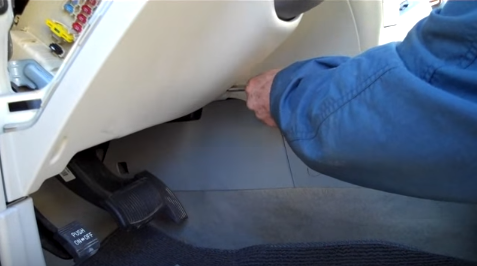
2. Start with prying the top panel along the edge of the dash, thepanel is being held by clips.
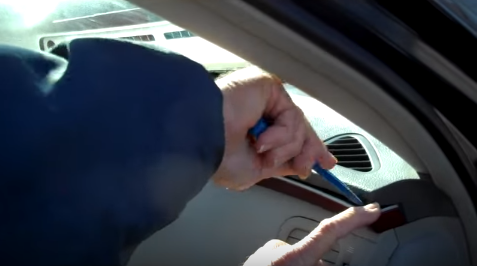
Start with prying the top panel along the edge of the dash, thepanel is being held by clips
2-1
3. Use a screwdriver to remove the three screws that fix the panel around the original car radio.
Use a screwdriver to remove the three screws that fix the panel around the original car radio
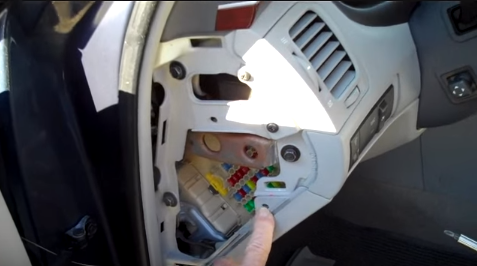
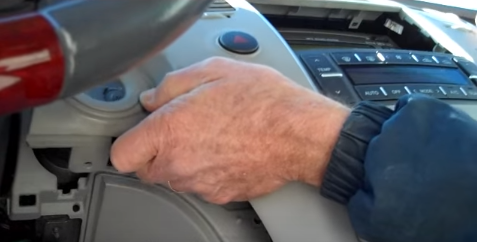
4. Open the panel cover,and remove all the screws fix the panel for getting access to panel around car radio.
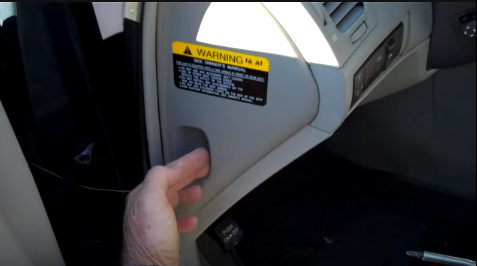
Open the panel cover,and remove all the screws fix the panel for getting access to panel around car radio
4-1
4-2
4-3
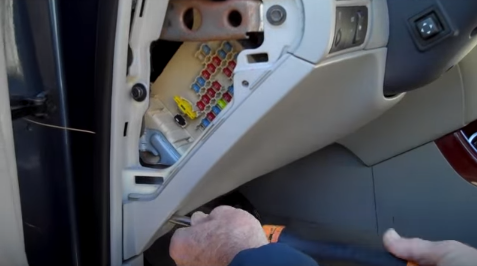
5. Remove the panel with plastic removal tool.
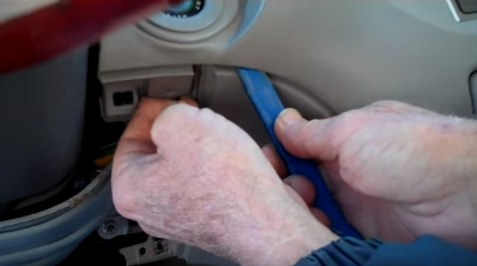
Remove the panel with plastic removal tool
5-1
6. Remove screws that are holding the original car radio.
Remove screws that are holding the original car radio
7. Take out the original car radio gently.
Take out the original car radio gently
8. Disconnect the connectors and cables at the back of the original car radio.
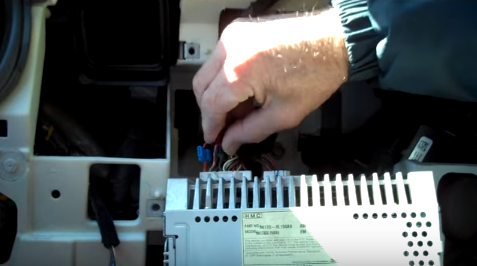
Disconnect the connectors and cables at the back of the original car radio
9. Check all the accessories for the new Seicane car radio.
10. Connect the harnesses to the back of the new Seicane car radio.
11. Connect the Seicane car radio to your original radio’s plugs.
12. Turn on the new Seicane car radio to have a careful check if everything works well. If it doesn’t, please check whether all the cables are connected correctly.
13. Put the new Seicane car radio into the dash.
14. Put everything into their original place. All the installation is done.
If you have any doubts, you can seek help from your dealer, someone experienced or a professional technician. Or you can directly go to a car radio upgrade center to arrange a professional technician to help you install the new car radio. But if you haven’t had a suitable car radio yet, you can check out the following link which is a remarkable 2005 2006 2007 2008 2009-2011 HYUNDAI AZERA car radio from Seicane.
This car radio runs on the most advanced and stable Android 7.1.2 operation system which can greatly facilitate the operation and offer a stable system.
With the built-in GPS navigation system of high accuracy, you can easily know your current locations and accurately be guided to anywhere you would like to go to according to turn-by-turn directions and voice prompts even if you don’t have a good sense of directions in daily life.
Besides, by paring your Bluetooth-enabled mobile phone with this car radio, you can easily and freely get access to Bluetooth-enabled mobile phone and Bluetooth streaming music so as to gain a lot of convenience and enjoyment.
Wish this car radio become your best road companion. Good luck!

I have a blown center channel speaker in the dash. Can I change it by removing the radio from the dash and reaching through that opening?
dear,
could you please send us the picture? then we can check.