When you are looking forward to enhance your car’s capabilities, the easiest and most effective way you can adopt is to upgrade your factory radio by installing a new aftermarket stereo in your car. An ideal car stereo can work perfectly with your car to help you improve your in-car environment and gain a wonderful driving experience. This article mainly introduces how to install a new all-in-one stereo for 2004-2007 Mercedes Benz C Class W203 C180 C200 C220 C230.
If you also own a 2004-2007 Mercedes Benz C Class W203 C180 C200 C220 C230, please carefully read this article which may help with your installation.
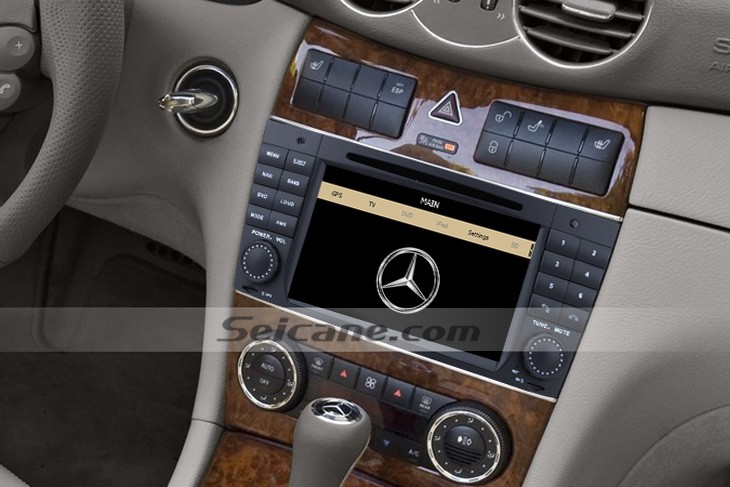
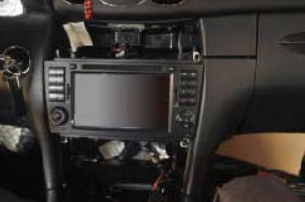
2004-2007 Mercedes Benz C Class W203 C180 C200 C220 C230 Stereo Audio System after installation
Some tips before the installation:
1.Please disconnect the power before the installation.
2.Please prepare a lever and a screwdriver before the removal and the installation.
3.Please keep all the separate parts from the car. Please take great care of the dashboard to avoid scratching it during its detachment and installation. Please keep handy any parts from the car and make use of all the original screws from the car as much as possible. so each related part of the unit can be fixed securely.
4.For your convenience, here’s the recommended tools for removal and installation from Seicane, please check for more details: http://www.seicane.com/car-dvd-dismantling-device-srd-400
2004-2007 Mercedes Benz C Class W203 C180 C200 C220 C230 Stereo installation steps
1. First detach the gear shift panel.
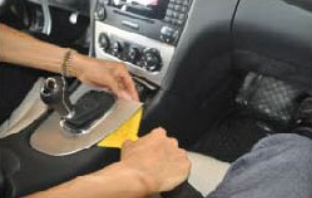
First detach the gear shift panel
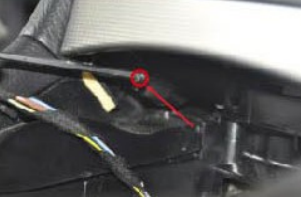
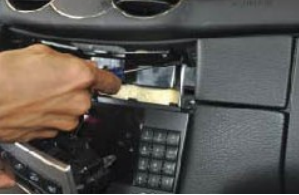
2. Use a screw driver to remove the screw marked with a red circle to release the car charger and ashtray.
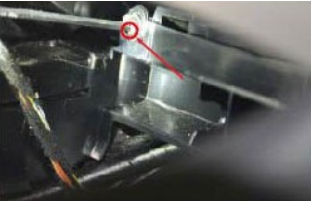
Use a screw driver to remove the screw marked with a red circle to release the car charger and ashtray
3. Remove the car charger and ashtray assembly.
Remove the car charger and ashtray assembly
4. Use a screw driver to remove the screw marked with a red circle.
Use a screw driver to remove the screw marked with a red circle
5. Pry the air conditioner panel out with a plastic lever.
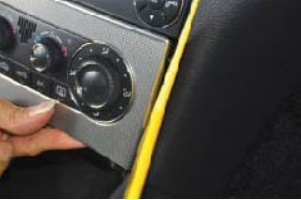
Pry the air conditioner panel out with a plastic lever
6. Remove the original air conditioner panel.
Remove the original air conditioner panel
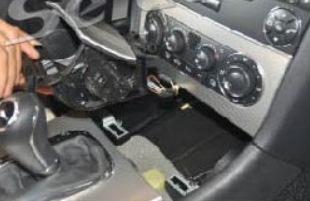
7. Remove the heated seat and control panel assembly.
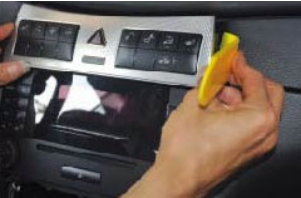
Remove the heated seat and control panel assembly
8. Pay attention to this buckle.
Pay attention to this buckle
9. Remove two screws.
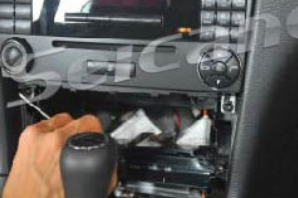
Remove two screws
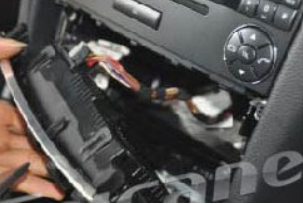
10. Pull out the original car radio.
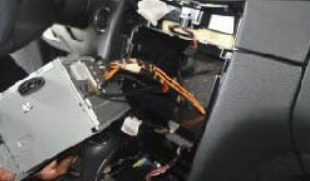
Pull out the original car radio
11. Check all the accessories for the new Seicane stereo.

Check all the accessories for the new Seicane stereo
12. Connect the harnesses to the back of the new Seicane stereo.
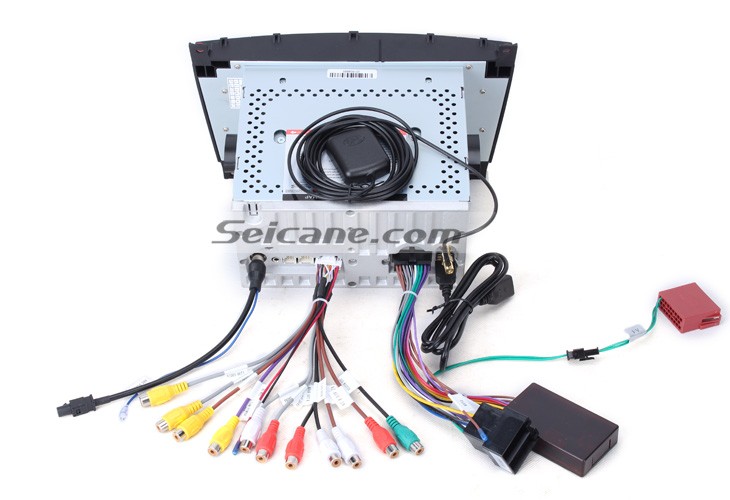
Connect the harnesses to the back of the new Seicane stereo
13. Connect the Seicane stereo to your original car radio ‘s plugs.
14. Install the new Seicane radio back after the wiring harness has been connected. Fasten the four screws.
Install the new Seicane radio back after the wiring harness has been connected. Fasten the four screws
15. Install the air conditioner panel, the car charger, the ashtray, the heated seat and the control panel back.
Install the air conditioner panel, the car charger, the ashtray, the heated seat and the control panel back
16. Reinstall cigarette lighter.

Reinstall cigarette lighter
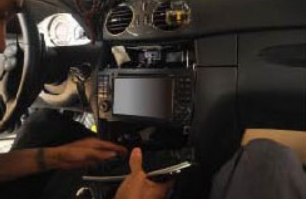
17. Turn on the new Seicane stereo and have a careful check if everything works well.
Wish you can get some help from the above installation steps. No matter what kind of problems you have about the stereo or the installation, you can feel free to consult your dealer, communicate with someone experienced or seek help from a professional technician.
Besides, since an ideal car stereo plays an important role in the installation, it is very significant for you to choose a suitable stereo which can work well with your car. Here I’d like to share a 2004-2007 Mercedes Benz C Class W203 C180 C200 C220 C230 car stereo from Seicane with you. For more details, please click:
Running with the latest WinCE6.0 operation system and a powerful dual-core CPU, this remarkable stereo effectively enhance its capabilities to provide you a more stable and smoother performance. It is wise of you to install such an up-to-date stereo for your beloved car because this stereo is integrated with a variety of practical and entertainment features to enrich your driving.
As to the practical features, take GPS navigation as an example, you can utilize the strong built-in GPS navigation system to navigate to your desired destinations through text-to-speech guidance, route planning, lane assist and POIs. While as to the entertainment features, you can make full use of its function as a DVD player to play your favorite music, interesting TV program, fantastic movies, etc to relax both yourself and your passengers.
If you are pursuing a wonderful driving experience, please don’t hesitate to take this all-in-one stereo home. Thanks for your reading and have a nice day!


Recent Comments