As we all know, 2014 Toyota Coralla is a pretty good choice for us. Some of you may be the fans of Toyota Coralla. Frankly, its original radio has few functions. If you want to watch HD video, make phone call or listen to music via bluetooth, use the navigation function. You should remove the original radio and install a new aftermarket radio instead. You might have no idea how to upgrade the original radio. Don’t worry, I’ll share some professional experience with you.
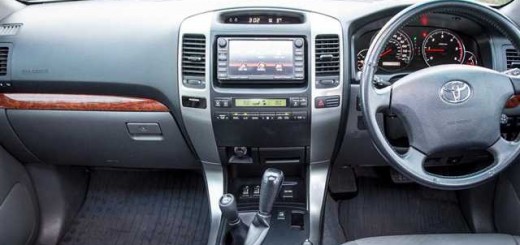
This image is the original Toyota Corolla Left Radio. If you have the same dashboard with it, you can follow the steps below.
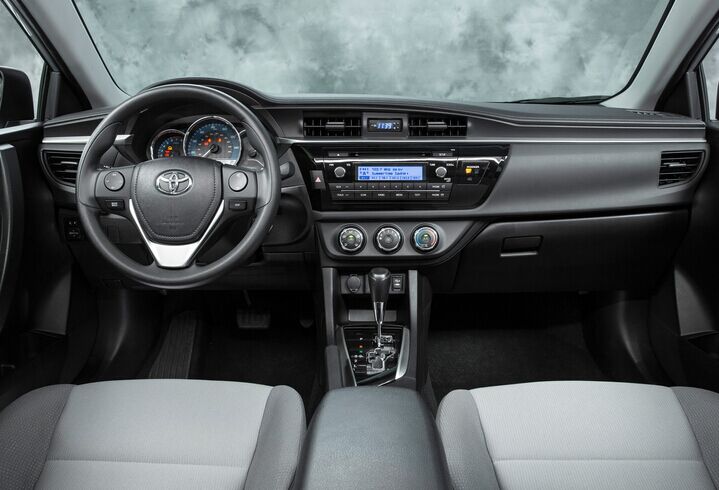
2014 Toyota Corolla Left dashboard
Before the original radio removal, I’d like to share a good unit with you:
If you don’t know which unit is better, this one can be a good choice for you. It has intelligent pure android 4.4.4 operation system and 9 inch HD 1024*600 multi-touch screen and supports dual-screen display for the highest resolution of 2048*1536.
You can perform Google search on the road with quick search box, play online games, watch videos, download online data and check emails by connecting to any WiFi hotspot in range or 3g internet, download any applications in the android market for access to games, Skype, MSN, YouTube, twitter, E-Book, Gmail etc. And it is your perfect road companion.
2014 Toyota Corolla Left Radio removal
1·First remove the negative cable from the battery.
2·Then return to the inside of the Toyota Coralla, pry off the vent panel with a plastic tool and pull it out.
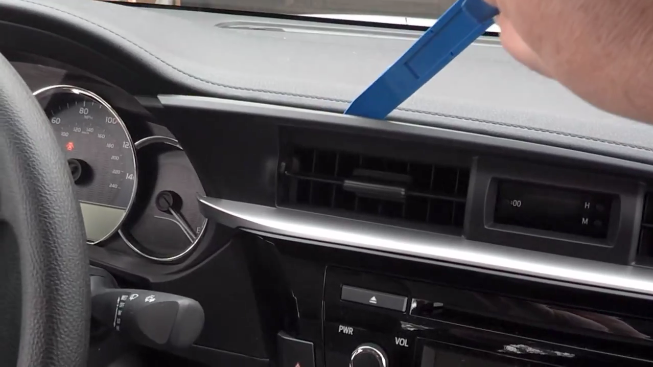
2014 Toyota Corolla Left Radio removal step 1
3·Set the vent panel aside and pry down the trim panel as the picture shows, then disconnect one side harness of the trim panel.
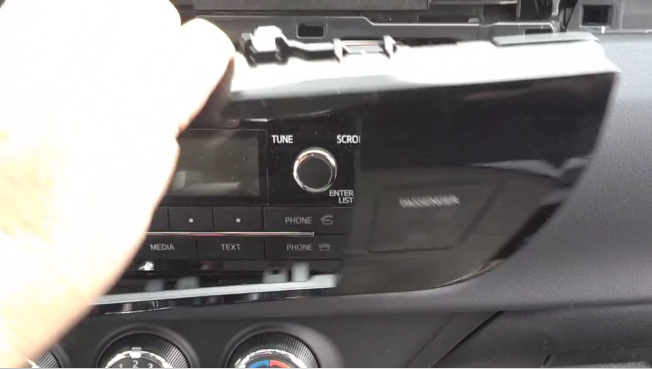
2014 Toyota Corolla Left Radio removal step 2
4·You can see two 10mm bolts in the position as the picture shows, remove them. And do the same in left side.
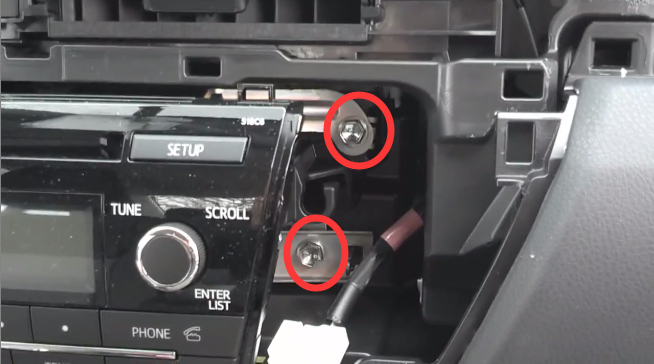
2014 Toyota Corolla Left Radio removal step 3
5·Pull out the radio slowly and watch out the harnesses behind it.
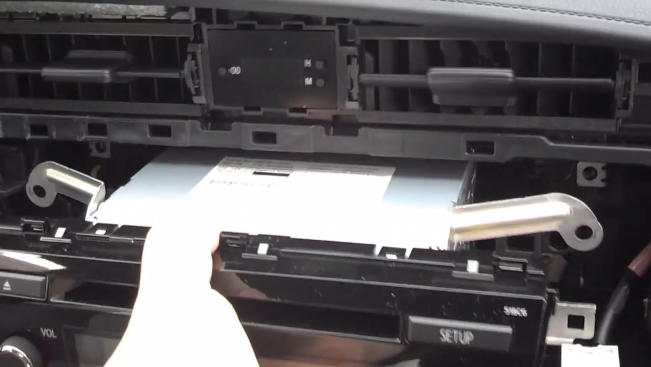
2014 Toyota Corolla Left Radio removal step 4
6·Finally disconnect harnesses behind the original radio.
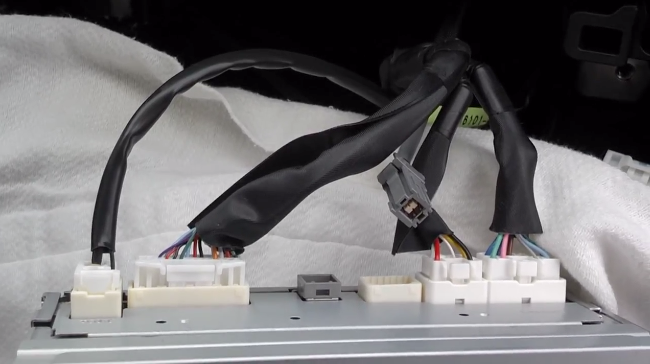
2014 Toyota Corolla Left Radio removal step 5
2014 Toyota Corolla Left Radio installation
1·Make antennas and cables connected step by step as installation instructions show, and you should be very careful when you are doing this for it will affect whole procedure.
2·Connect the new Toyota Corolla Left Radio to your Toyota Corolla, you should check your connections, the new unit’s position, and you’d better have a tidy for the cables.
3·Check whether the unit is working properly.
4·If everything is OK, firm four removed bolts that are put aside, then make trim panel back on your new unit.
New car life with Toyota Corolla Left Radio is waiting for you. What are you waiting for?


Recent Comments