If you want to replace the factory radio in your Toyota YARIS with an aftermarket radio, the first step is to remove the factory radio. This may look like a mission impossible at first glance, but in reality it’s easy to do if you can read this blog patiently and follow these simple steps to remove the factory radio in your Toyota YARIS.
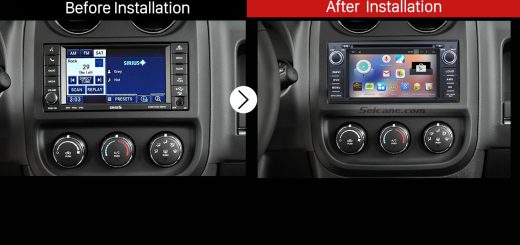
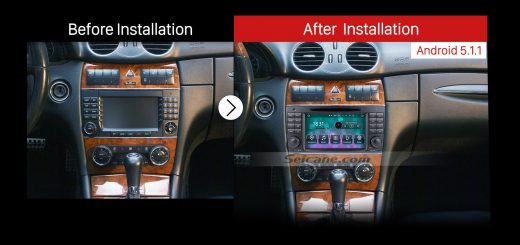
Look at this image, this is aftermarket Toyota YARIS radio after installation.
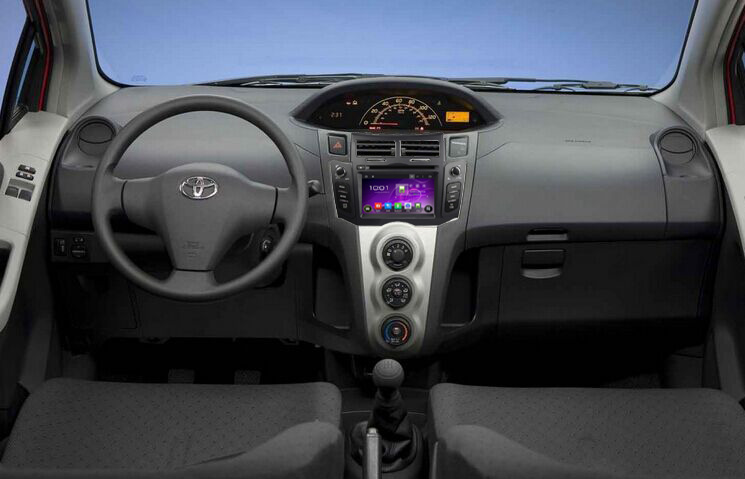
2005-2011 Toyota YARIS Radio after installation
Steps of 2005-2011 Toyota YARIS Radio removal
1·Set the parking brake and disconnect the negative cable from your car battery.
2·Using a plastic tool, carefully pry out the trim panel that surrounds the climate controls. And set them aside without unplug connectors.
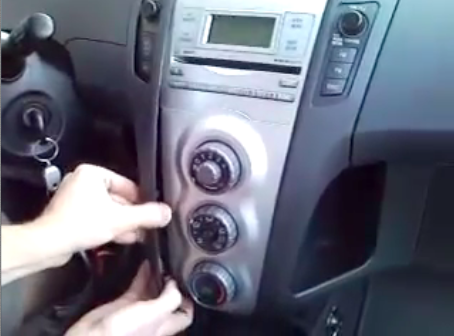
2005-2011 Toyota YARIS Radio removal step 1
2·Pull out the panel with medium force by your hands.
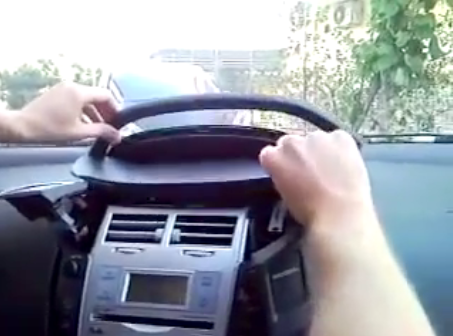
2005-2011 Toyota YARIS Radio removal step 2
3·Unscrew the four 10mm bolts holding the radio in place.
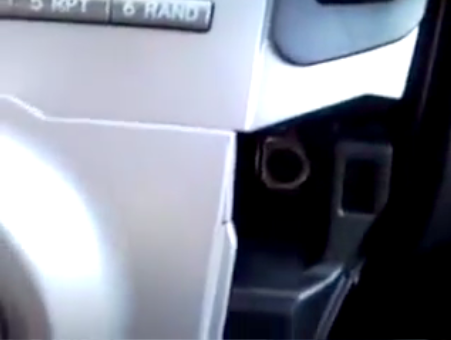
2005-2011 Toyota YARIS Radio removal step 3
4·When the screws are out, pull the radio out of the dash.
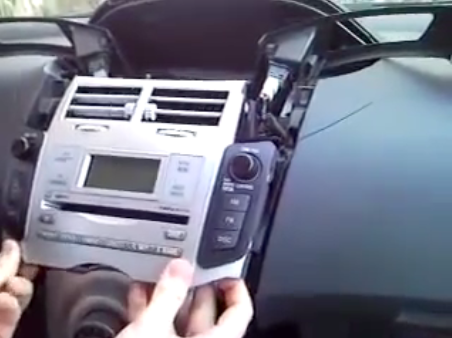
2005-2011 Toyota YARIS Radio removal step 4
5·Disconnecting the harness and antenna plug by pulling them out.
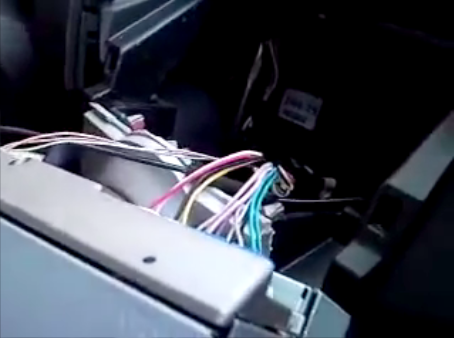
2005-2011 Toyota YARIS Radio removal step 5
Steps of 2005-2011 Toyota YARIS Radio installation
1·Make antennas and cables connected step by step as installation instructions show, and you should be very careful when you are doing this for it will affect whole procedure.
2·Connect the new Toyota YARIS Radio to your Toyota YARIS, you should check your connections, the new unit’s position, and you’d better have a tidy for the cables.
3·Check whether the unit is working properly.
4·When the radio is working properly, push the radio into place, firm removed bolts that are put aside, then make panel back on your new unit.
Above is all steps of Toyota YARIS Radio replacement. It’s so easy, isn’t it?
If you are looking for a new aftermarket radio, I’d like to share a good one with you:
This aftermarket radio can be a good choice for you. It has intelligent pure android 4.4.4 operation system and 6.2 inch HD 1024*600 multi-touch screen and supports dual-screen display for the highest resolution of 2048*1536.
You can set any of your favorite application icons as shortcut on the main menu and set the position of the icons according to your preference. And it is your perfect road companion. You can perform Google search on the road with quick search box, play online games, watch videos, download online data and check emails by connecting to any WiFi hotspot in range or 3g internet, download any applications in the android market for access to games, Skype, MSN, YouTube, twitter, E-Book, Gmail etc.
Wish this blog can help you, replace your factory Toyota YARIS Radio by yourself now!

Recent Comments