Do you know what the most effective way is which you can adopt to upgrade your in-car life? As far as I am concerned, to replace the factory radio with a new aftermarket car radio which is compatible with a lot of practical features is one of the most popular and effective ways for car owners who want to pursue a more comfortable car life. If you know how to install a new car radio, you can try to finish the installation under the guidance of an installation instruction. The following 2008 2009 2010 2011 2012 Chevrolet Chevy Cruze Holden car radio installation instruction can be taken as your reference.
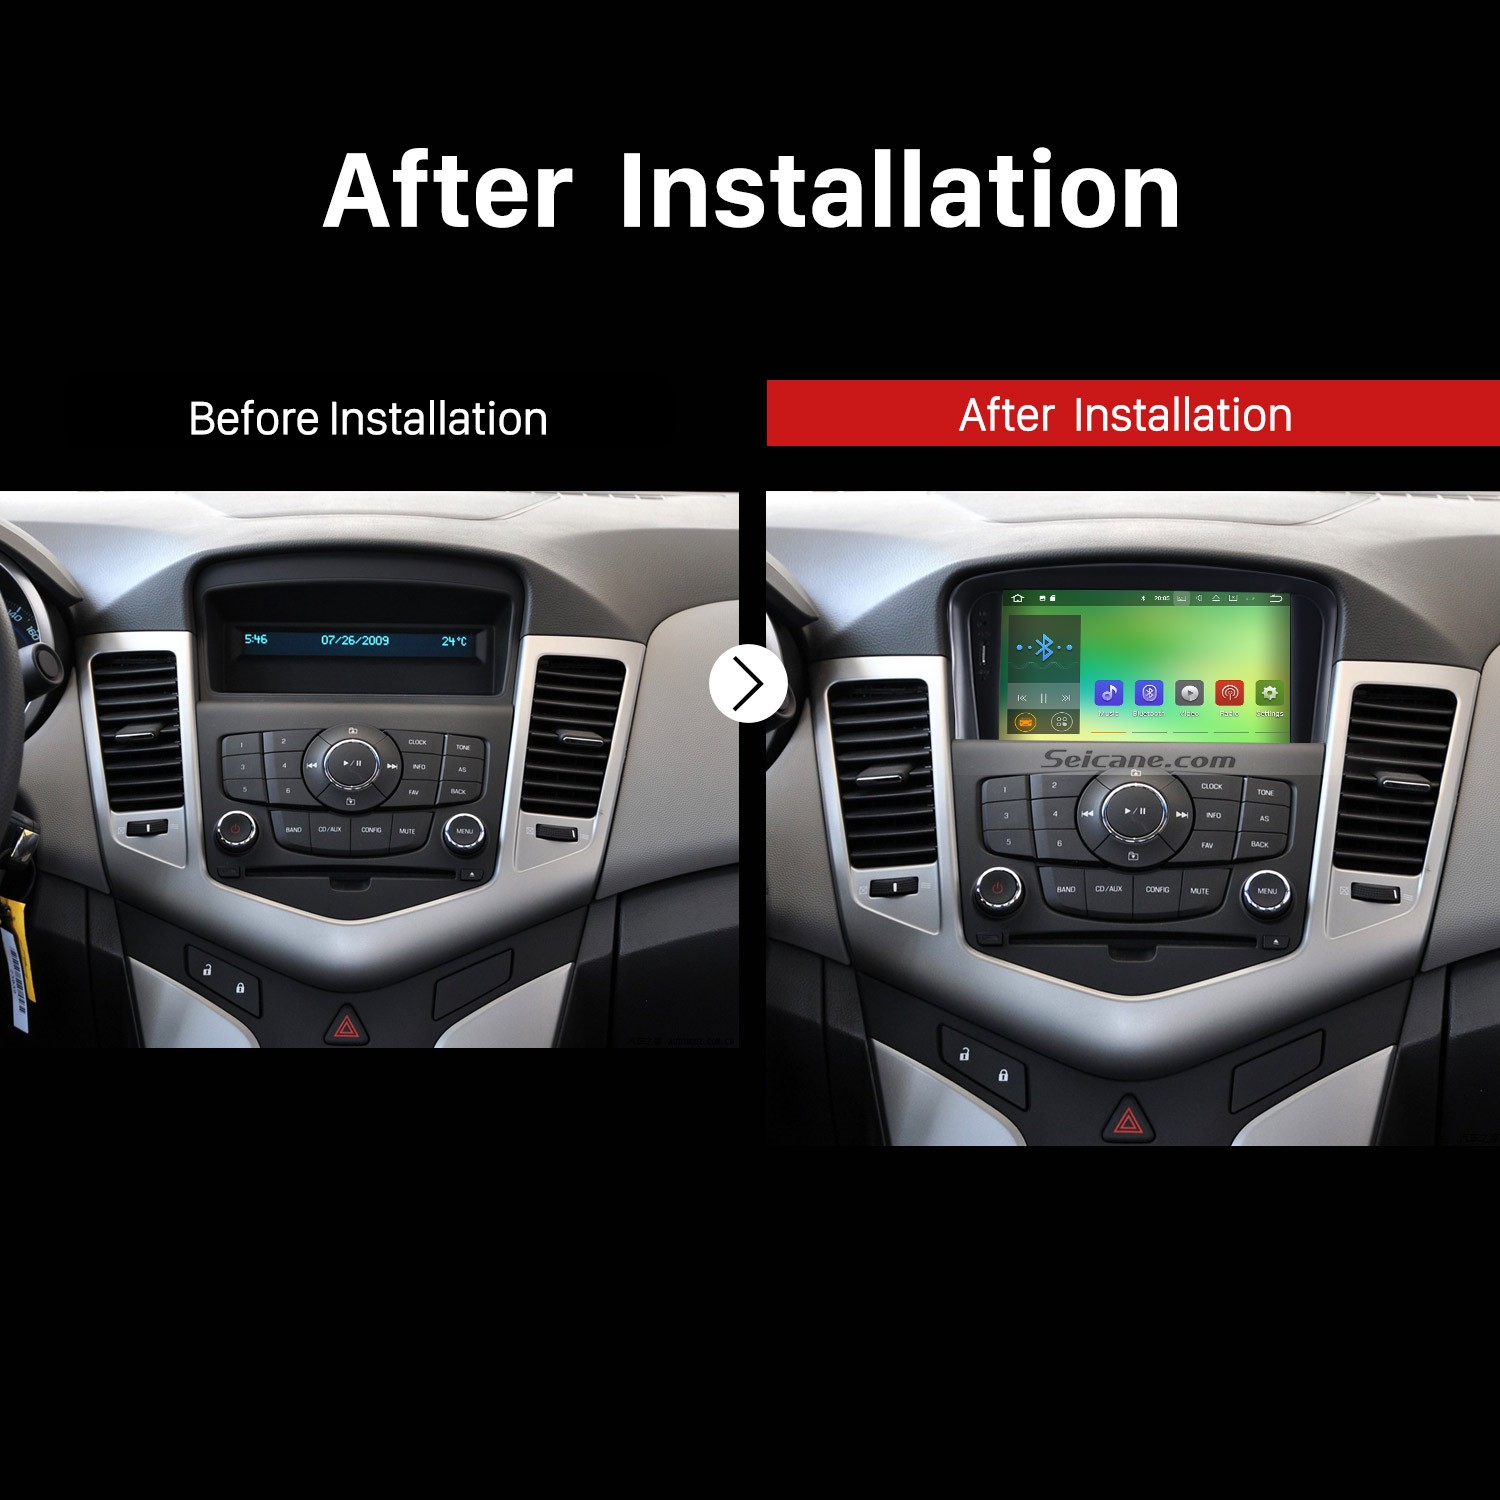
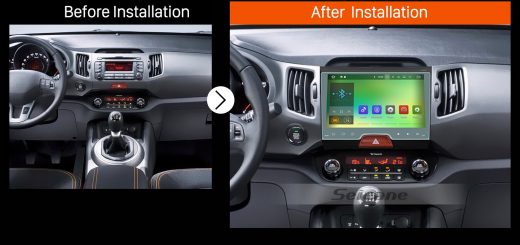
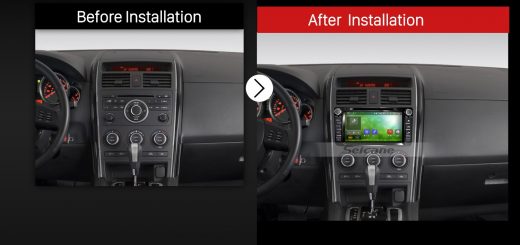
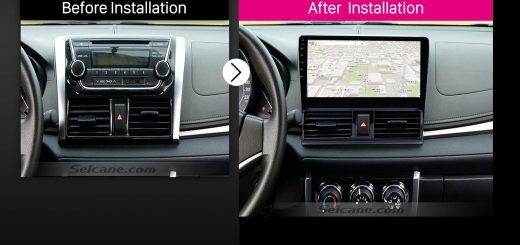
2008 2009 2010 2011 2012 Chevrolet Chevy Cruze Holden Car Radio after installation
Before and during installation, you should notice:
1. Before connecting, please make sure the ignition is off to avoid short circuit.
2. Ensure connect the yellow and red power cable at last.
3. Ensure that all loose wires are isolated with electrical tape
4. Ensure don’t tangle the wire when tighten the moving parts(Such as seat rails).
5. Ensure that all ground is connected to the same place.
6. Using the improper fuse may cause damage of fire, so when replace the fuse, please consult the professional.
7. For your convenience, here’s the recommended tools for removal and installation from Seicane, please check for more details:http://www.seicane.com/car-dvd-dismantling-devicesrd-400
2008 2009 2010 2011 2012 Chevrolet Chevy Cruze Holden car radio installation instruction
1. The original car radio.
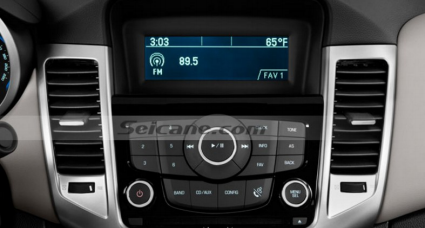
The original car radio
2. Using a panel removal tool, gently pry the upper trim/vent housing panel from the dash.
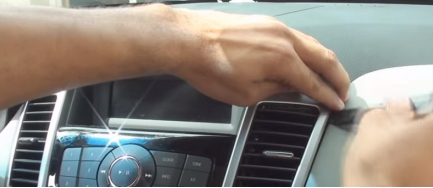
Using a panel removal tool, gently pry the upper trim/vent housing panel from the dash
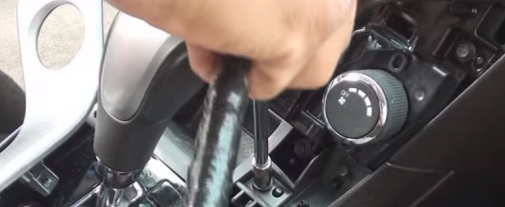
3. Pry the shifter surround panel. On manual transmission vehicles, unclip and reposition the shifter. Then remove the panel.
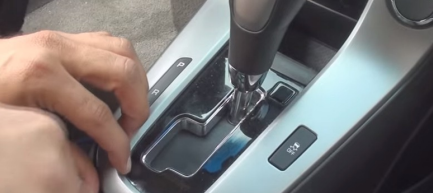
Pry the shifter surround panel. On manual transmission vehicles, unclip and reposition the shifter. Then remove the panel
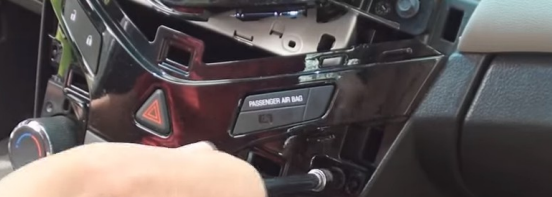
4. Remove two screws from the storage pocket. Then remove the storage.
Remove two screws from the storage pocket. Then remove the storage
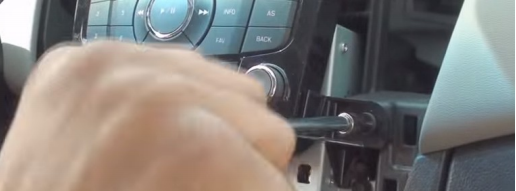
5. Remove four screws from the accessory control panel.
Remove four screws from the accessory control panel
6. Pull out the panel. This panel is very tough to remove, please be patient and the clips will release, then let the panel hang to side.
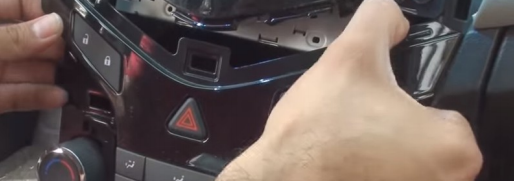
Pull out the panel. This panel is very tough to remove, please be patient and the clips will release, then let the panel hang to side
7. Unscrew two screws from the radio control panel. Then remove the radio control panel.
Unscrew two screws from the radio control panel. Then remove the radio control panel
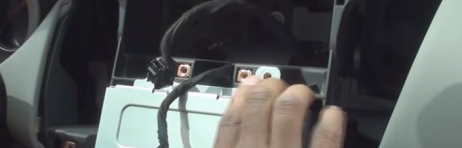
8. Remove the blue clip before removing the real connector.
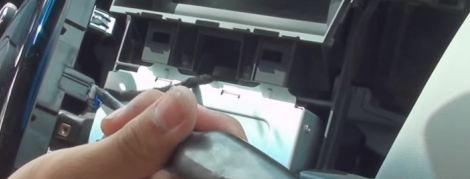
Remove the blue clip before removing the real connector
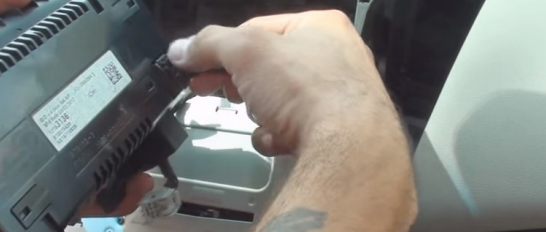
9. Unscrew two screws from the radio chassis, and two screws near the top of the radio to release the screen.
Unscrew two screws from the radio chassis, and two screws near the top of the radio to release the screen
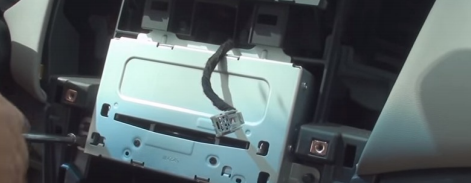
10. Disconnect the connector at the back of the screen.
Disconnect the connector at the back of the screen
11. Unscrew two more screws in the original radio.
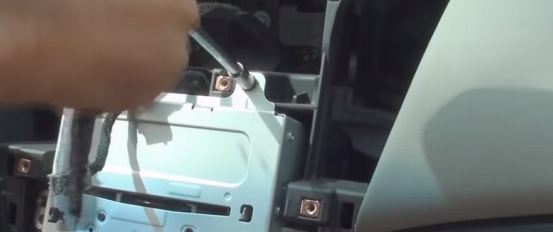
Unscrew two more screws in the original radio
12. Remove the original radio.
Remove the original radio
13. Disconnect all connectors at the back of the original car radio.
14. Check all the accessories for the new Seicane car radio.

Check all the accessories for the new Seicane car radio
15. Connect the harnesses to the back of the new Seicane car radio.
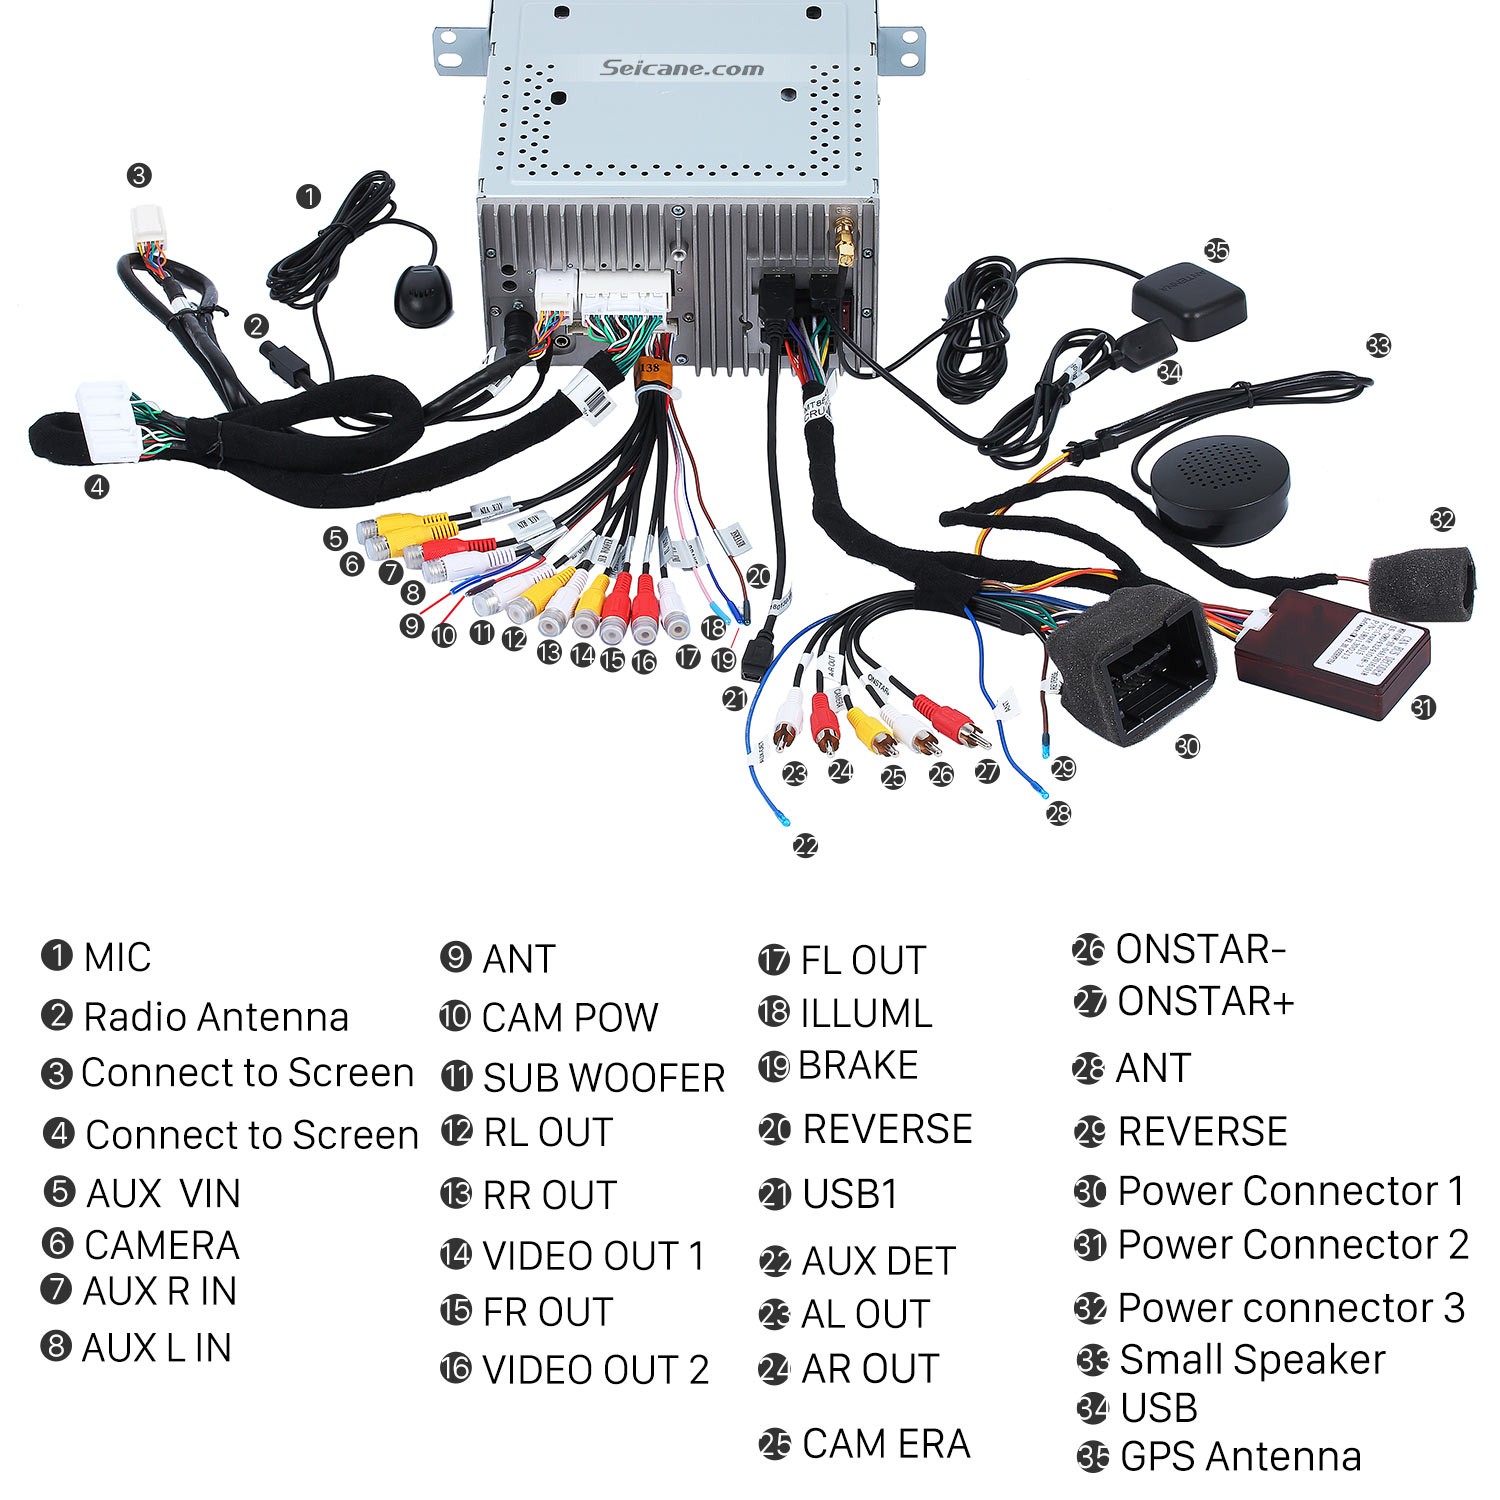
Connect the harnesses to the back of the new Seicane car radio
16. Connect the Seicane car radio to your original car radio’s plugs.
17. Turn on the new Seicane radio to have a careful check if everything works well. If it doesn’t, please check whether all the cables are connected correctly.
18. Put the new Seicane radio into the dash.
19. Put everything into their original place.
Wish you can learn some skills from the above installation process. During the installation, if you come across any difficulties you cannot overcome independently, you can ask your dealer or a professional for help. Besides, before installation, it is very crucial for you to choose a compatible car radio for your beloved car. If you have no ideas, I’d like to recommend a 2008 2009 2010 2011 2012 Chevrolet Chevy Cruze Holden car radio from Seicane to you. For more details, please click:
This car radio is running on the most advanced and stable Android 7.1 operation system and a quad-core CPU processor. Therefore, with it installed in your car, you are going to have a smoother and faster operation experience than ever before.
Even if you are not good at identifying directions, you can easily know your current locations and be guided to any locations you would like to go to through turn-by-turn directions and voice prompts provided by the high-end 3D GPS navigation system. Additionally, with dual zone function, you are able to able to freely enjoy your favorite music while navigating, and the music will automatically switch to GPS voice.
Moreover, both hands-free calls and Bluetooth streaming music are available for you when you connect your Bluetooth-enabled mobile phone with this unit via wireless Bluetooth technology, which can add a lot of convenience and enjoyment to your in-car life.
Wish you like this car radio and good luck to you!
How much music system cruze
please visit seicane.com