If your factory radio comes with several simple functions, will you still keep it in your car. Under this circumstance, in my opinion, it is wise of you to replace your factory radio with a brand new multifunctional car radio if you would like to enjoy more convenience and enjoyment as well as embrace a brand new driving experience. This article mainly aims to introduce a 2003 2004 2005 2006 2007-2012 VW Volkswagen Passat Golf Jetta car radio installation guide from Seicane to you. If you have the same or similar dashboard, you can refer to it.
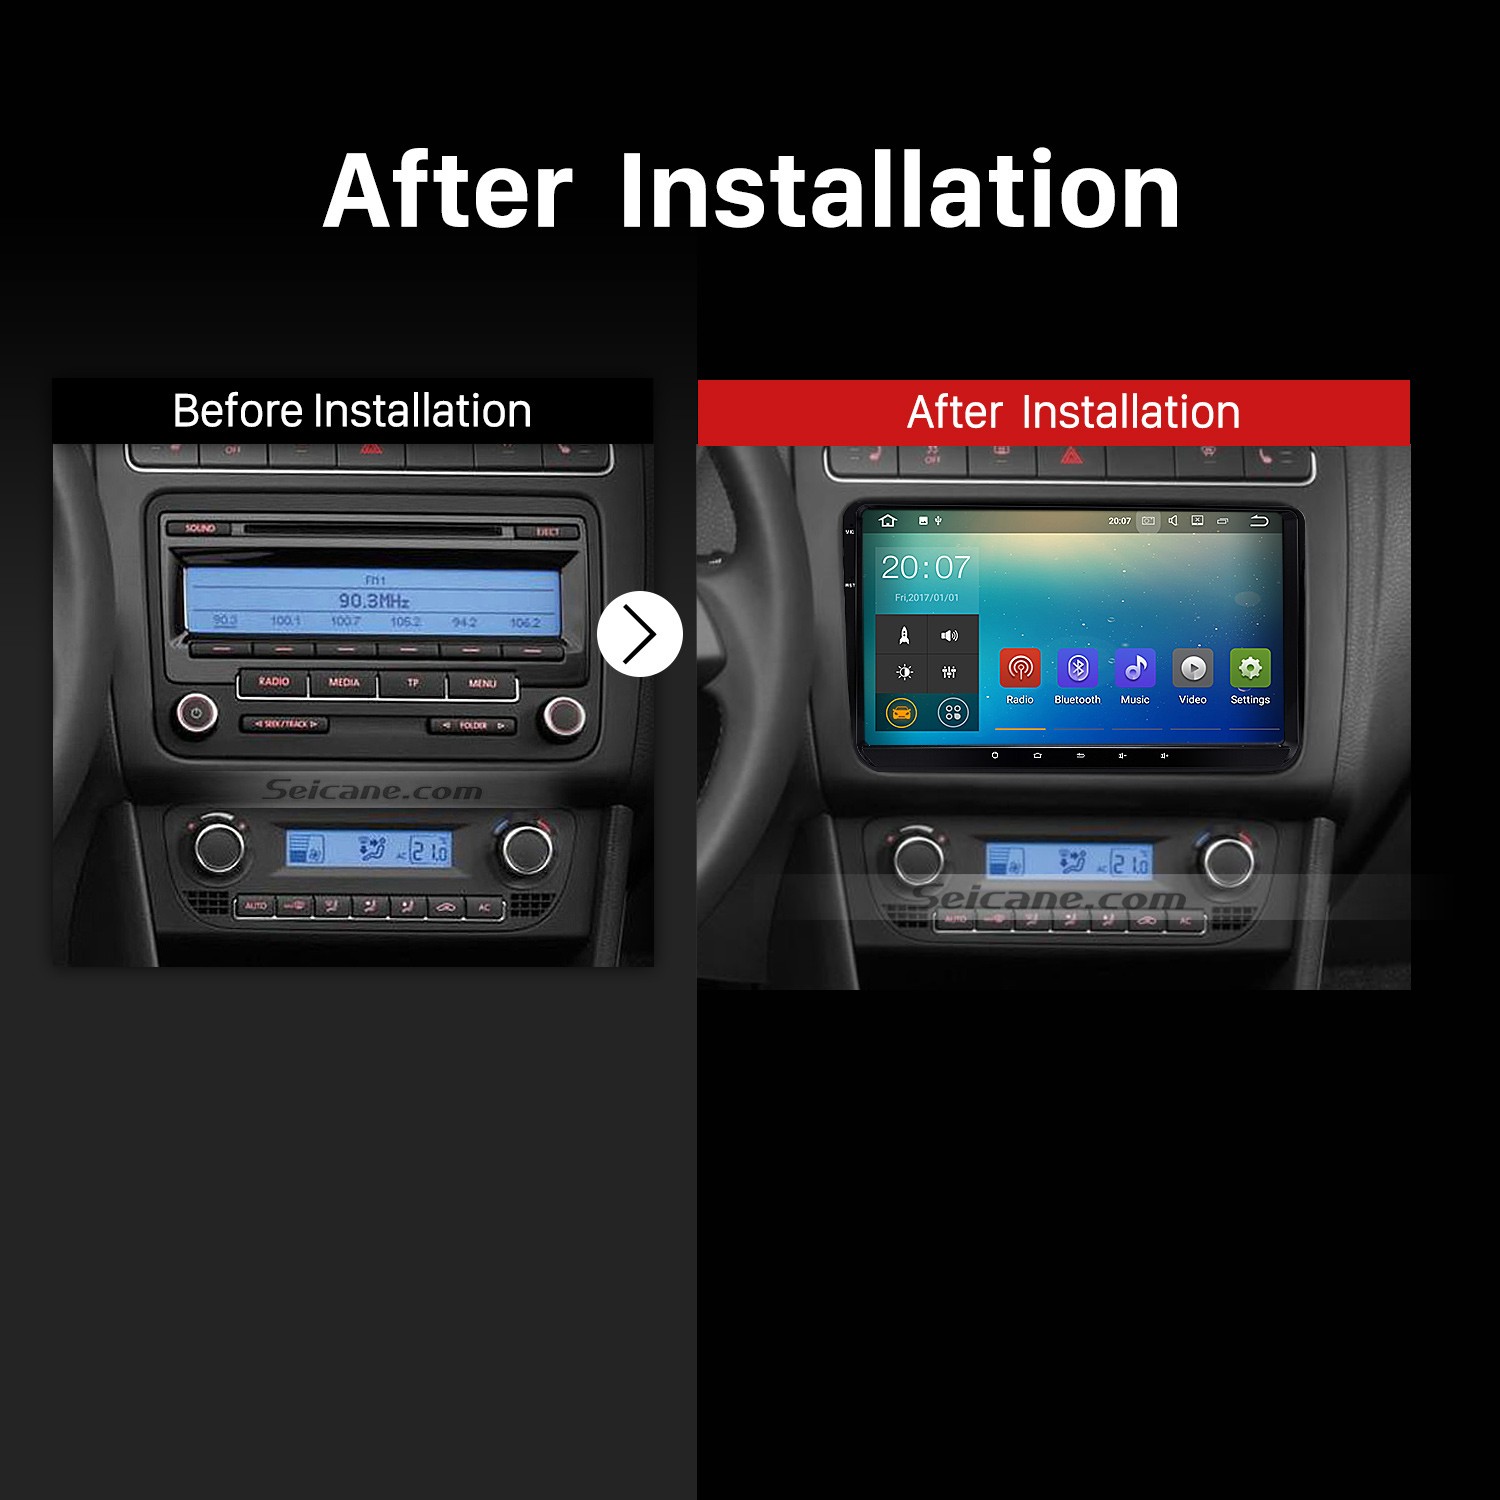
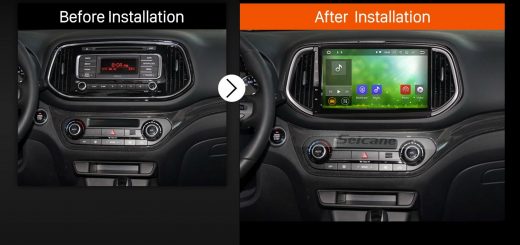
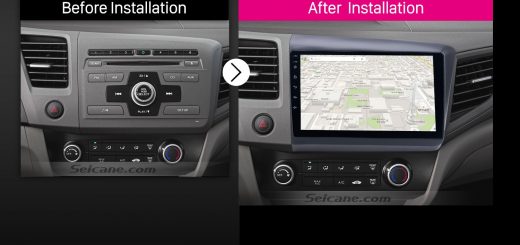
2003 2004 2005 2006 2007-2012 VW Volkswagen Passat Golf Jetta Car Radio after installation
Some tips before the installation:
1. Please disconnect the power before the installation.
2. Please prepare a lever and a screwdriver before the removal and the installation.
3. Please keep all the separate parts from the car. Please take great care of the dashboard to avoid scratching it during its detachment and installation. Please keep handy any parts from the car and make use of all the original screws from the car as much as possible. so each related part of the unit can be fixed securely.
4. For your convenience, here’s the recommended tools for removal and installation from Seicane, please check for more details: http://www.seicane.com/car-dvd-dismantling-device-srd-400
2003 2004 2005 2006 2007-2012 VW Volkswagen Passat Golf Jetta car radio installation guide
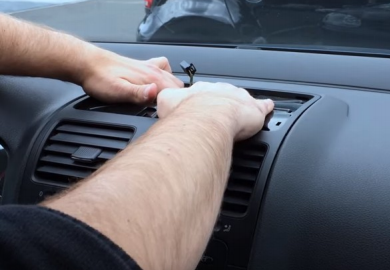
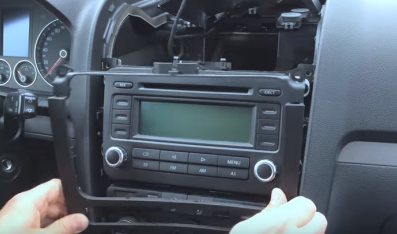
1. Remove the top panel with a lever.
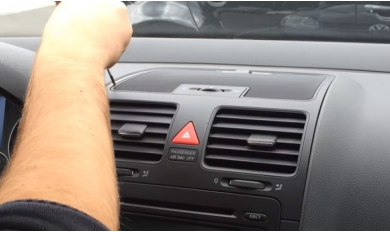
Remove the top panel with a lever
2. Disconnect the connector at the back of the panel.
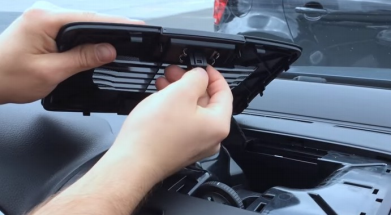
Disconnect the connector at the back of the panel
3. Unscrew the screw with a screwdriver.
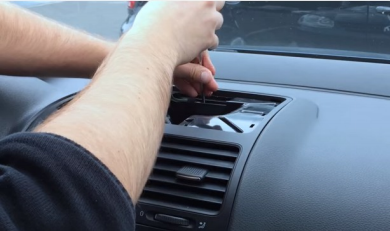
Unscrew the screw with a screwdriver
4. Remove the metal sheet on the top with your hands.
Remove the metal sheet on the top with your hands
5. Unscrew two screws circled in red shown as follows under the metal sheet.
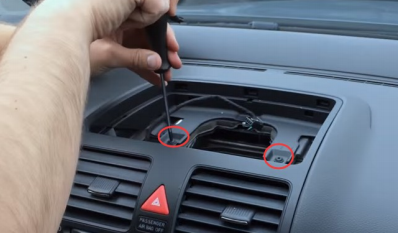
Unscrew two screws circled in red shown as follows under the metal sheet
6. Remove the air conditioner vent with your hands.
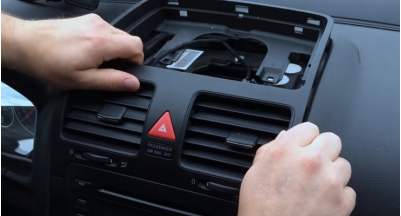
Remove the air conditioner vent with your hands
7. Unscrew two screws under the vent with a screwdriver.
Unscrew two screws under the vent with a screwdriver
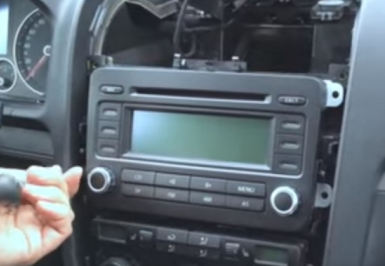
8. Remove the panel on the original car radio.
Remove the panel on the original car radio
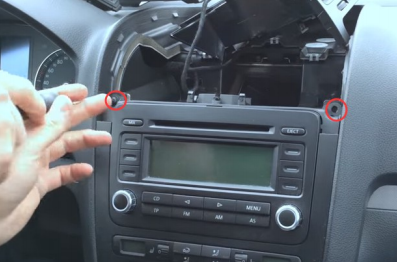
9. Unscrew four screws holding the original car radio with a screwdriver.
Unscrew four screws holding the original car radio with a screwdriver
10. Take the original car radio out of the dash.
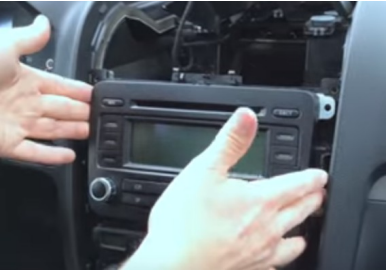
Take the original car radio out of the dash
11. Disconnect all the connectors at the back of the original car radio.
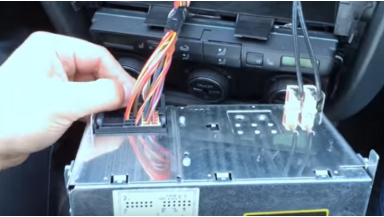
Disconnect all the connectors at the back of the original car radio
12. Check all the accessories for the new Seicane car radio.
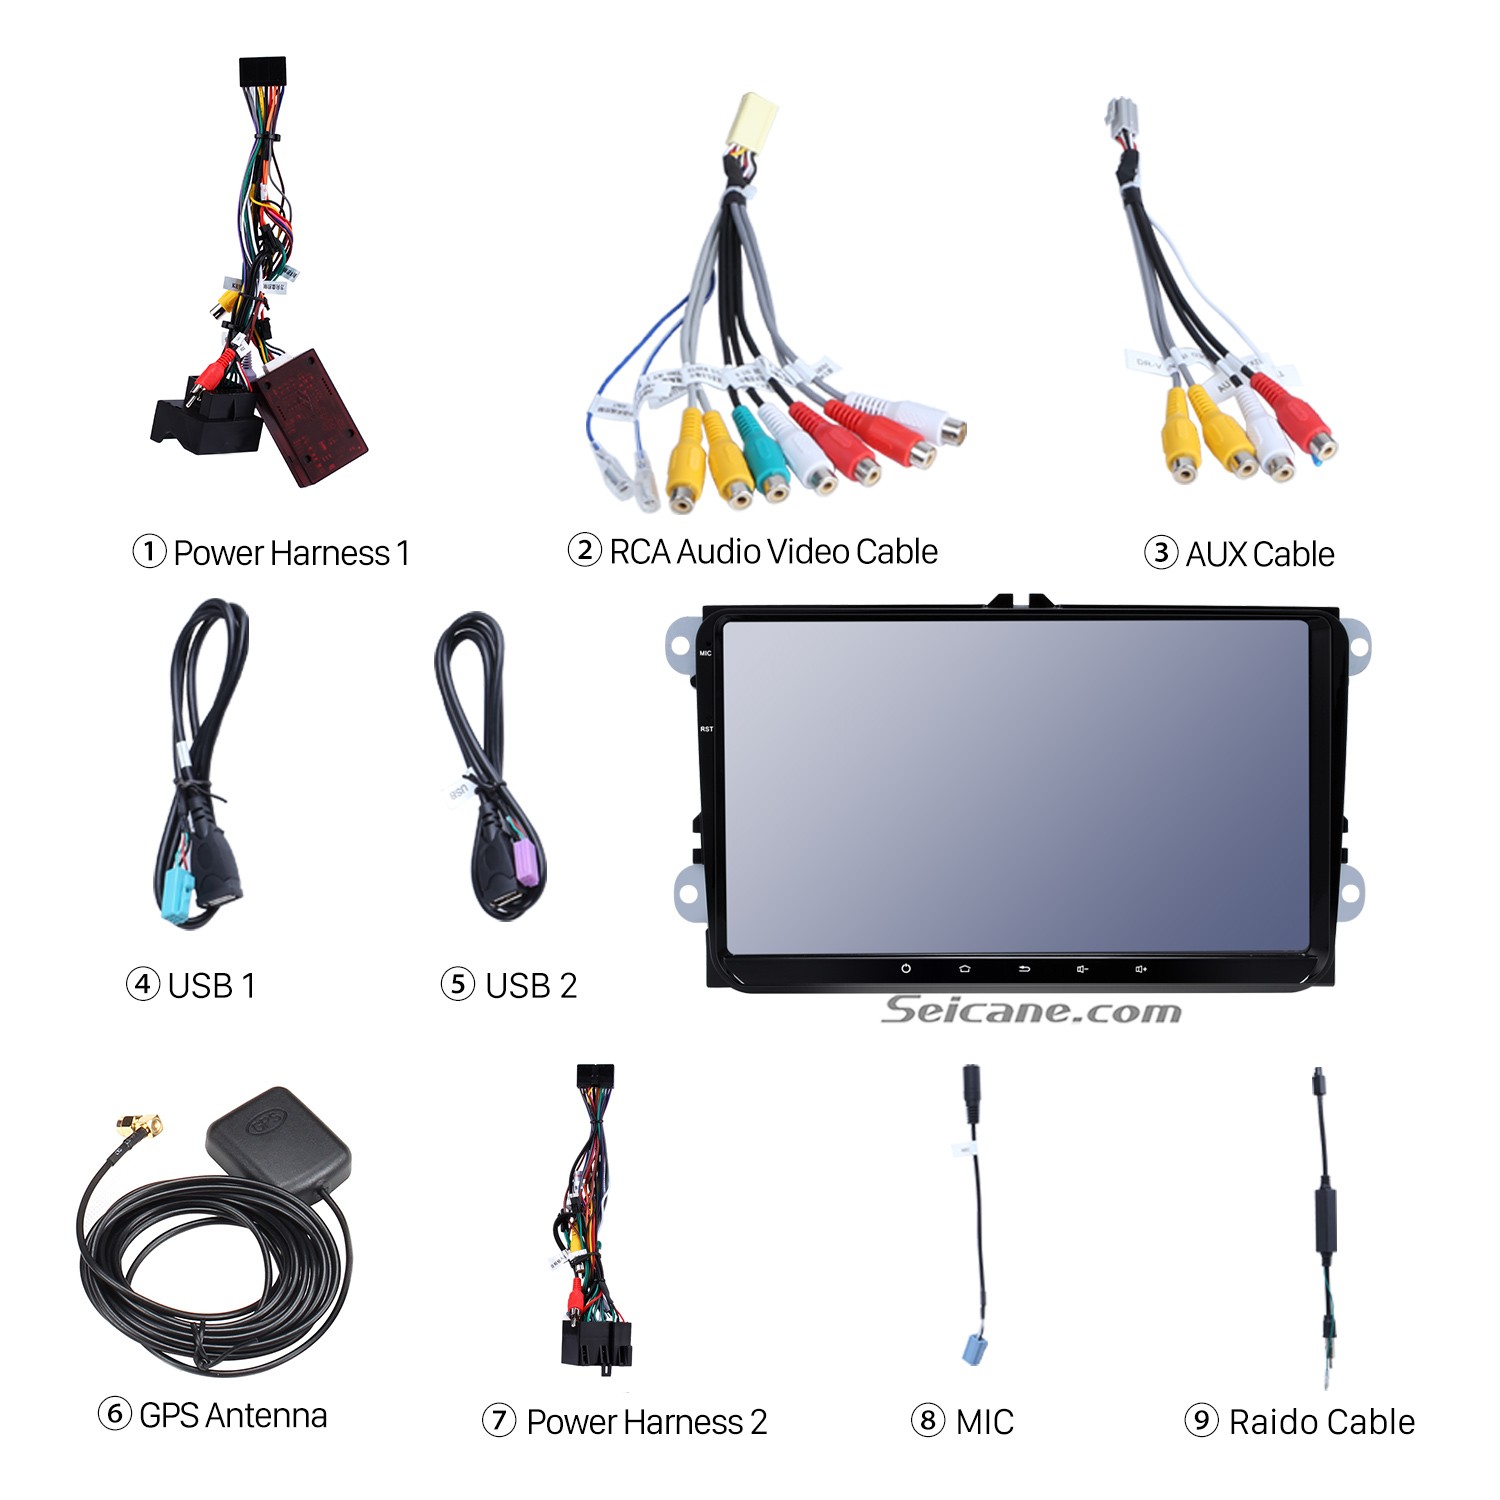
Check all the accessories for the new Seicane car radio
13. Connect the harnesses to the back of the new Seicane car radio.
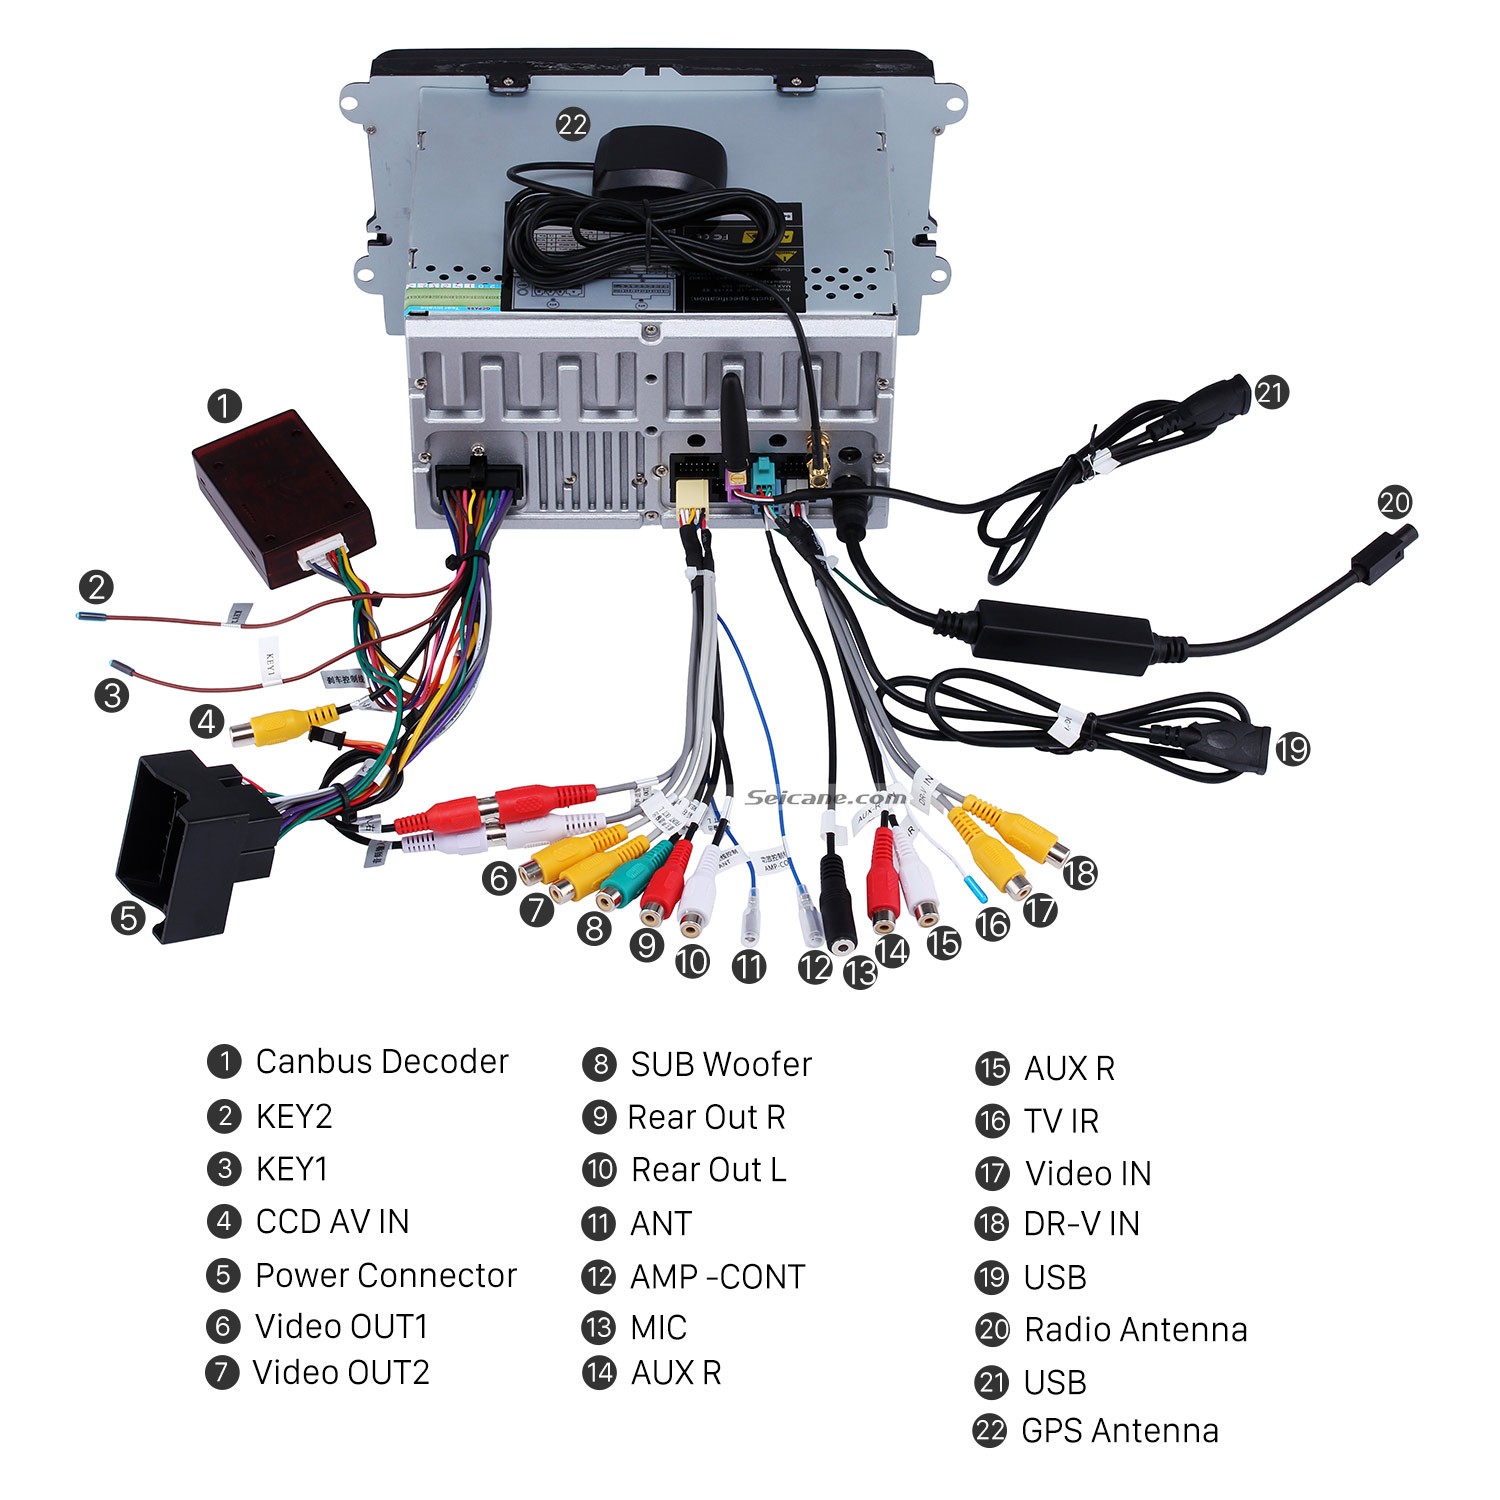
Connect the harnesses to the back of the new Seicane car radio
14. Connect the Seicane car radio to your original car radio’s plugs.
15. Turn on the new Seicane car radio to have a careful check if everything works well. If it doesn’t, please check whether all the cables are connected correctly.
16. Put the new Seicane car radio into the dash.
17. Put everything into their original place.
Wish the above installation steps can be helpful for you. If you have any doubts, please don’t hesitate to contact your dealer, communicate with someone experienced or turn to a professional. If you still think the whole installation process i too complicated for you, you can directly ask a professional technician to help you install the new car radio. Besides, it is very essential for you to pick an ideal car radio. If you have no ideas, you can check out the following link which is an amazing 2003 2004 2005 2006 2007-2012 VW Volkswagen Passat Golf Jetta car radio from Seicane.
This car radio based on the advanced and stable Android 7.1 operation system, a powerful quad-core CPU processor and 2GB RAM comes with a lot of practical and entertainment features to meet your different needs in car.
Even if you don’t have a good sense of directions, under the guidance of the turn-by-turn directions and voice prompts provided by the high-end 3D GPS navigation system, you can easily know your current locations and find the right way to reach any locations you would like to go to accurately. What’s more, this car radio comes with dual zone function, so you can freely listen to radio, USB or SD card music playback under GPS mode.
Additionally, the built-in Bluetooth module enables you to pair your Bluetooth-enabled phone with this unit, so you can dial, answer, reject and mute Bluetooth hands-free phone calls as well as listen to Bluetooth streaming music without taking your hands off the steering wheel.
If you like this unit, just add it to your shopping cart. Good luck!

Recent Comments