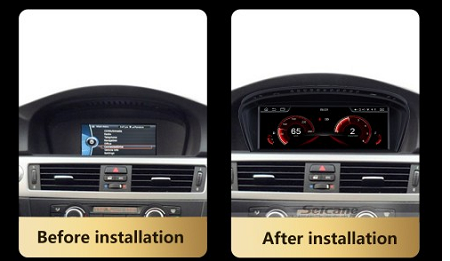
As the fan of BMW, I often engage in improving my in-car life as the first important task. To increase the joy to my expensive car, it is necessary to upgrade car stereos as it can own better sound quality and save my budget. However, it is hard to begin this complex task on my own, therefore, it is important to read the following guide of BMW 5 Series E60 2009-2012 Radio as the assistance.
Before installation, you should pay attention to some important tips. First of all, you can disconnect the power and prepare some tools such as lever before the removal and the installation. Secondly, you should keep all the separate parts from the car and take great care of the dashboard to avoid scratching it during its detachment and installation.
Last but not least, you should keep handy any parts from the car and make use of all the original screws from the car as much as possible so that each related part of the unit can be fixed securely.
Installation Instruction of Navigation for BMW 5 Series E60 2009-2012 Radio
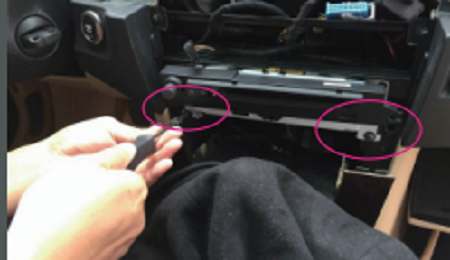
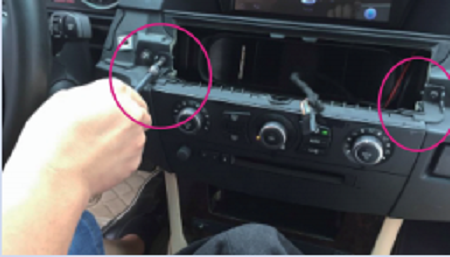
Step 1: Take off the left screw and the right screw.
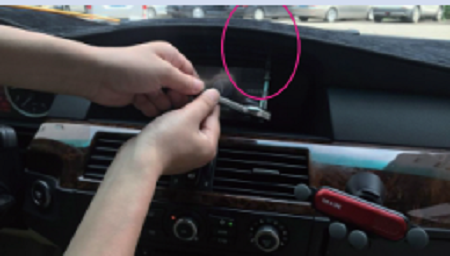
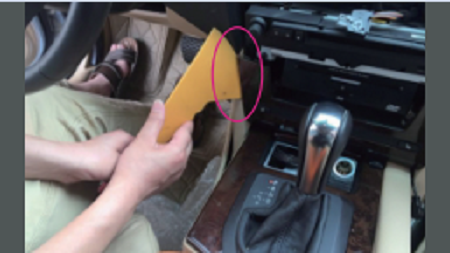
Step 2: Lever original car screen frame and Pull out the frame.
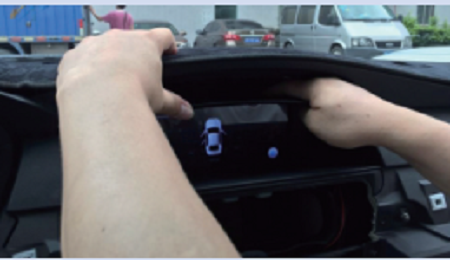
Step 3: Disconnect LVDS connector and the power cable.
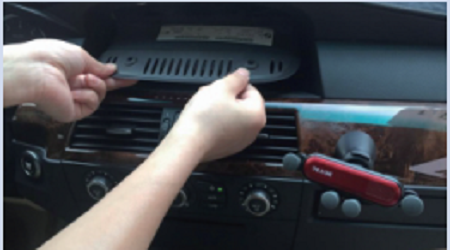
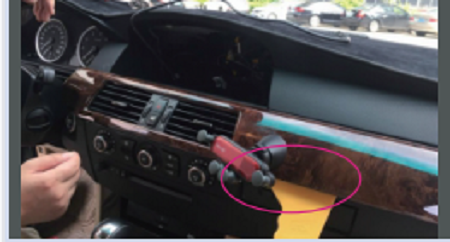
Step 4: Lever the vent panel as reveal from the right side and the middle vent panel from the bottom.
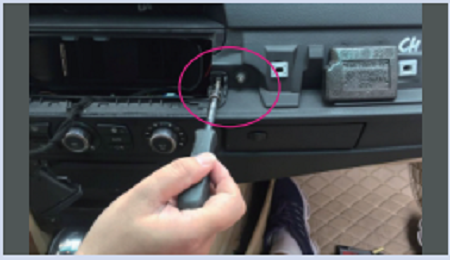
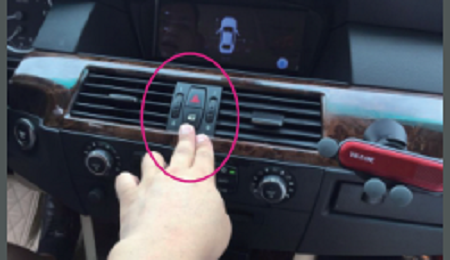
Step 5: Lever the left panel as reveal and Take off the emergency light cable.
Step 6: Take off the left screw and the screws on the right side.
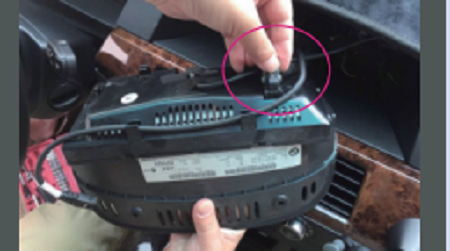
Step 7: Pull out the air conditioner panel and Unplug air conditioner connectors
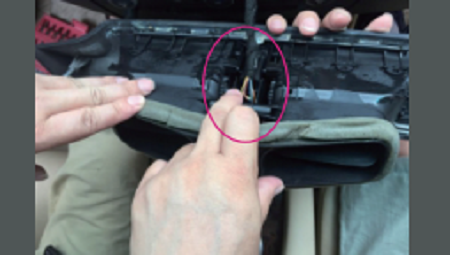
Step 8: Lever the box from the right side and the same box from its left side.
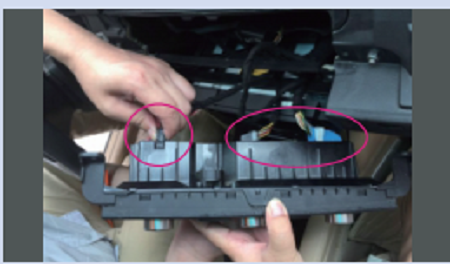
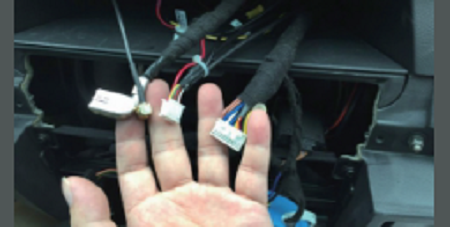
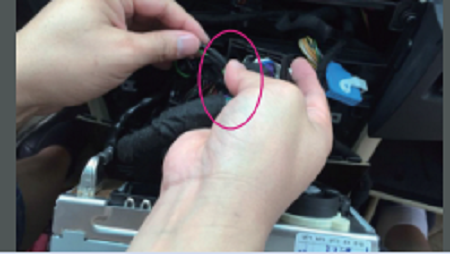
Step 9: Take off the 2 screws, then Pull out the head unit and disconnect power cable.
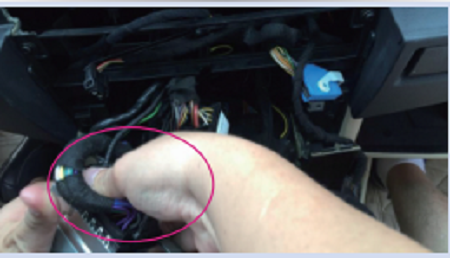
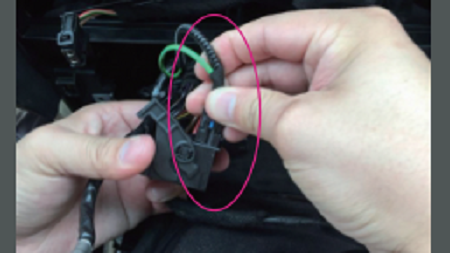
Step 10: Pull out new wires( power cable, USB wire,GPS antenna) and original car LVDS connector.
Step 11: Connect above wires with the new android screen
Step 12: Install new screen, first put bottom inside, then fix the screen to stand and adjust to exact screw position on the top.
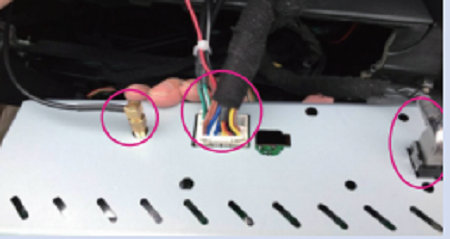
Step 13: Fix the screws and take out original car optical fiber connector.
Step 14: Connect original car power cable with new power cable and the unplugged fiber optical connector with new wiring.
Step 15: Connect new power cable with the car head unit, then Install the head unit and fix the 2 screws.
Step 16: Put the AC vent assembly back and fix 2 screws.
Step 17: After installing AC panel, Connect emergency light wire and Put emergency light assembly back.
As you can see, the whole procedure is not so difficult as we imagine after you read these guide instruction. But if you meet any problems during this procedure, you can ask for your car dealer for help or just go to the Internet where there are supply of online service that meets your need. Here I would like to share a link of BMW 5 Series E60 Car Audio System from Seicane—A famous brand that made car audios for many years abroad. Hope you can get some useful information here and wish you a good luck!


Recent Comments