Would you like to own a wonderful driving experience? Or would you like to accurately and punctually find and reach your destinations? And would you like to relax both yourself and your passengers at the back seats all the way? If your answers towards these questions are both “yes”, then you can consider replacing your factory radio with a new aftermarket car radio in your beloved car. The following is a 2011 2012 2013 2014 BMW X5 E70 /X6 E71 CCC car radio installation instruction from Seicane. You can carefully refer to it if you own the same or similar dashboard.
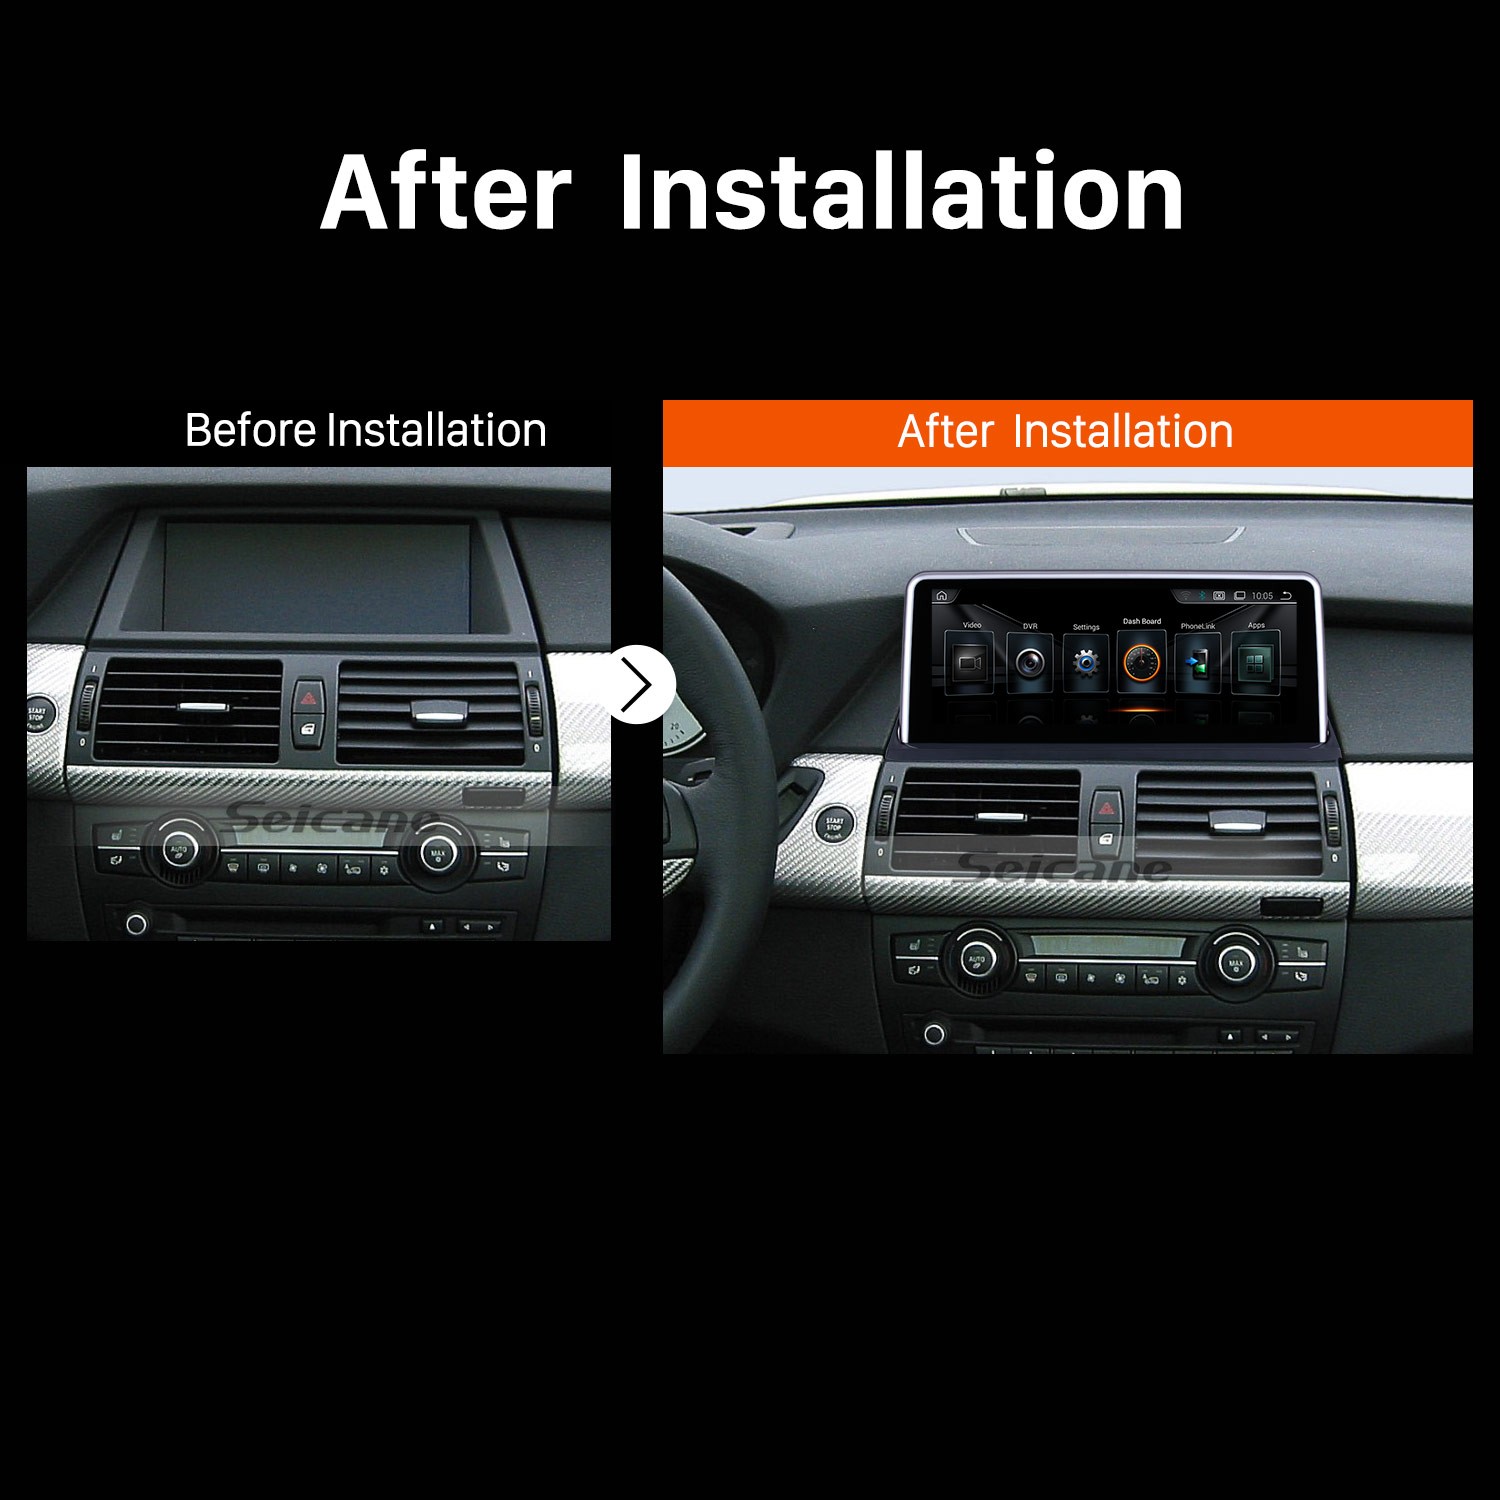
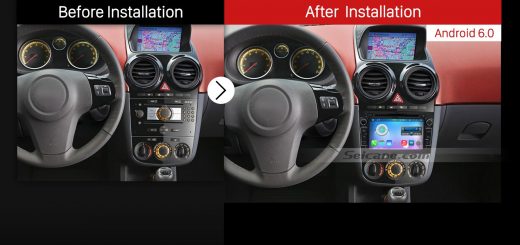
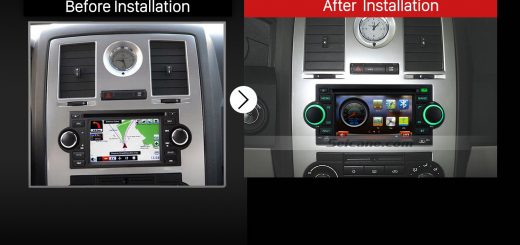
2011 2012 2013 2014 BMW X5 E70 X6 E71 CCC car radio after installation
Precautions for this installation:
1. Before you start up any work, park your car well and unplug the negative power cable to avoid any danger.
2. Please make sure that all fastened wires are isolated with electrical tape.
3. Please make sure the ignition is off to avoid short circuit.
4. For your convenience, here’s the recommended tools for removal and installation from Seicane, please check for more details: http://www.seicane.com/car-dvd-dismantling-device-srd-400
2011 2012 2013 2014 BMW X5 E70 /X6 E71 CCC car radio installation instruction
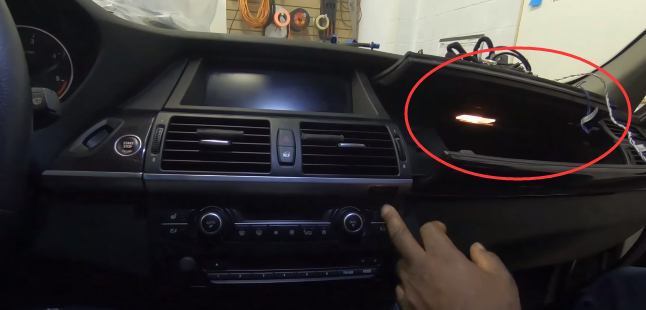
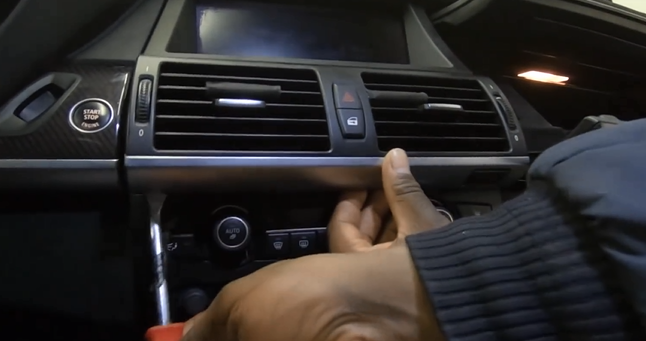
1. Press the button that indicated so as to open the glove box.
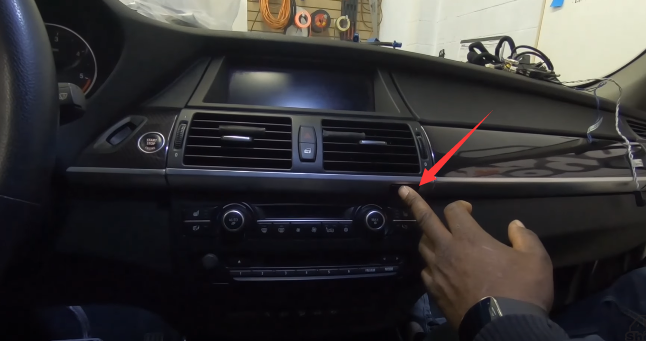
Press the button that indicated so as to open the glove box
1-1
2. Use a pry tool to pry loose the air vent dash trim.
Use a pry tool to pry loose the air vent dash trim
2-1
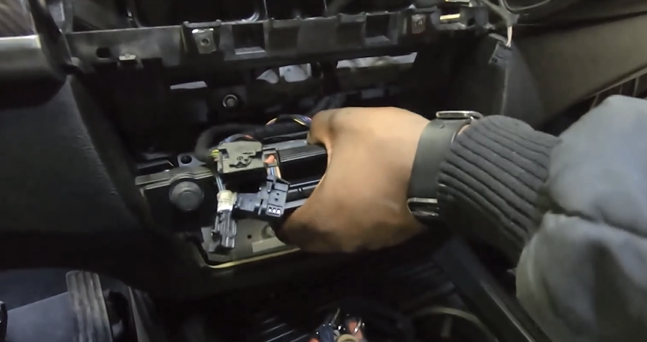
3. Pull out the air-conditioning vent and disconnect the plugs connected behind it.
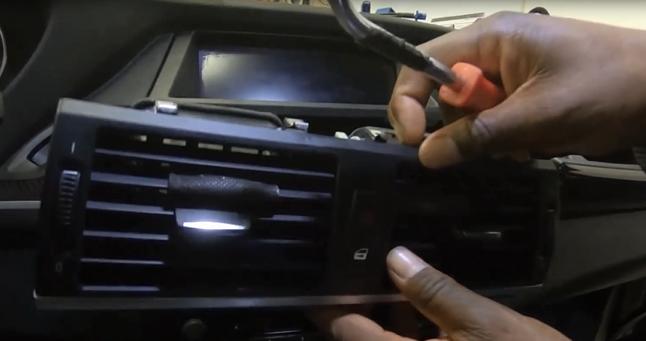
Pull out the air-conditioning vent and disconnect the plugs connected behind it
3-1
4. Then you are going to come the side and pull out the one switch for the actual glove box compartment.
Then you are going to come the side and pull out the one switch for the actual glove box compartment
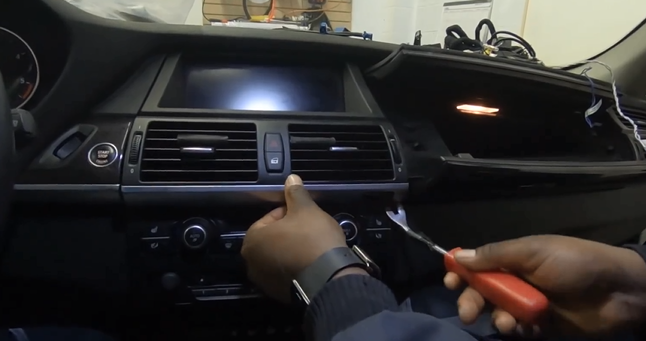
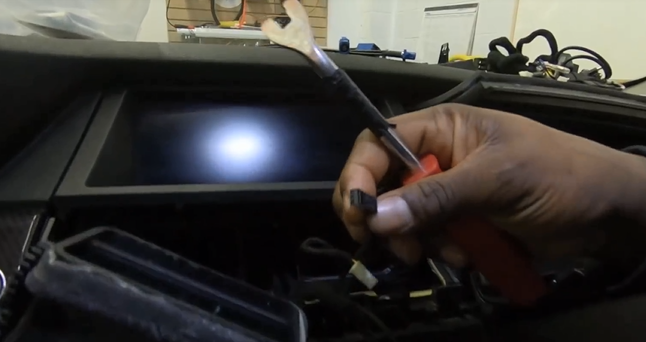
5. Use a screwdriver to remove the two screws that fix the original car radio dash trim.
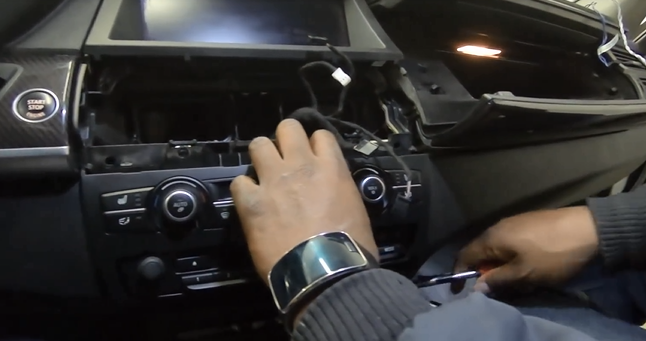
Use a screwdriver to remove the two screws that fix the original car radio dash trim
5-1
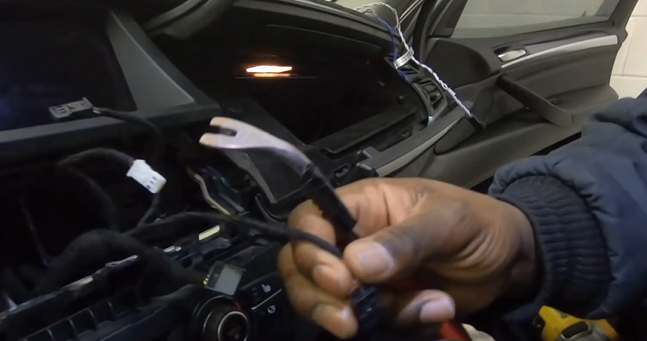
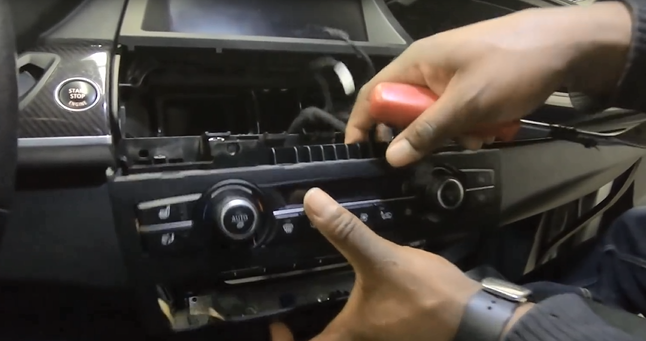
6. Remove two clips that are behind this radio face.
Remove two clips that are behind this radio face
6-1
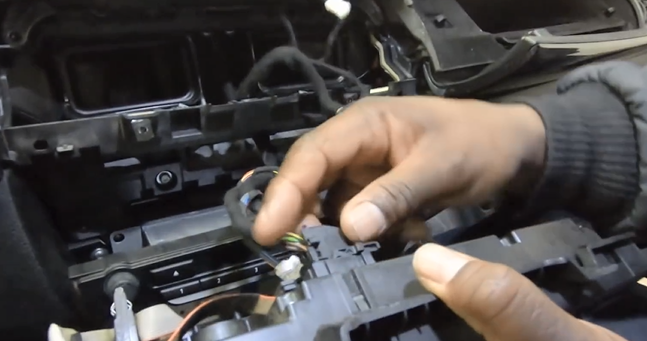
7. Remove four screws that fix the original car radio and pull it out from the dash. Then unplug the connectors and wires behind the car radio.
Remove four screws that fix the original car radio and pull it out from the dash. Then unplug the connectors and wires behind the car radio
8. Unscrew the screws that fix the original display screen and then remove the screen.
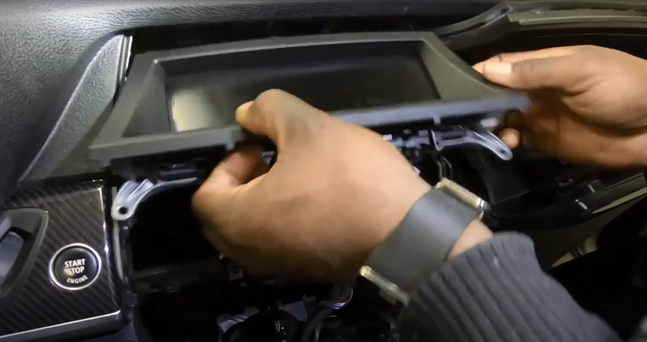
Unscrew the screws that fix the original display screen and then remove the screen
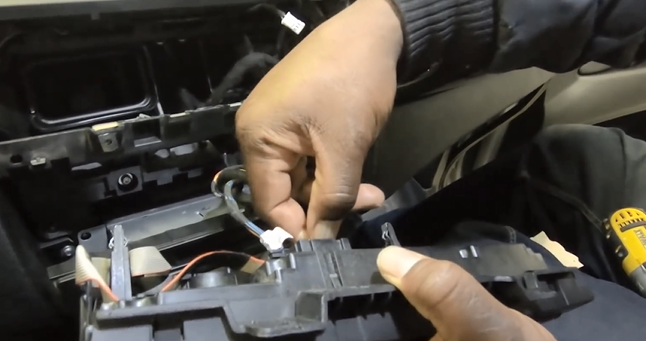
9. Disconnect the connectors at the back of the screen.
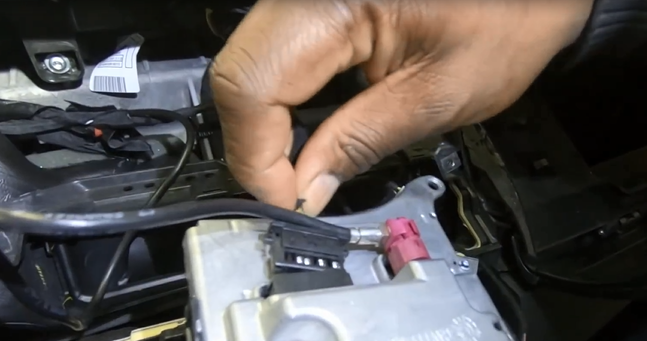
Disconnect the connectors at the back of the screen
10. Check all the accessories for the new Seicane car radio.
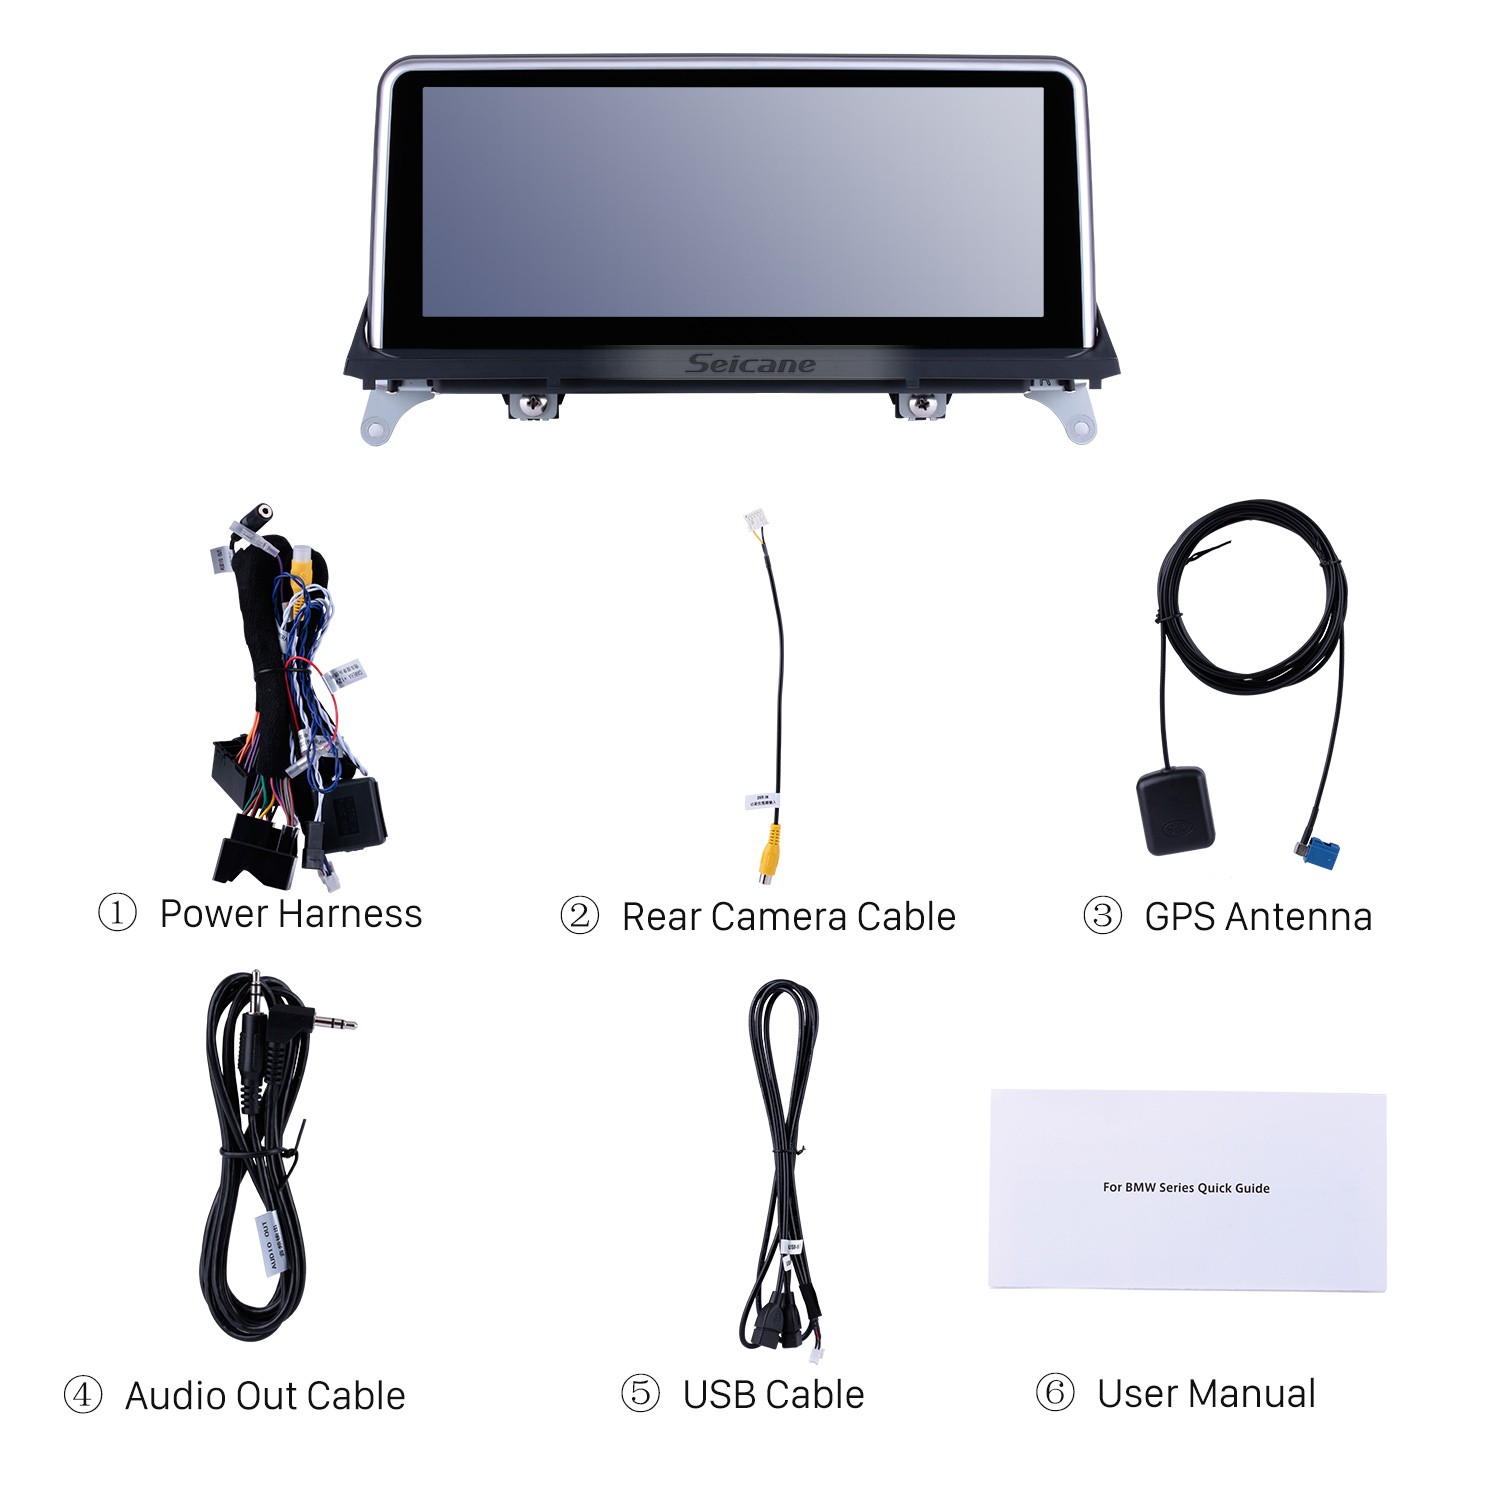
Check all the accessories for the new Seicane car radio
11. Connect the harnesses to the back of the new Seicane car radio.
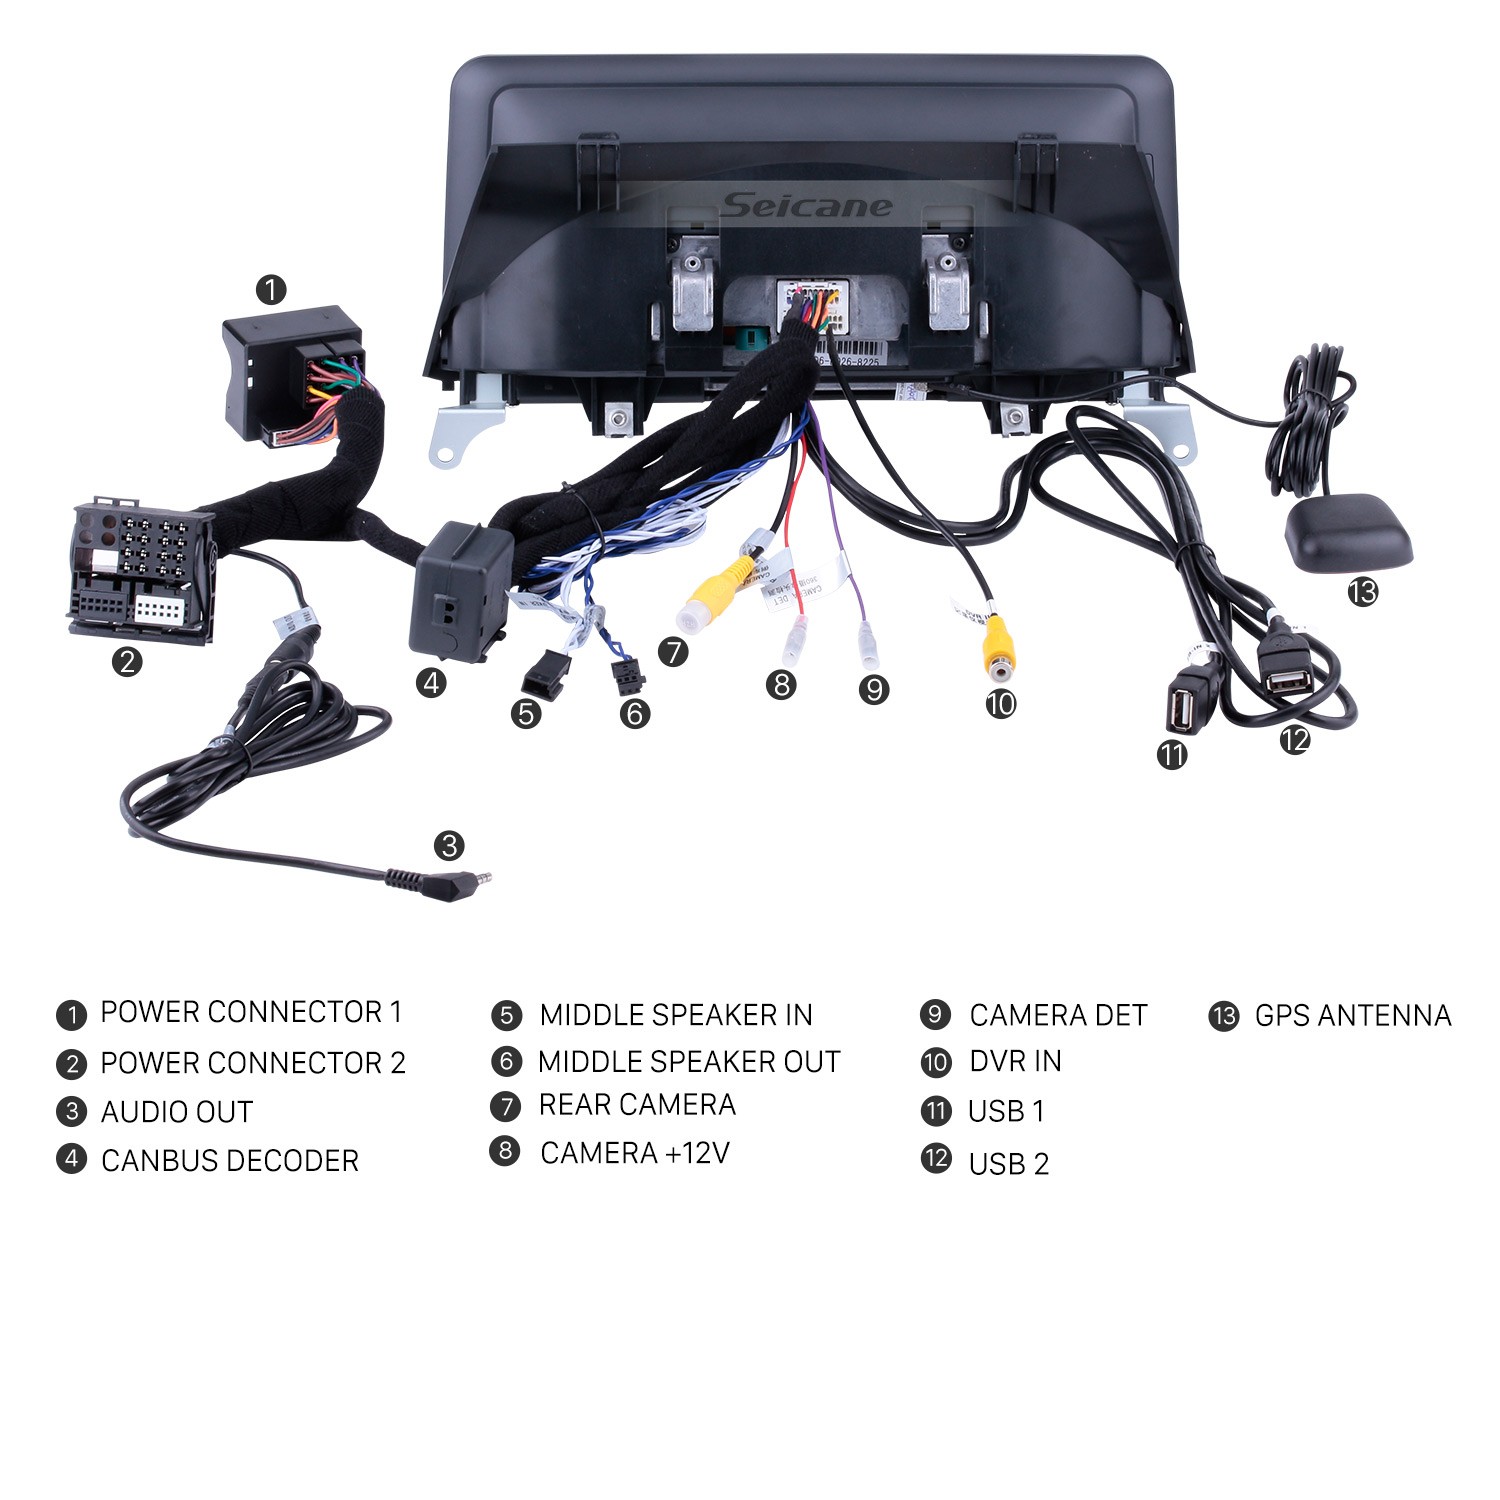
Connect the harnesses to the back of the new Seicane car radio
12. Connect the Seicane car radio to your original radio’s plugs.
13. Turn on the new Seicane car radio to have a careful check if everything works well. If it doesn’t, please check whether all the cables are connected correctly.
14. Put the new Seicane car radio into the dash.
15. Put everything into their original place. All the installation is done.
That’s the whole removal and installation process of a 2011 2012 2013 2014 BMW X5 E70 /X6 E71 CCC car radio. If there is any problem too complicated for you to deal with, you can contact your dealer, communicate with someone experienced or straightly go to a car radio upgrade centre to have the new car radio installed by a professional technician.While for the car radio selection, if you don’t know which kind of car radios can fit your car well, I’d like to share a fabulous car radio from Seicane with you. For more details, please click:
With this car radio installed in your beloved car, almost all your needs can be me in car since this unit comes with a wide range of practical and entertainment features, mainly including 3D GPS navigation, FM/AM radio, Bluetooth hands-free calls, Bluetooth streaming music, file management, steering wheel control, etc. And as long as you make full use of these features, you will enjoy great convenience and enjoyment to embrace a new driving experience.
Under the guidance of the turn-by-turn directions and voice prompts provided by the high-accuracy 3D GPS navigation, you can easily locate where you are and find the right way to reach your ideal destinations, so you will not get lost any longer even you are driving around different places and have no sense of directions. .
Wish you like this unit and good luck to you!

Recent Comments