Would you like to make your car more featured so as to bring you great convenience and entertainment which can take your driving experience up a notch. As far as I am concerned, one of the most effective ways to make your car featured is to replace your factory radio with a new aftermarket car radio. If you own a 2012 Toyota Hilux and plan to upgrade your factory radio, you can refer to the following 2012 Toyota Hilux car radio installation instruction from Seicane to deal with the installation.
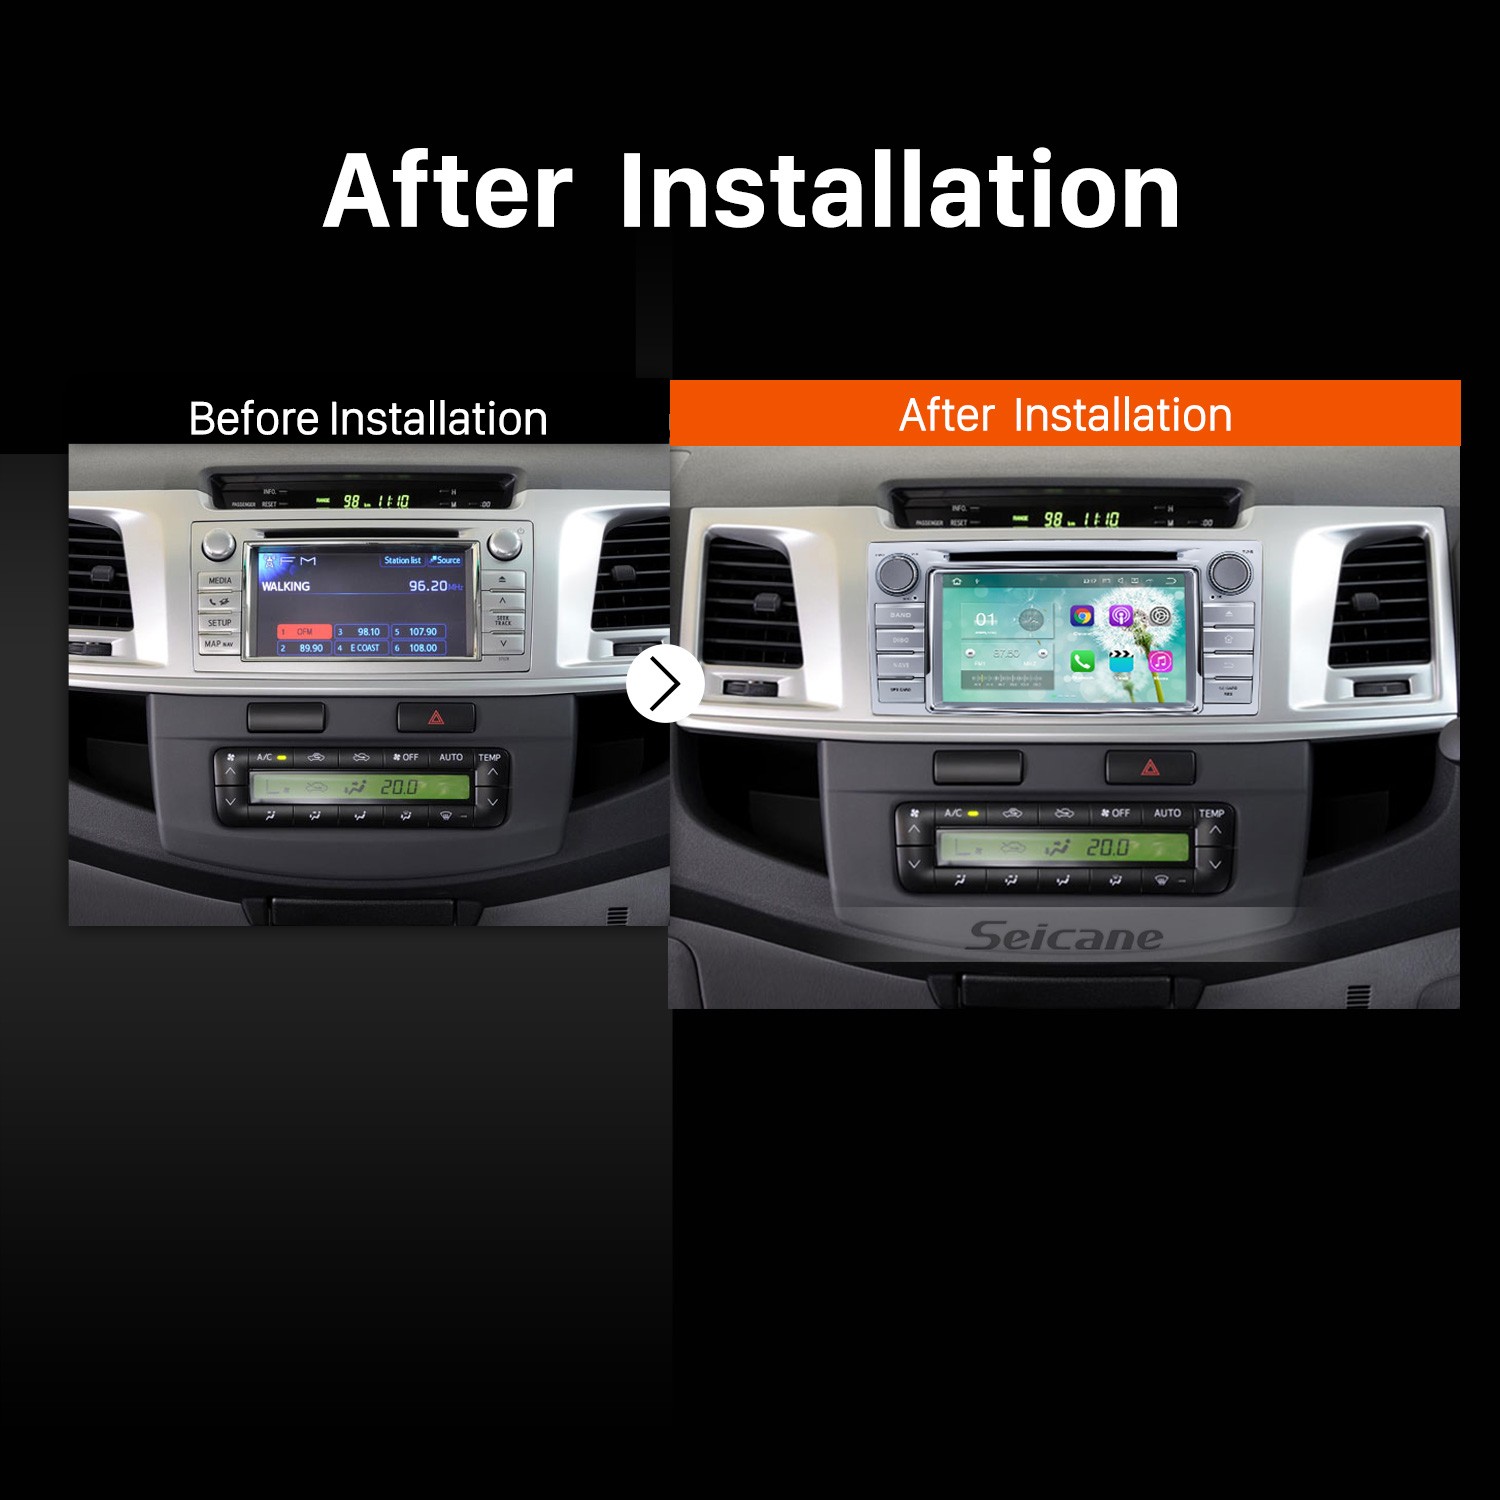
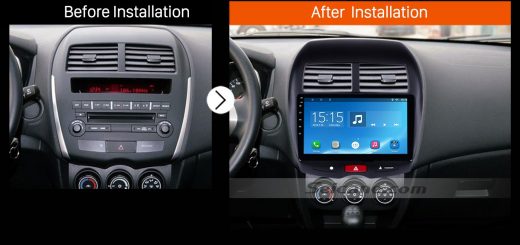
2012 Toyota Hilux Car Radio after installation
Tips about the installation:
1. Please disconnect the power before the installation.
2. Please prepare a lever and a screwdriver before the removal and the installation.
3. Please keep all the separate parts from the car. Please take great care of the dashboard to avoid scratching it during its detachment and installation. Please keep handy any parts from the car and make use of all the original screws from the car as much as possible. so each related part of the unit can be fixed securely.
4. For your convenience, here’s the recommended tools for removal and installation from Seicane, please check for more details: http://www.seicane.com/car-dvd-dismantling-device-srd-400
2012 Toyota Hilux car radio installation instruction
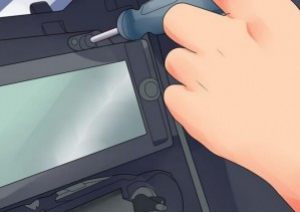
1. Remove the original panel with a plastic knife, pry gently along the gap and pick up the panel, then remove it and then set it aside.
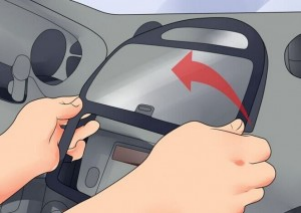
Remove the original panel with a plastic knife, pry gently along the gap and pick up the panel, then remove it and then set it aside
2. Remove screws that fixed the radio on the dashboard.
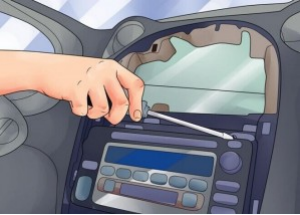
Remove screws that fixed the radio on the dashboard
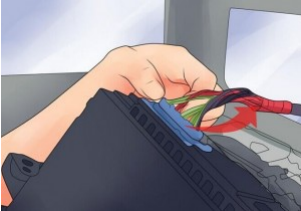
3. Pull the factory radio out of the dash. Pull it with medium force, as the wires are connected to the radio.
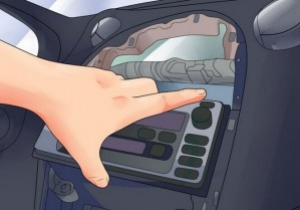
Pull the factory radio out of the dash. Pull it with medium force, as the wires are connected to the radio
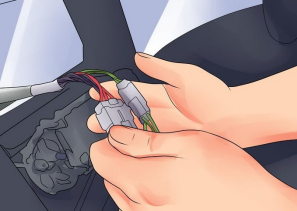
4. Unplug the connectors at the back of the factory radio.
Unplug the connectors at the back of the factory radio
5. Make antennas and cables connected step by step, and you should be very careful when you are doing this for it will affect whole procedure.
Make antennas and cables connected step by step, and you should be very careful when you are doing this for it will affect whole procedure
6. Put the new Seicane radio into your car, you should check whether your connections are correct, and you’d better have a tidy for the cables.
7. If everything is OK, firm screws into their original place.
If everything is OK, firm screws into their original place
8. Firm the panel on the new Seicane radio. Finally the new Seicane radio is installed and a comprehensive test should be conducted on the new radio.
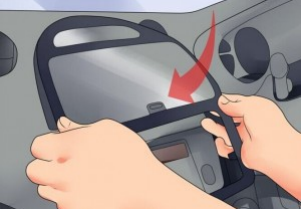
Firm the panel on the new Seicane radio. Finally the new Seicane radio is installed and a comprehensive test should be conducted on the new radio
You don’t need to be disappointed if you cannot fully understand the above installation steps. Under the circumstance, you can seek help from your dealer, someone experienced or a professional. Or you can directly arrange a professional technician to help you install the new car radio. Anyway, first of all, please confirm that your new car radio can work well in your car. If not, here I would like to share a remarkable 2012 Toyota Hilux car radio from Seicane with you. For more details, please click:
This amazing car radio is running on the most advanced 7.1 operation system, a powerful quad-core CPU processor and 2GB RAM to provide you with better services thanks to its enhanced capabilities and performance.
With such an up-to-date car radio installed in your car, you can get access to a wide range of 3D GPS navigation system, FM/AM radio tuner, DVD player, Bluetooth hands-free phone calls, Bluetooth streaming music, steering wheel control, AUX, file management, etc.
Here we take 3D GPS navigation system as an example. Under the guidance of the turn-by-turn directions and voice prompts provided by 3D GPS navigation, you are able to know your current locations and find the most suitable way to arrive at your desired destinations. Additionally, this car radio enables you to listen to your favorite music under GPS mode, which will have no negative influence on GPS function.
If you like this unit, don’t hesitate to add it to your shopping cart. Good luck to you!


Recent Comments