Have you ever install a new car radio on your own? If not, you may find it difficult for you to remove and install a new radio in your car. Anyhow, you can find a detailed guide to help with the installation if you are going to upgrade your factory radio. Here I’d like to share a step-by-step installation guide from Seicane for a 2004-2013 Seat Altea head unit. If you also have the same dashboard as below, you can follow it as well.

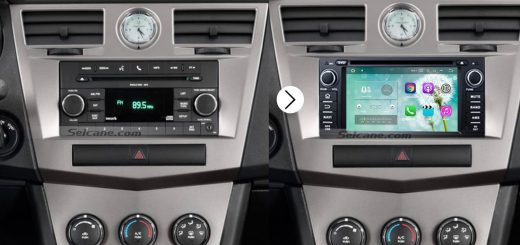
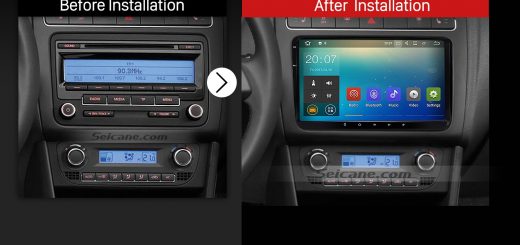
2004-2013 Seat Altea head unit after instllation
Precautions for this installation:
1.Before you start up any work, park your car well and unplug the negative power cable to avoid any danger.
2.Please make sure that all fastened wires are isolated with electrical tape.
3.Please make sure the ignition is off to avoid short circuit.
4.For your convenience, here’s the recommended tools for removal and installation from Seicane, please check for more details: http://www.seicane.com/car-dvd-dismantling-device-srd-400
2004-2013 Seat Altea head unit installation guide
1.The original car radio.

The original car radio
2.Insert two removal keys into the slots of the original radio as the picture shows.

Insert two removal keys into the slots of the original radio as the picture shows
3.Insert another two removal keys into the slots above the original car radio as the picture below shows.

Insert another two removal keys into the slots above the original car radio as the picture below shows
4.Pry the edges of the original radio with a lever.

Pry the edges of the original radio with a lever
5.Take the original car radio out of the dash with your hands.

Take the original car radio out of the dash with your hands
6.Disconnect the connectors at the back of the original car radio.

Disconnect the connectors at the back of the original car radio
7.Check all the accessories for the new Seicane head unit.

Check all the accessories for the new Seicane car radio
8.Connect the harnesses to the back of the new Seicane head unit.

Connect the harnesses to the back of the new Seicane car radio
9.Connect the Seicane head unit to your original car radio ‘s plugs.
10.Turn on the new Seicane head unit to have a careful check if everything works well. If it doesn’t, please check whether all the cables are connected correctly.
11.Put the new Seicane head unit into the dash.
12.Put everything into their original place.
Is it easy for you to understand all the installation steps for a 2004-2013 Seat Altea head unit ? If not, it’s suggested you consult your dealer. Or you can also directly have a professional install it. If you haven’t found an ideal head unit for your car, you can refer to this amazing 2004-2013 Seat Altea head unit from Seicane. It comes with the latest features and capabilities for you to upgrade your factory radio. For more details, you can click:
The large 8 inch Android 5.1.1 Seat Altea head unit offers accurate navigation and a complete multimedia solution. It includes a built-in DVD/CD player along with an AUX input for devices like a smart phone or portable MP3 player. If you like to store your music on a memory card, the USB slots will accept SD Cards and USB flash drives up 32GB. Wish you like it and have a wonderful time!

Recent Comments