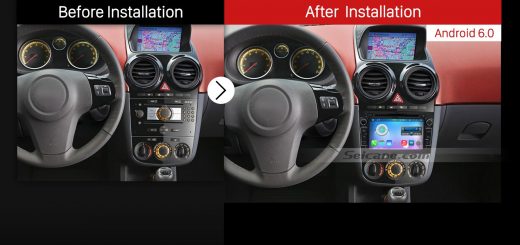
To succeed in the car radio removal and installation process, you can search online for a related instruction and refer to it for help. This article will mainly introduce how to remove the factory radio and install a new car radio for 2009 2010 2011 Chevrolet Cruze. If you are an owner of a and plan to upgrade your factory radio, then you can refer to the following 2009 2010 2011 Chevrolet Cruze car radio installation guide from Seicane which may be helpful for you.
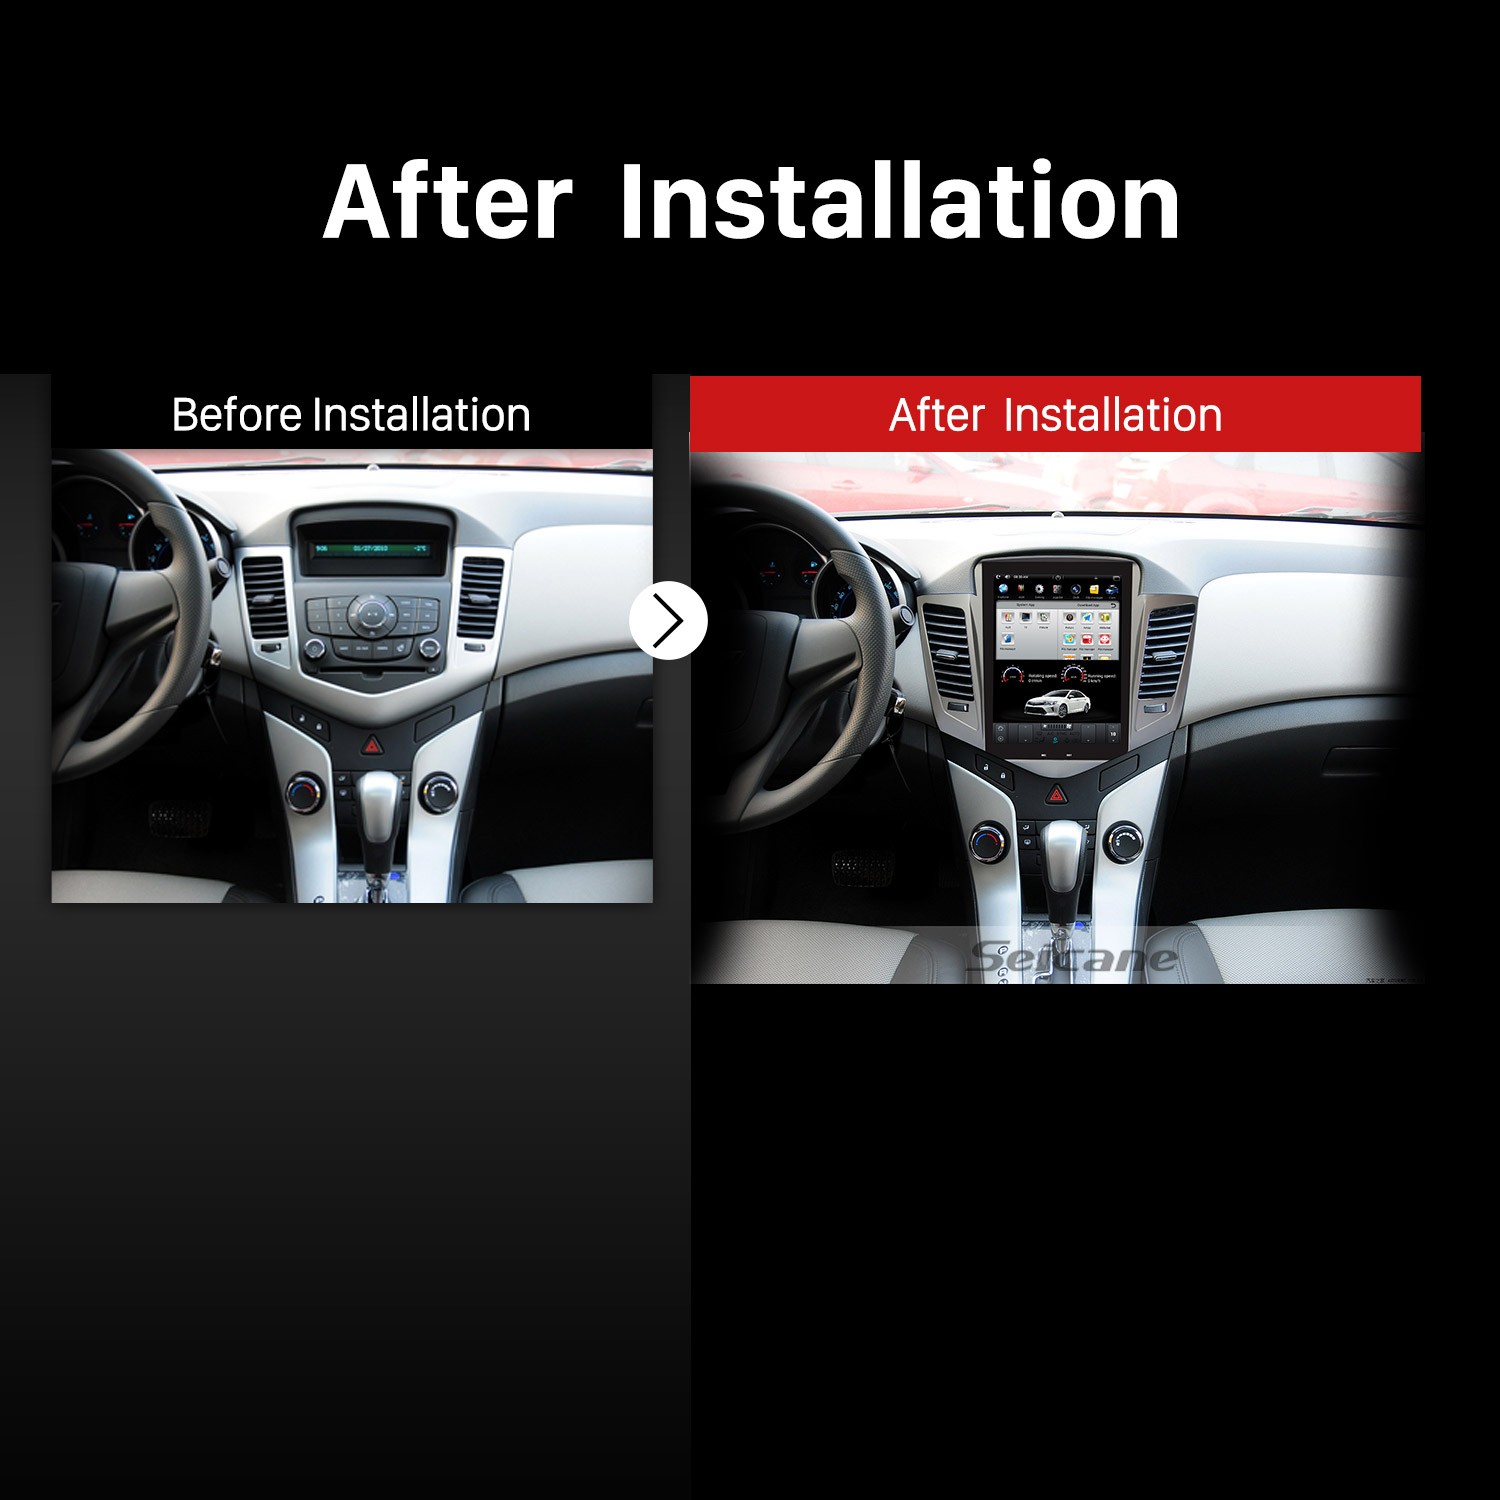
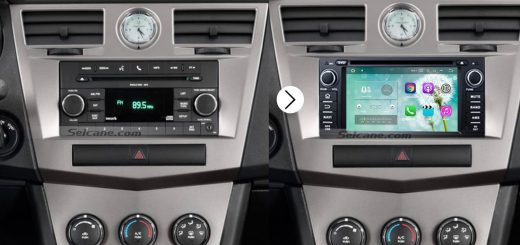
2009 2010 2011 Chevrolet Cruze Factory Radio after installation
Some tips before the installation:
1. Please disconnect the power before the installation.
2. Please prepare a lever and a screwdriver before the removal and the installation.
3. Please keep all the separate parts from the car. Please take great care of the dashboard to avoid scratching it during its detachment and installation. Please keep handy any parts from the car and make use of all the original screws from the car as much as possible. so each related part of the unit can be fixed securely.
4. For your convenience, here’s the recommended tools for removal and installation from Seicane, please check for more details: http://www.seicane.com/car-dvd-dismantling-device-srd-400
2009 2010 2011 Chevrolet Cruze car radio installation guide
1. The original car radio.
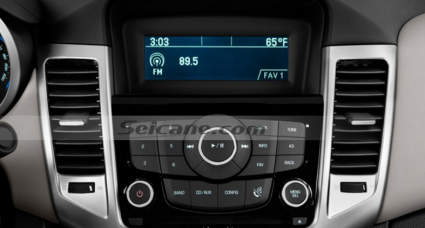
The original car radio
2. Using a panel removal tool, gently pry the upper trim/vent housing panel from the dash.
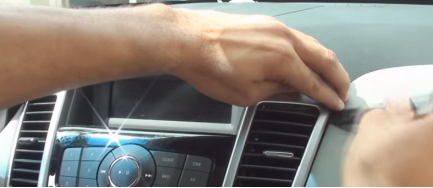
Using a panel removal tool, gently pry the upper trim/vent housing panel from the dash
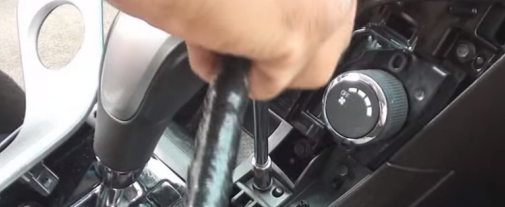
3. Pry the shifter surround panel. On manual transmission vehicles, unclip and reposition the shifter. Then remove the panel.
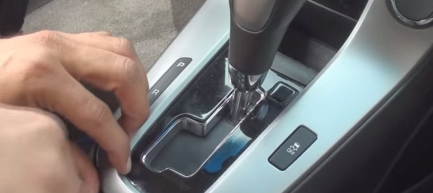
Pry the shifter surround panel. On manual transmission vehicles, unclip and reposition the shifter. Then remove the panel
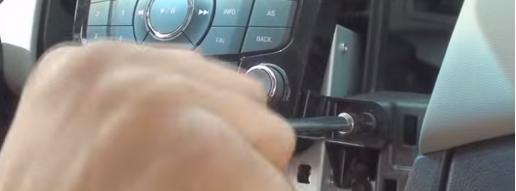
4. Remove two screws from the storage pocket. Then remove the storage.
Remove two screws from the storage pocket. Then remove the storage
5. Remove four screws from the accessory control panel.
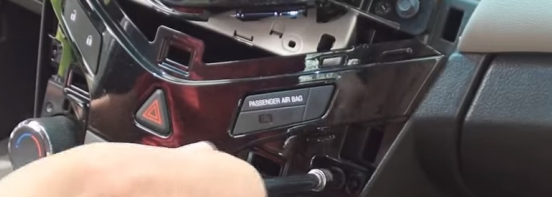
Remove four screws from the accessory control panel
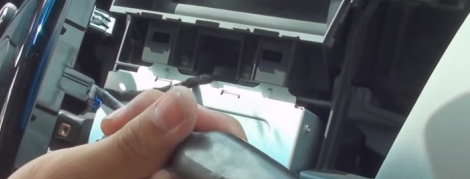
6. Pull out the panel. This panel is very tough to remove, please be patient and the clips will release, then let the panel hang to side.

Pull out the panel. This panel is very tough to remove, please be patient and the clips will release, then let the panel hang to side
7. Unscrew two screws from the radio control panel. Then remove the radio control panel.
Unscrew two screws from the radio control panel. Then remove the radio control panel
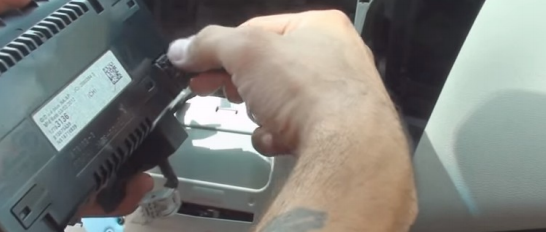
8. Remove the blue clip before removing the real connector.
Remove the blue clip before removing the real connector
9. Unscrew two screws from the radio chassis, and two screws near the top of the radio to release the screen.
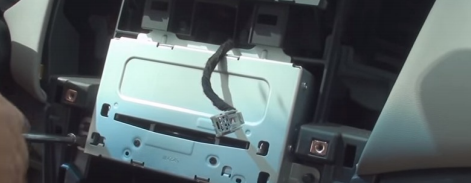
Unscrew two screws from the radio chassis, and two screws near the top of the radio to release the screen
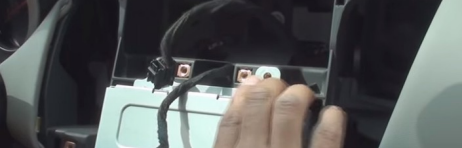
10. Disconnect the connector at the back of the screen.
Disconnect the connector at the back of the screen
11. Unscrew two more screws in the original radio.
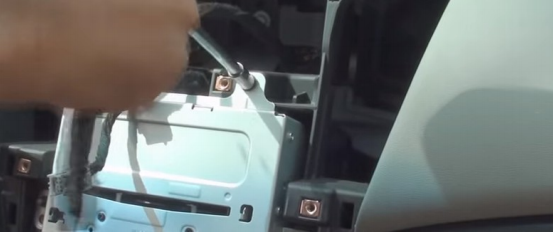
Unscrew two more screws in the original radio
12. Remove the original radio.
Remove the original radio
13. Disconnect all connectors at the back of the original car radio.
14. Check all the accessories for the new Seicane car radio.
15. Connect the harnesses to the back of the new Seicane car radio.
16. Connect the Seicane car radio to your original car radio’s plugs.
17. Turn on the new Seicane radio to have a careful check if everything works well. If it doesn’t, please check whether all the cables are connected correctly.
18. Put the new Seicane radio into the dash.
19. Put everything into their original place.
Wish above installation guide can be helpful for you. If you meet any problems you don’t know how to deal with, please don’t hesitate to consult your dealer, communicate with someone experienced or turn to a professional for help. Anyway, before installation, it is essential for you to select an ideal car radio. If you have no ideas, you can refer to a remarkable 2009 2010 2011 Chevrolet Cruze car radio from Seicane. You may click the link below for more details.
This car radio, loaded with the most advanced and stable Android 6.0 operation and a powerful quad-core CPU processor, is advanced enough to become the best replacement for your factory radio in 2009 2010 2011 Chevrolet Cruze.
Under the guidance of the turn-by-turn directions and voice prompts provided by the 3D GPS navigation system, you are able to know your current locations and find the correct way to reach any locations you would like to go to. And this unit’s dual zone function enables you to freely listen to your favorite music.
Besides, hand-free calls and streaming music are both available as long as you connect your Bluetooth-enabled mobile phone to this unit through Bluetooth technology. Under this circumstance, you can dial, receive, reject and mute hands-free calls as well as listen to Bluetooth streaming music for convenience and enjoyment.
Wish you like this unit and good luck to you!

Recent Comments